Handbook for
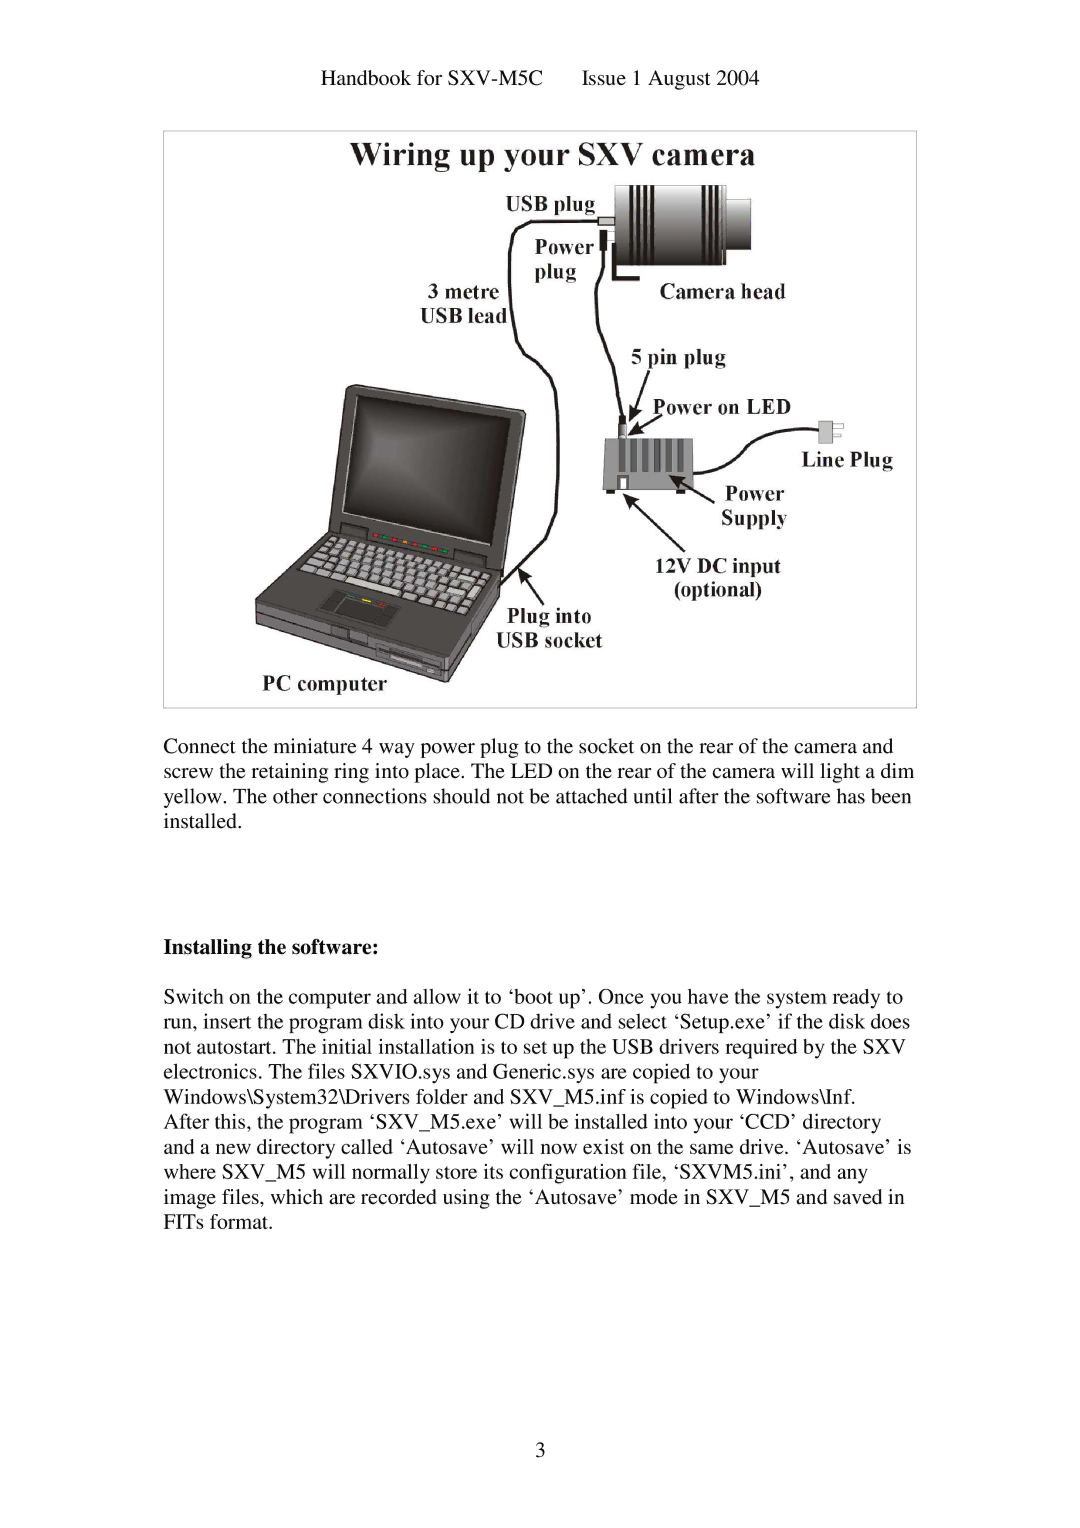
Connect the miniature 4 way power plug to the socket on the rear of the camera and screw the retaining ring into place. The LED on the rear of the camera will light a dim yellow. The other connections should not be attached until after the software has been installed.
Installing the software:
Switch on the computer and allow it to ‘boot up’. O nce you have the system ready to run, insert the program disk into your CD drive and select ‘Setup.exe’ if the disk does not autostart. The initial installation is to set up the USB drivers required by the SXV electronics. The files SXVIO.sys and Generic.sys are copied to your Windows\System32\Drivers folder and SXV_M5.inf is copied to Windows\Inf. After this, the program ‘SXV_M5.exe’ will be instal led into your ‘CCD’ directory and a new directory called ‘Autosave’ will now exis t on the same drive. ‘Autosave’ is where SXV_M5 will normally store its configuration file, ‘SXVM5.ini’, and any image files, which are recorded using the ‘Autosave’ mode in SXV_M5 and saved in FITs format.
3