Handbook for
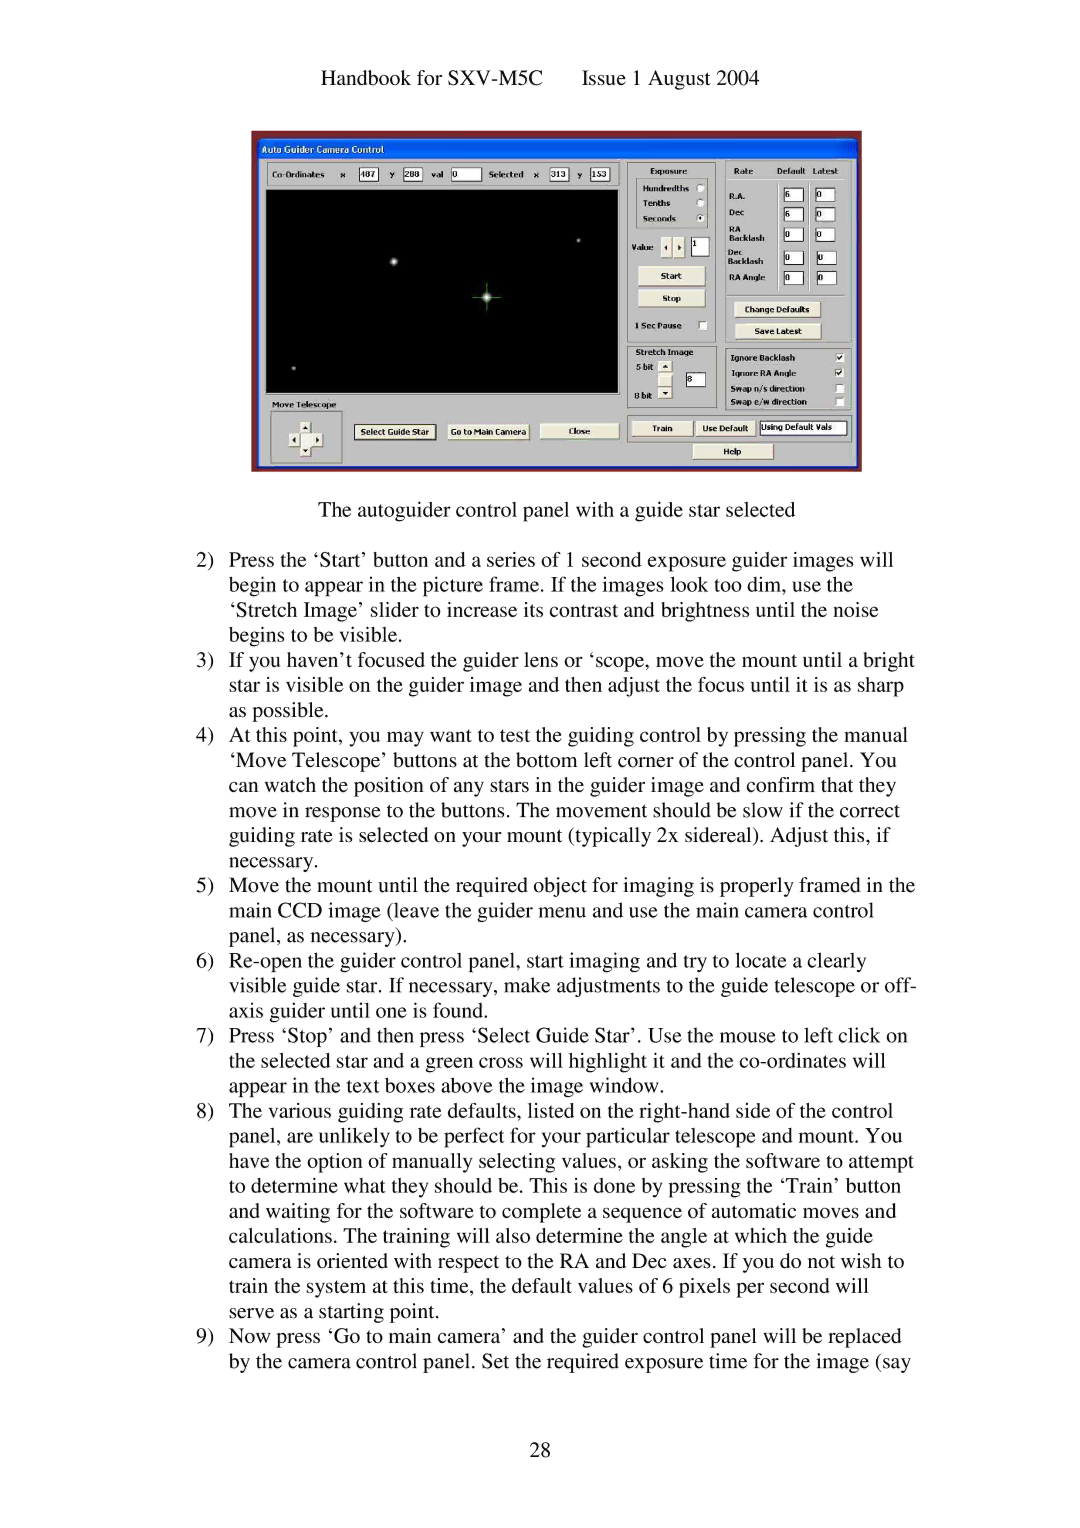
The autoguider control panel with a guide star selected
2)Press the ‘Start’ button and a series of 1 second e xposure guider images will begin to appear in the picture frame. If the images look too dim, use the ‘Stretch Image’ slider to increase its contrast and brightness until the noise begins to be visible.
3)If you haven’t focused the guider lens or ‘scope, m ove the mount until a bright star is visible on the guider image and then adjust the focus until it is as sharp as possible.
4)At this point, you may want to test the guiding control by pressing the manual ‘Move Telescope’ buttons at the bottom left corner of the control panel. You can watch the position of any stars in the guider image and confirm that they move in response to the buttons. The movement should be slow if the correct guiding rate is selected on your mount (typically 2x sidereal). Adjust this, if necessary.
5)Move the mount until the required object for imaging is properly framed in the main CCD image (leave the guider menu and use the main camera control panel, as necessary).
6)
7)Press ‘Stop’ and then press ‘Select Guide Star’. Us e the mouse to left click on the selected star and a green cross will highlight it and the
8)The various guiding rate defaults, listed on the
9)Now press ‘Go to main camera’ and the guider contro l panel will be replaced by the camera control panel. Set the required exposure time for the image (say
28