Choosing Your Location
Before making any connections, locate FA970B near an AC power outlet and a wall telephone jack (RJ11C).
To Connect the Telephone Line
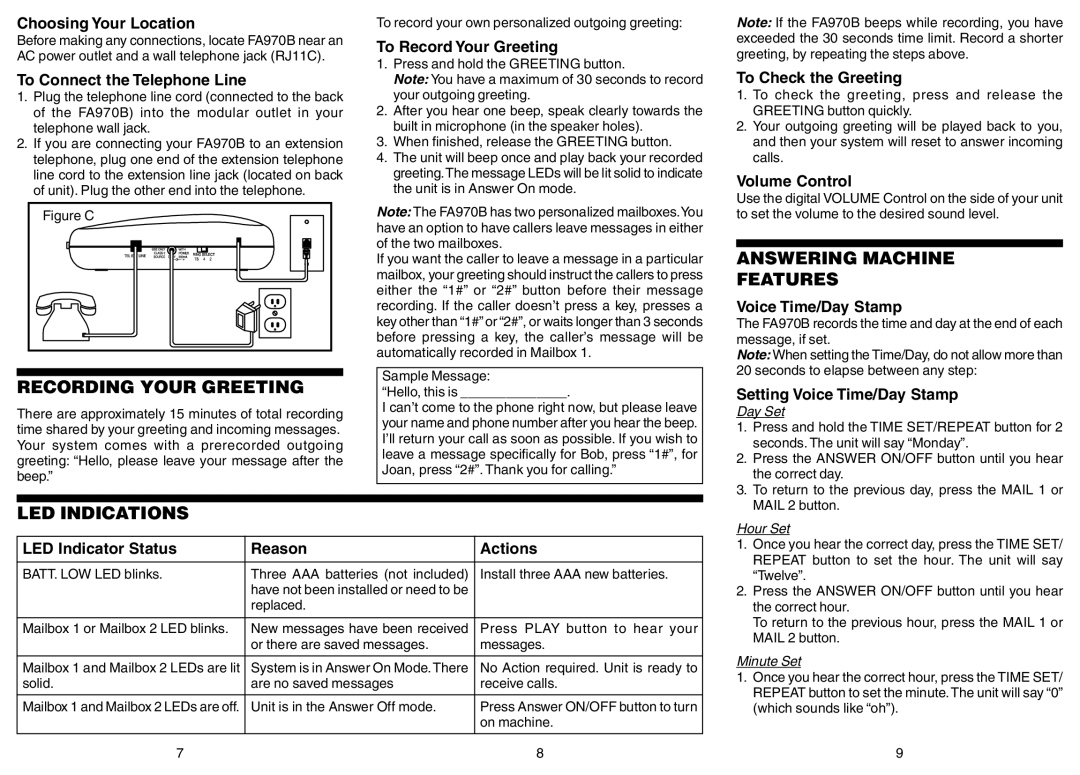
1.Plug the telephone line cord (connected to the back of the FA970B) into the modular outlet in your telephone wall jack.
2.If you are connecting your FA970B to an extension telephone, plug one end of the extension telephone line cord to the extension line jack (located on back of unit). Plug the other end into the telephone.
Figure C |
RECORDING YOUR GREETING
There are approximately 15 minutes of total recording time shared by your greeting and incoming messages. Your system comes with a prerecorded outgoing greeting: “Hello, please leave your message after the beep.”
To record your own personalized outgoing greeting:
To Record Your Greeting
1.Press and hold the GREETING button.
Note: You have a maximum of 30 seconds to record your outgoing greeting.
2.After you hear one beep, speak clearly towards the built in microphone (in the speaker holes).
3.When finished, release the GREETING button.
4.The unit will beep once and play back your recorded greeting.The message LEDs will be lit solid to indicate the unit is in Answer On mode.
Note: The FA970B has two personalized mailboxes.You have an option to have callers leave messages in either of the two mailboxes.
If you want the caller to leave a message in a particular mailbox, your greeting should instruct the callers to press either the “1#” or “2#” button before their message recording. If the caller doesn’t press a key, presses a key other than “1#” or “2#”, or waits longer than 3 seconds before pressing a key, the caller’s message will be automatically recorded in Mailbox 1.
Sample Message:
“Hello, this is ______________.
I can’t come to the phone right now, but please leave your name and phone number after you hear the beep. I’ll return your call as soon as possible. If you wish to leave a message specifically for Bob, press “1#”, for Joan, press “2#”. Thank you for calling.”
Note: If the FA970B beeps while recording, you have exceeded the 30 seconds time limit. Record a shorter greeting, by repeating the steps above.
To Check the Greeting
1.To check the greeting, press and release the GREETING button quickly.
2.Your outgoing greeting will be played back to you, and then your system will reset to answer incoming calls.
Volume Control
Use the digital VOLUME Control on the side of your unit to set the volume to the desired sound level.
ANSWERING MACHINE
FEATURES
Voice Time/Day Stamp
The FA970B records the time and day at the end of each message, if set.
Note: When setting the Time/Day, do not allow more than
20 seconds to elapse between any step:
Setting Voice Time/Day Stamp
Day Set
1. | Press and hold the TIME SET/REPEAT button for 2 |
| seconds. The unit will say “Monday”. |
2. | Press the ANSWER ON/OFF button until you hear |
| the correct day. |
3. | To return to the previous day, press the MAIL 1 or |
| MAIL 2 button. |
LED INDICATIONS
LED Indicator Status | Reason | Actions |
|
|
|
BATT. LOW LED blinks. | Three AAA batteries (not included) | Install three AAA new batteries. |
| have not been installed or need to be |
|
| replaced. |
|
|
|
|
Mailbox 1 or Mailbox 2 LED blinks. | New messages have been received | Press PLAY button to hear your |
| or there are saved messages. | messages. |
|
|
|
Mailbox 1 and Mailbox 2 LEDs are lit | System is in Answer On Mode.There | No Action required. Unit is ready to |
solid. | are no saved messages | receive calls. |
|
|
|
Mailbox 1 and Mailbox 2 LEDs are off. | Unit is in the Answer Off mode. | Press Answer ON/OFF button to turn |
|
| on machine. |
|
|
|
Hour Set
1.Once you hear the correct day, press the TIME SET/ REPEAT button to set the hour. The unit will say “Twelve”.
2.Press the ANSWER ON/OFF button until you hear the correct hour.
To return to the previous hour, press the MAIL 1 or MAIL 2 button.
Minute Set
1.Once you hear the correct hour, press the TIME SET/ REPEAT button to set the minute.The unit will say “0” (which sounds like “oh”).
7 | 8 | 9 |
