sizing straps provided to fit different diameter bars. (See figure 3)
Slide the computer forward onto the mounting until it ‘snaps’ into place with an audible click. To remove the com- puter, push it backward until it releases from the mount. To test for proper installation of the magnet, sensor and computer, activate the computer by picking up the front of the bicycle and spinning the wheel. The "wheel option" indicator will flash. If it does not flash, check the sensor and magnet align- ment. Realign as necessary until the "wheel option" indicator flashes while spinning the wheel.
PROGRAMMING Programming the functions of your SpeedZone Comp requires it to be placed in various "modes" (i.e.
4
odometer mode, distance mode). The computer can be cycled through these modes by pressing the "MODE" button located on the
1.Miles or Kilometers selection Your SpeedZone Comp will record speed and distance in either miles (M/h) or kilometers (Km/h). To enter your selection of miles or kilometers, push the "MODE" button until ODO (odometer) appears in the lower left side of the display (This is called the odometer mode). Hold down the
"FUNCTION" (left side) button and ‘tap’ the "MODE" button once. The Km/h, m/h indicator will begin blink- ing. You may now alternate between miles and kilometers by pressing the "MODE" button. When the correct choice is flashing, select it by pressing the "FUNCTION" button. You will now enter the "Programmable Odometer" mode. If the odometer setting is correct push the "FUNCTION" button five times to exit odometer mode. (Otherwise, see "Setting the Programmable Odometer" below).
2.Setting the Programmable Odometer
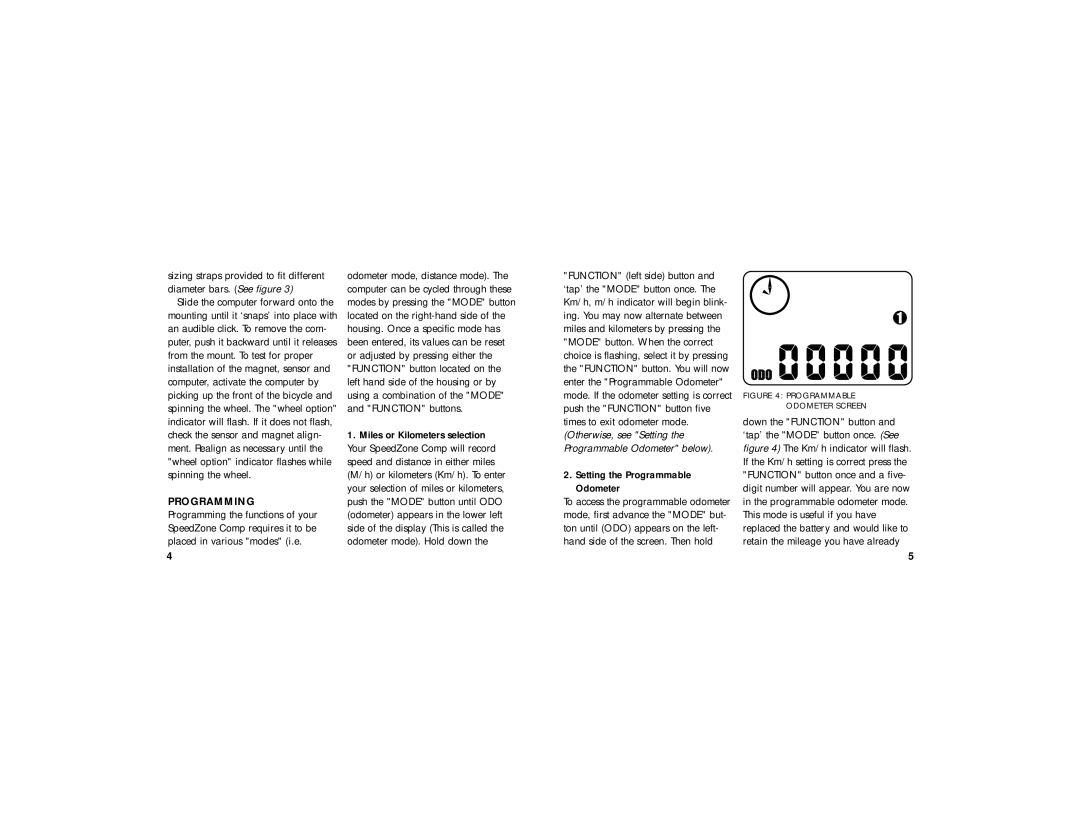
To access the programmable odometer mode, first advance the "MODE" but- ton until (ODO) appears on the left- hand side of the screen. Then hold
FIGURE 4: PROGRAMMABLE
ODOMETER SCREEN
down the "FUNCTION" button and ‘tap’ the "MODE" button once. (See figure 4) The Km/h indicator will flash. If the Km/h setting is correct press the "FUNCTION" button once and a five- digit number will appear. You are now in the programmable odometer mode. This mode is useful if you have replaced the battery and would like to retain the mileage you have already
5