XE 850 specifications
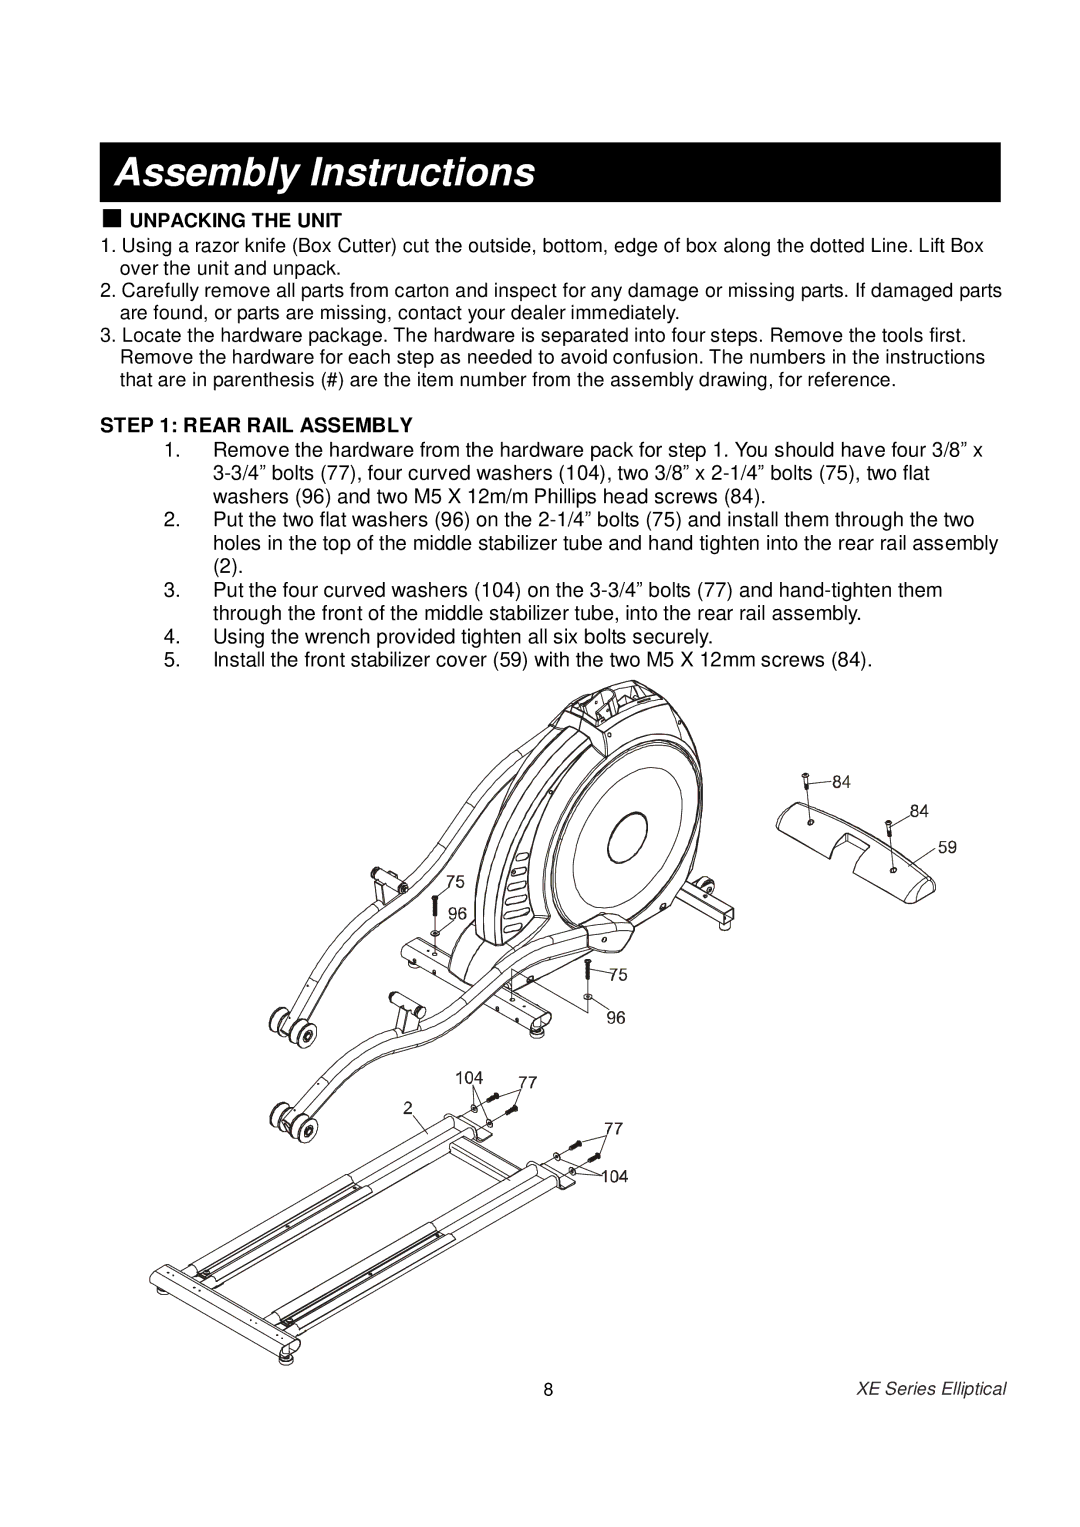
The Spirit XE 850 is a state-of-the-art elliptical trainer designed for both commercial gyms and home fitness enthusiasts. It combines an array of innovative technologies and thoughtful design features to enhance the workout experience, making it one of the standout models in the Spirit Fitness lineup.One of the notable features of the Spirit XE 850 is its robust construction. Built with heavy-duty materials, the frame provides stability and durability, accommodating users of all sizes and fitness levels. The machine boasts a weight capacity of up to 350 pounds, allowing for a wide range of users and ensuring a solid workout environment.
The XE 850 features a large, user-friendly console that displays essential workout metrics such as time, distance, calories burned, heart rate, and resistance level. The high-resolution LCD screen is easy to read from various angles, making it convenient for users during their workout. Additionally, the console includes built-in speakers and Bluetooth compatibility, allowing users to enjoy their favorite music or audio while they exercise.
One of the standout technologies of the Spirit XE 850 is its adjustable stride length. Users can customize the stride to accommodate different body types and workout preferences, which not only boosts comfort but also targets various muscle groups. The elliptical machine is equipped with 20 levels of resistance, providing ample opportunity for users to tailor the intensity of their workouts, whether they're beginners looking to build stamina or seasoned athletes seeking a challenging session.
Another important characteristic of the XE 850 is its ergonomic design. The multi-grip handlebar allows for different hand positions, which helps to engage more muscle groups while ensuring a comfortable grip. The adjustable foot pedals are designed with a slight inward angle, mimicking a natural walking or running motion and minimizing strain on the joints.
For those focused on heart rate training, the Spirit XE 850 includes contact heart rate sensors built into the handlebars, along with the option for wireless heart rate monitoring with compatible chest straps. This feature enables users to stay within their target heart rate zones, optimizing their workout efficiency.
In conclusion, the Spirit XE 850 stands out in the crowded market of elliptical trainers. Combining durability, versatility, and advanced technology, it offers a comprehensive workout solution for users at all fitness levels. Whether for casual users or dedicated athletes, the XE 850 helps create an enjoyable and effective exercise experience.

