6PT-10Y Push Tractor Unit
Important!
Make sure that the paper is aligned properly on the tractor pins. Otherwise, it may tear or jam.
❏Close the tractor covers. At this point you can make final adjustments to the paper position by releasing the gray levers and moving the tractors. After making these adjustments, be sure that you
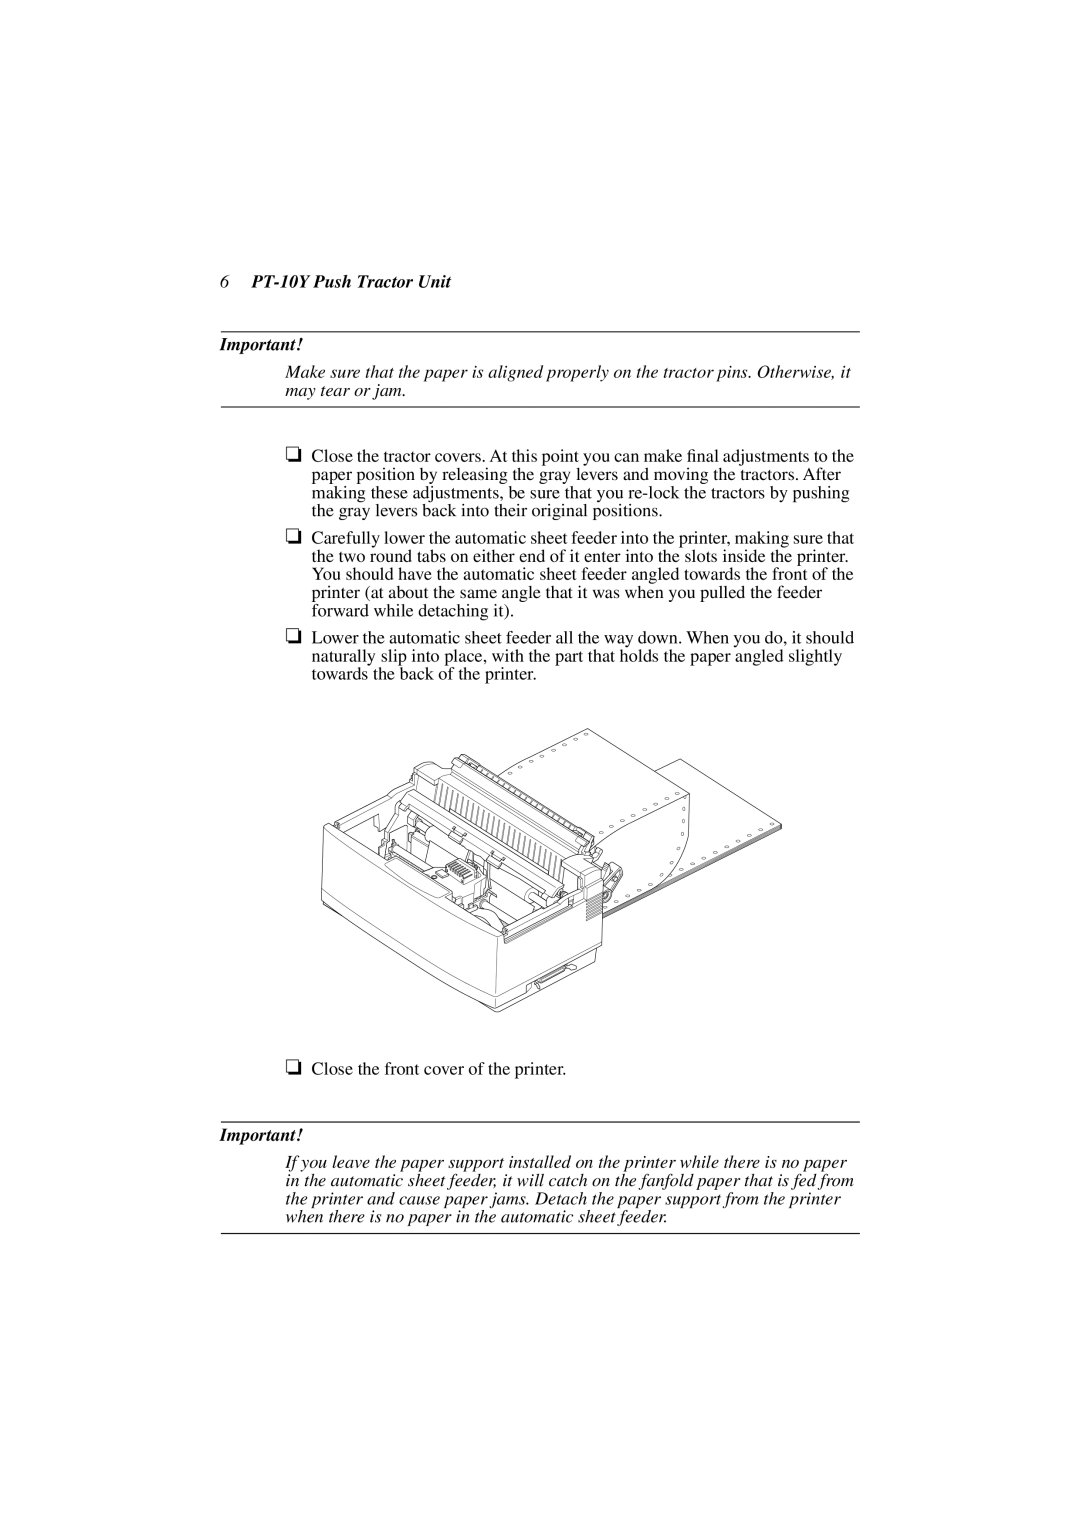
❏Carefully lower the automatic sheet feeder into the printer, making sure that the two round tabs on either end of it enter into the slots inside the printer. You should have the automatic sheet feeder angled towards the front of the printer (at about the same angle that it was when you pulled the feeder forward while detaching it).
❏Lower the automatic sheet feeder all the way down. When you do, it should naturally slip into place, with the part that holds the paper angled slightly towards the back of the printer.
❏Close the front cover of the printer.
Important!
If you leave the paper support installed on the printer while there is no paper in the automatic sheet feeder, it will catch on the fanfold paper that is fed from the printer and cause paper jams. Detach the paper support from the printer when there is no paper in the automatic sheet feeder.