Instruction Manual
browser to download the required file. Save this file to disk and then upload it as described in the next section, Manual Upload.
Manual Upload
Enter the name of the firmware file that you downloaded from StarTech.com into the field provided (or use the Browse... button). Press Start Upload and wait until a successful upload message is shown.
NOTE: Remember the following during the firmware upgrade:
•Do NOT turn off power to the unit before this operation completes successfully.
•The unit will sometimes reboot as part of the upgrade procedure, depending on which
system component is upgraded. You will have to reconnect and
•Wait at least two minutes after pressing Start. Do not assume the upload did not work, the upload could simply be slow.
•Each distributed file upgrades a different component of the system. Be sure to apply all files provided as part of an upgrade. The system knows what to do with each file you give it, and they are checked for validity before being applied.
Auto Self Upgrade
Clicking the Upgrade to latest button will automatically download and install necessary revisions. To download upgrades for manual installation, please click on Get latest version.
Purchase Options
Certain firmware features may be offered separately from the base unit, in order to reduce the initial cost for the Server Remote Control unit.
NOTE: If you wish to upgrade after the system is in operation, go to the Manage Firmware page and scroll down to the section entitled Purchase Options.
Look for a unique code, such as:
need to reboot the unit to begin using certain features.
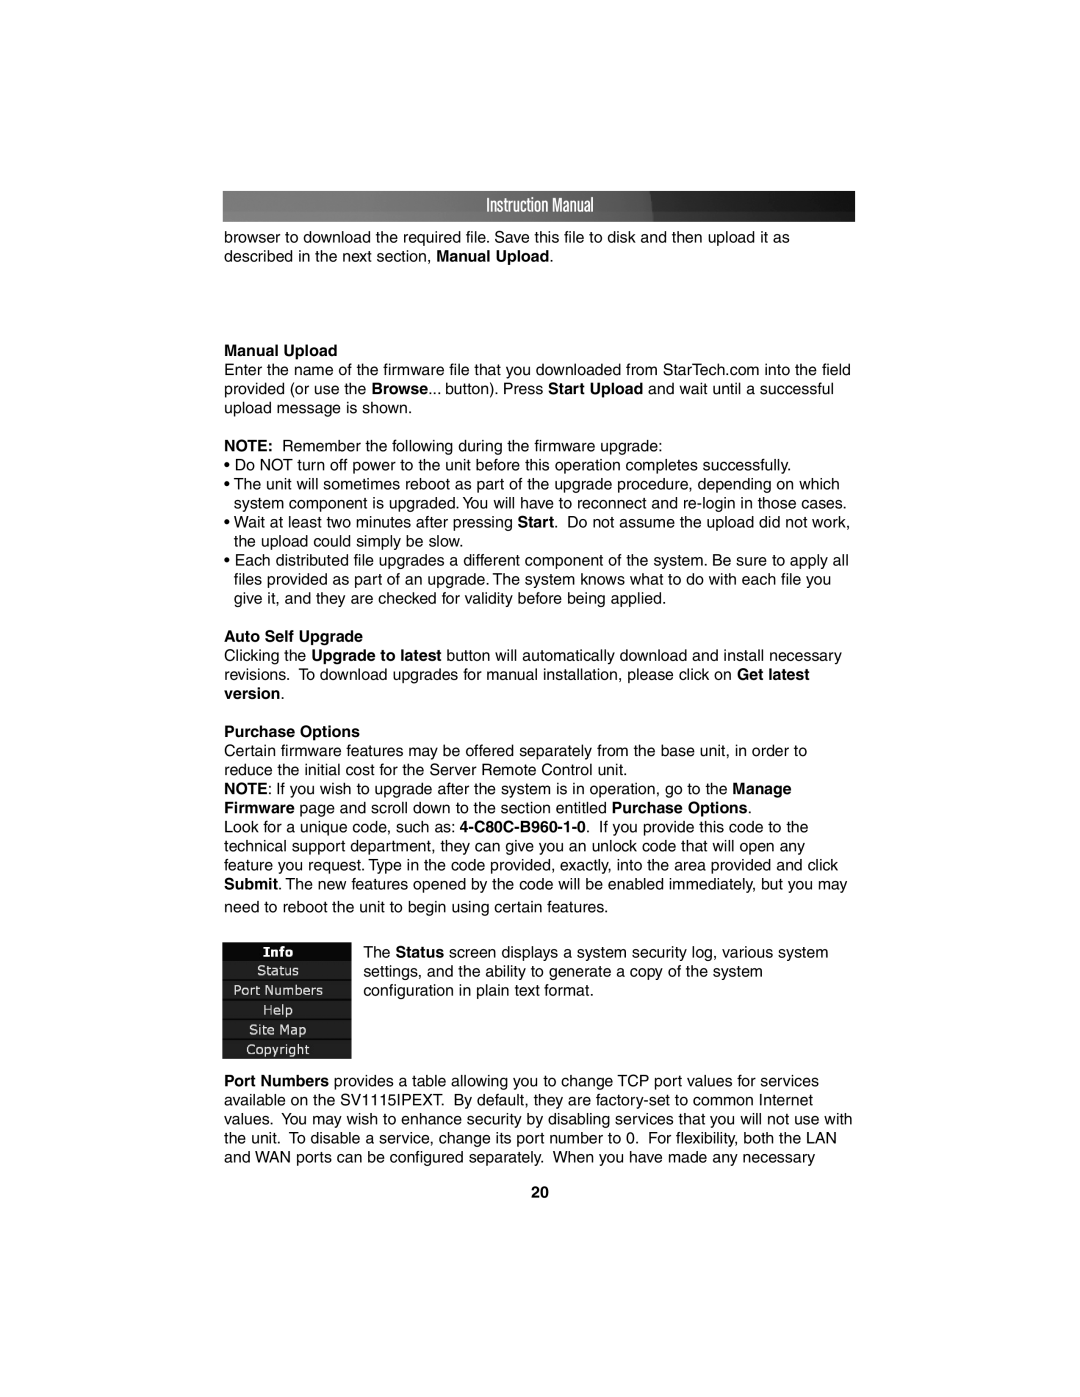
The Status screen displays a system security log, various system settings, and the ability to generate a copy of the system configuration in plain text format.
Port Numbers provides a table allowing you to change TCP port values for services available on the SV1115IPEXT. By default, they are
20