SVx41HDI Series Server Remote Control: Instruction Guide

Appendix F: Using Optional R-Port Devices

Background

The SVx41HDI offers a unique way to expand the functionality of the base product. Using the integrated R-Porton the rear panel, you can add up to 16 RS-485 serial devices using a specialized daisy-chain technology. The SVx41HDI includes integrated control functionality that allows you to monitor and configure serial devices using the interactive Web interface. To minimize space and infrastructure requirements, the R-Port serial devices use a single cable to carry both power and the data signal. All configuration settings are stored separately in each attached device in non-volatile memory so that they will not be lost in the event of a power outage or disconnection.

Connecting R-Port Devices to the SVx41HDI

The cable for each serial device is similar to a phone cable and uses an RJ-14 connector. For the first serial device, connect the cable (provided) to the R-Porton the rear panel of the SVx41HDI. Connect the opposite end to the DATA OUT (or similar) port on the serial device. Note that some devices may use an integrated cable, so you will not need to make a separate connection on the serial device. Once you have added the first serial device to the SVx41HDI, you can connect additional serial devices to the DATA IN (or similar) port on the previous device in the chain. Once the cabling is attached, the device becomes active after a 15 second initialization period. For specific information regarding cabling and status indicators for a specific serial console, refer to the instructions that came with the product.

Configuring/Viewing R-Port Devices through the Web Interface

Once you have one or more R-Port serial devices connected, you will able to configure and manage them through the Web interface. You may need to modify the default settings on the SVx41HDI to match your various R-Port devices’ default configuration. Consult the documentation that came with your R-Port device to determine if you need to modify the default settings to complete the installation. To be able to configure your serial devices, you must be logged in as admin. Other users will be able to view which devices are active but cannot configure them.

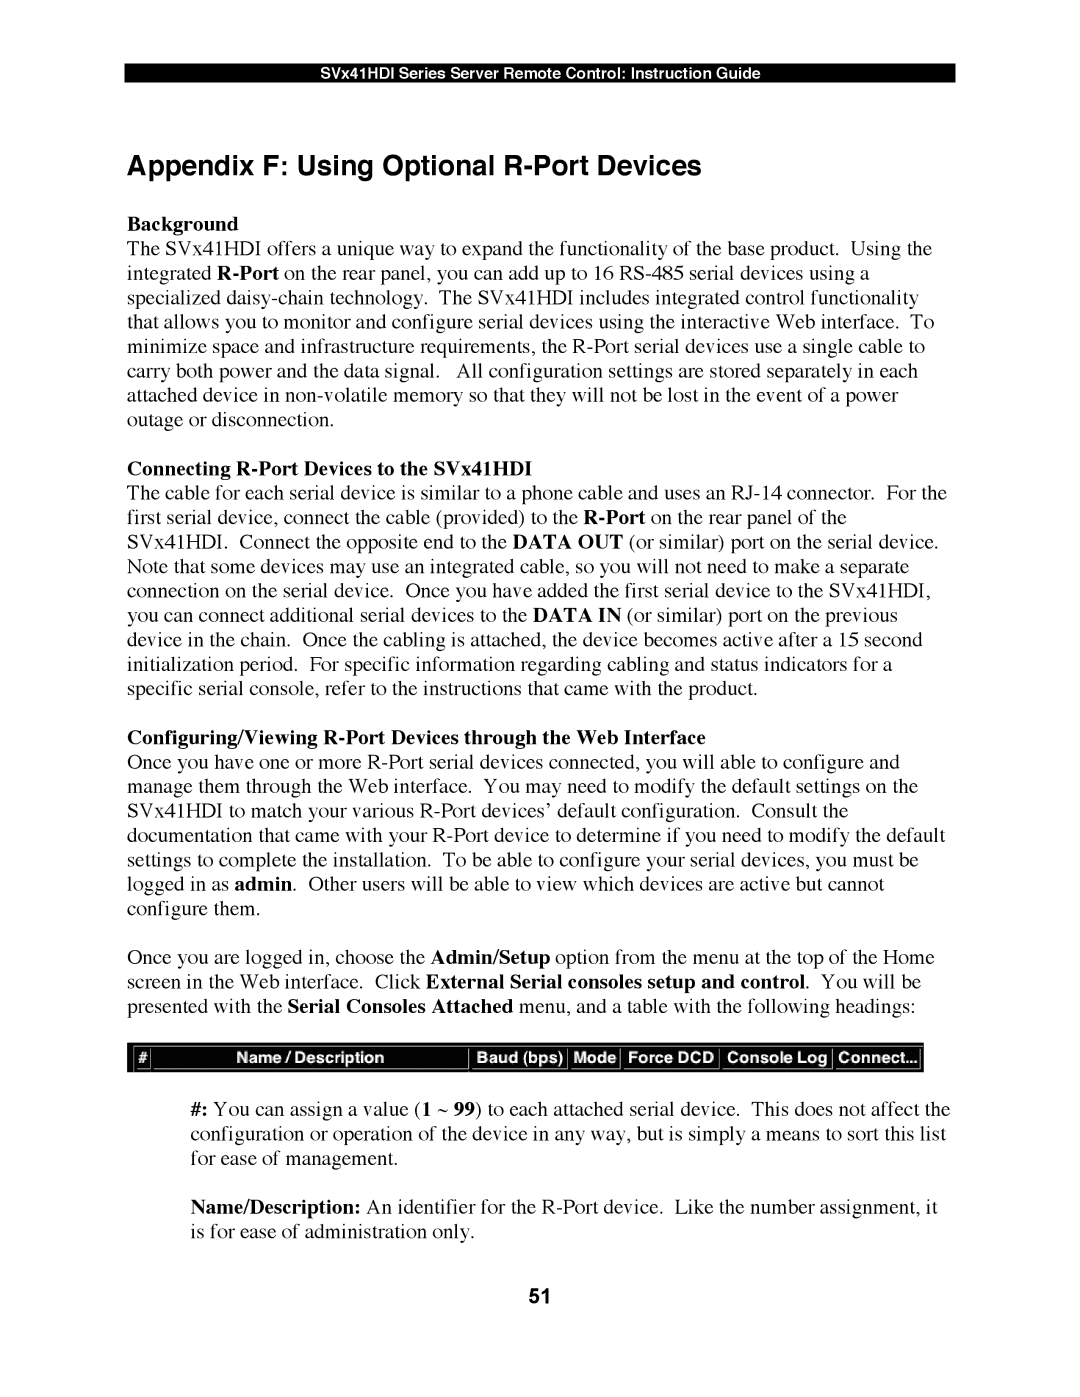
Once you are logged in, choose the Admin/Setup option from the menu at the top of the Home screen in the Web interface. Click External Serial consoles setup and control. You will be presented with the Serial Consoles Attached menu, and a table with the following headings:

#: You can assign a value (1 ~ 99) to each attached serial device. This does not affect the configuration or operation of the device in any way, but is simply a means to sort this list for ease of management.

Name/Description: An identifier for the R-Port device. Like the number assignment, it is for ease of administration only.

51

Page 54
Image 54
StarTech.com SV1641HDI, SV441HDI manual Appendix F Using Optional R-Port Devices, Connecting R-Port Devices to the SVx41HDI

SV841HDI, SV441HDI, SV1641HDI specifications

StarTech.com offers a range of HDMI-over-IP extenders that are designed to deliver high-quality video and audio signals over standard Ethernet networks. Among these products are the SV1641HDI, SV441HDI, and SV841HDI, each tailored to meet different connectivity and scalability needs while maintaining exceptional performance.

The SV1641HDI is a cost-effective solution for extending HDMI signals up to 164 feet (50 meters) using a single Cat5e/6 cable. This extender supports resolutions up to 1080p, making it ideal for home theaters, conference rooms, and classrooms where high-definition video is a must. One of its standout features is the plug-and-play capability, allowing for quick setup without the need for complex configuration. Additionally, it supports various audio formats, providing flexibility for different audio setups.

Moving to the SV441HDI, this model expands upon the capabilities of the SV1641HDI by enabling HDMI signal extension to distances up to 230 feet (70 meters). This possibility is achieved through a single run of Cat5e/6 cable, making it suitable for larger environments. The SV441HDI supports resolutions up to 4K at 30Hz, ensuring that users can enjoy sharper images and fine details, which is especially important for presentations and video playback. With its IR control capabilities, users can manage their devices remotely, adding to the convenience of this extender.

For those requiring even more advanced features, the SV841HDI is the premium option in this lineup. This model supports resolutions up to 4K at 60Hz and can extend HDMI signals to distances of up to 328 feet (100 meters) via Cat6 cabling. The SV841HDI is perfect for a variety of applications, including commercial AV installations, where high-quality video is critical. It also features support for multi-channel audio formats, ensuring that users get a complete audio-visual experience. The inclusion of a web-based interface allows for easy configuration and management of connected devices.

All three models are designed with reliability and performance in mind. They incorporate advanced technologies to ensure minimal latency and uncompromised signal quality, whether used in small setups or extensive professional installations. With their unique features tailored to different requirements, the SV1641HDI, SV441HDI, and SV841HDI are excellent choices for any HDMI extension needs, providing flexibility and high performance in various environments.