3-4 Setup
This section provides the procedures for configuring your
Configuration of your controller includes setting the number of stations and pumps, setting variables such as convey time and
Note: Before carrying out these procedures, install all equipment as described in this section and in the Conveying Systems manual.
Basic Menus and Setup of Controller
Once power has been applied to a properly installed system, turn the disconnect switch to the ON position. The controller will display the title screen (Shown below) after the initial Mitsubishi controller serial number screen has been displayed.
Figure 1: Title Screen
The operator will then have to press the F6 key to enter the Main Menu (Figure 2).
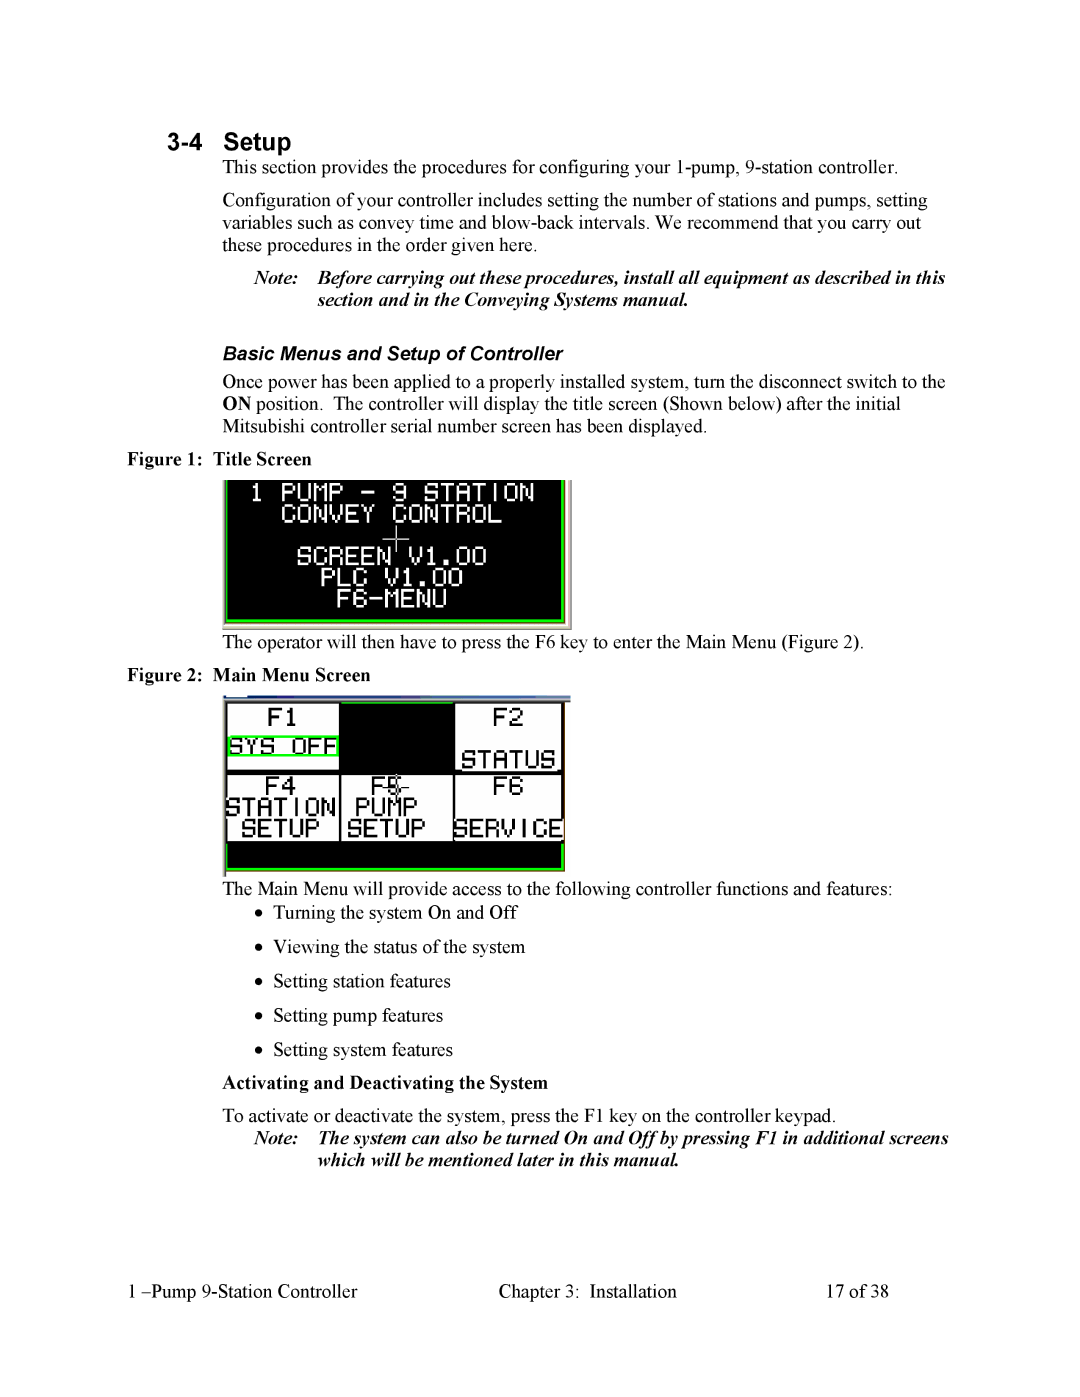
Figure 2: Main Menu Screen
The Main Menu will provide access to the following controller functions and features:
•Turning the system On and Off
•Viewing the status of the system
•Setting station features
•Setting pump features
•Setting system features
Activating and Deactivating the System
To activate or deactivate the system, press the F1 key on the controller keypad.
Note: The system can also be turned On and Off by pressing F1 in additional screens which will be mentioned later in this manual.
1 | Chapter 3: Installation | 17 of 38 |
