
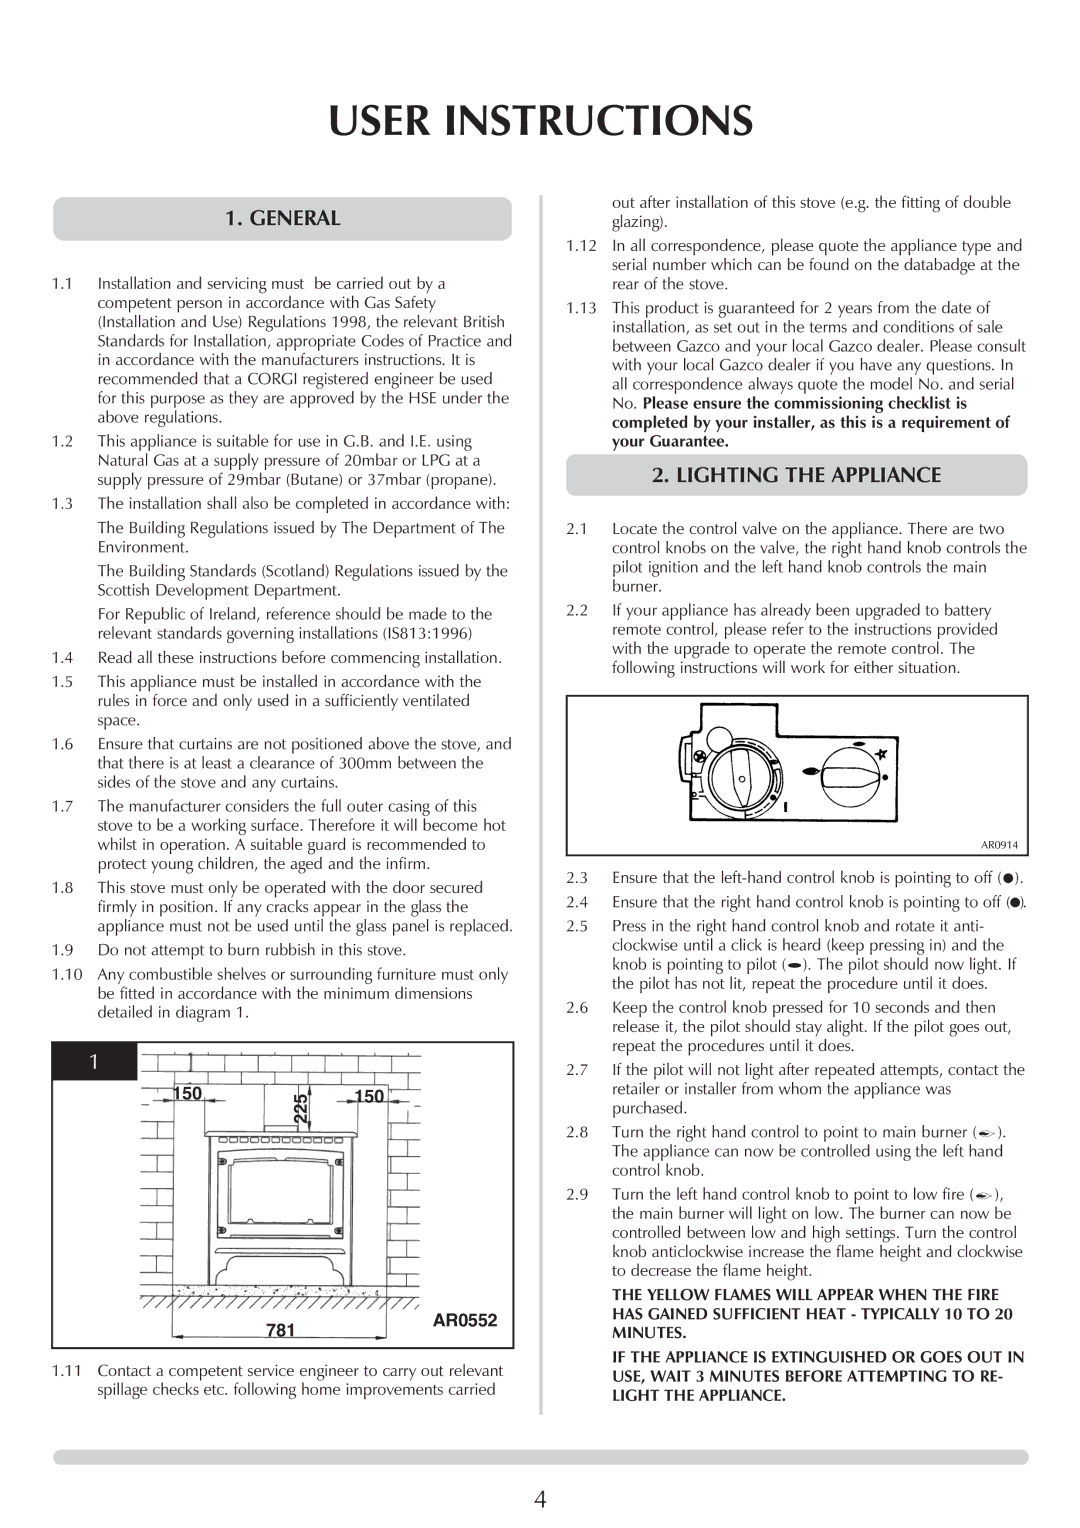
5 specifications
Stovax 5 is a modern wood burning stove that has captured the attention of homeowners seeking both efficiency and style. Renowned for its innovative features, this stove is designed to deliver exceptional performance while adding a contemporary aesthetic to any living space.One of the standout characteristics of the Stovax 5 is its clean burn technology. This system maximizes combustion efficiency, ensuring that more heat is generated from less fuel. As a result, the stove not only minimizes smoke emissions but also maximizes the extraction of heat from the wood, providing a longer burn time and greater warmth.
The Stovax 5 is built with a robust construction, featuring high-quality steel and cast iron components. This durability ensures longevity, making it a worthwhile investment for any home. Additionally, the stove’s body retains heat effectively, allowing it to continue radiating warmth long after the fire has died down.
A key feature of the Stovax 5 is its adjustable air controls. These controls provide users with the ability to fine-tune the airflow, achieving optimum combustion for both efficiency and user convenience. By regulating the air intake, homeowners can easily manage the fire's intensity and duration, ensuring that they enjoy a cozy atmosphere without excessive heat loss.
Aesthetically, the Stovax 5 boasts a sleek, modern design that complements various interior styles. Available in a range of finishes and sizes, it can fit seamlessly into both traditional and contemporary homes. The stove features large glass doors that provide a stunning view of the flames, enhancing the ambiance of any room and serving as a captivating focal point.
Furthermore, the Stovax 5 is equipped with an integrated flue system that simplifies installation. Its flexible flue options allow for various configurations, ensuring that it can be adapted to different chimney setups with ease.
Safety is another priority with the Stovax 5. The stove is designed with heat-resistant materials to prevent overheating, and it includes a secure door latch to minimize the risk of accidental openings.
In summary, the Stovax 5 combines advanced technology with stylish design, making it an excellent choice for anyone looking to enhance their home heating solutions. With its efficient burning system, durable construction, user-friendly controls, and aesthetic appeal, the Stovax 5 stands out as a leader in the wood burning stove market.