Solaris 10 Container Guide
Table of contents
III
Network limitation IPQoS
Duplicating zones with zoneadm detach/attach and zfs clone
Disclaimer
VII
Introduction
Solaris Containers and Solaris Zones
Overview
Ug Characteristics of Solaris 10 Zones
Zones and privileges
Zones and software installation
Zones and security
Zones and resource management
CPU resources
Processor sets in a resource pool
Fair share scheduler in a resource pool
User interfaces for zones
Network resource management IPQoS = IP Quality of Service
Memory resource management
Zones and high availability
Branded zones Linux and Solaris 8/Solaris 9 compatibility
Solaris container cluster aka zone cluster
Virtualization technologies compared
App Server
Domains/physical partitions
Logical partitions
Dd Logical partitions
Containers Solaris zones in an OS
Dd Container Solaris zones in an OS
Consolidation in one computer
Dd Consolidation in one computer
Summary of virtualization technologies
App
Physical Logical Resource Virtualisation Management
Solution
Grid computing with isolation
Requirement
Assessment
Global Zone System
Small web servers
Multi-network consolidation
Dd Use case Multi-network consolidation
Multi-network monitoring
Dd Use case Multi-network monitoring
Multi-network backup
Dd Use case Multi-network backup
Consolidation development/test/integration/production
Consolidation of test systems
Dd Use case Consolidation of test systems
Training systems
Requirements
Server consolidation
Dd Use case Server consolidation
Confidentiality of data and processes
Dd Use case Confidentiality of data and processes
Test systems for developers
Dd Use case Developer test systems
Solaris 8 and Solaris 9 containers for development
Solaris 8 and Solaris 9 containers as revision systems
Hosting for several companies on one computer
Dd Use case Hosting for different companies on one computer
SAP portals in Solaris containers
Da Use case SAP portals in Solaris containers
Upgrade- and Patch-management in a virtual environment
Da Live upgrade
Flying zones Service-oriented Solaris server infrastructure
DC1 DC2
Solaris Container Cluster aka zone cluster
Concepts
Sparse-root zones
− /lib − /platform − /sbin − /usr
Whole-root zones
Platform ~3.6 GB Software in zones
Comparison between sparse-root zones and whole-root zones
Whole-root Var Usr
Software installations in Solaris and zones
Software installation by the global zone usage in all zones
Installation by the local zone usage in the local zone
Data storage
Program/application storage
ZFS within a zone
Root disk layout
Opt/staroffice
NFS and local zones
Options for using ZFS in local zones
Volume manager in local zones
Network concepts Introduction into networks and zones
Network address management for zones
Shared IP instance and routing between zones
Ndd -set /dev/ip iprestrictinterzoneloopback
Exclusive IP instance
Plumb, snoop1M, dhcp5 or ipfilter5 is possible
Interface = InterfacenameInstance + VLAN-ID
Firewalls between zones IP filter
Zones and limitations in the network
Ipmp
Static configuration of devices
Dynamic configuration of devices
Separate name services in zones
Services
Hosts database
Projects
Paradigms
Applications in local zones only
One application per zone
Clustered containers
Client
Solaris Container Cluster
Configuration and administration
Installation and administration of a branded zone
Automatic configuration of zones by script
Automated provisioning of services
Patching a system with local zones
Patching with live upgrade
Lifecycle management
Moving zones between architectures sun4u/sun4v
Patching with upgrade server
Patching with zoneadm attach -u
Backup and recovery of zones
∙ create /zones/zone1
Backup of zones with ZFS
Using boot arguments in zones
Management and monitoring
Migration of a zone to another system
Consolidating log information of zones
Monitoring zone workload
Extended accounting with zones
Auditing operations in the zone
DTrace of processes within a zone
Global# dtrace -n iostart@zonename = count
Resource management
Types of resource management
Capping of CPU time for a zone
General resource pools
Lightweight processes LWP
Fair share scheduler FSS
Fair share scheduler in a zone
Projects, projadd, projmod, projdel
Limiting memory resources
Rcapstat
Assessing memory requirements for global and local zones
Limiting virtual memory
Limiting locked memory
Network limitation IPQoS
IPC limits Semaphore, shared memory, message queues
Privileges and resource management
Solaris container navigator
Dd Planning a Solaris container
Dd Self-qualification of an application in a container
4zonecfgbrand=native
Dd File /etc/zones/index
Installation and configuration
Configuration files
Special commands for zones
Command Description
Command Description
Swap
Var
Var/crash
Metadb
Configuring a sparse root zone required Actions
Configuring a whole root zone required Actions
Zone installation
Zone initialization with sysidcfg
Uninstalling a zone
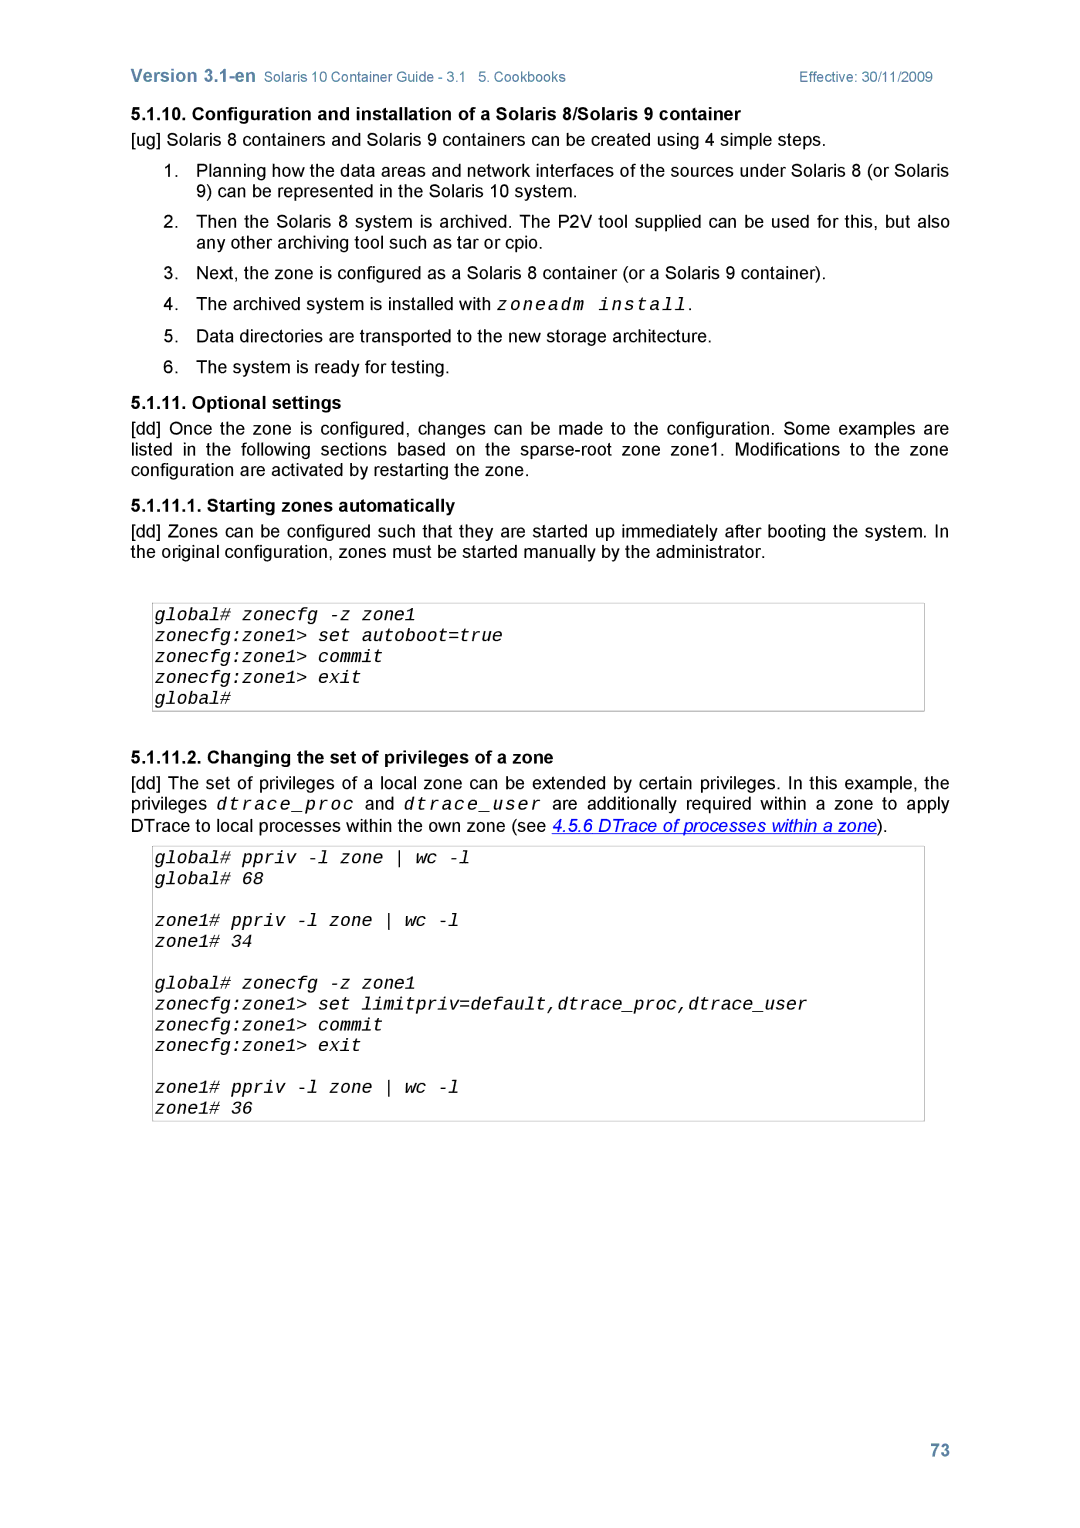
Changing the set of privileges of a zone
Optional settings
Starting zones automatically
Using a device in a local zone
Storage within a zone
Local zone mounts a UFS file system from a device
Zone1# ls /dev/dsk C1d0s0
Using a DVD drive in the local zone
User level NFS server in a local zone
Version 3.1-enSolaris 10 Container Guide 3.1 5. Cookbooks
Several zones share a file system
ZFS in a zone
Tank 30.2M 10G 18K None Tank/zone1 16.3M 983M Mnt
User attributes for ZFS within a zone
Configuring a zone by command file or template
Automatic quick installation of zones
With zonecfg -z zone export -f file of an existing zone
− zonecfg -z zone -f file
Accelerated automatic creation of zones on a ZFS file system
Zones hardening
Change network configuration for shared IP instances
Set default router for shared IP instance
Network
Network interfaces for exclusive IP instances
IP filter between shared IP zones on a system
Set interceptloopback
IP filter between exclusive IP zones on a system
Zones, networks and routing
Global and local zone with shared network
Implementation
NetworkNetwork
Zone 1 /etc/hostname.bge1 Zone 2 /etc/hostname.bge2
Zones in separate networks using the shared IP instance
Ifconfig bge1 plumb down
Zoneadm -z zone1 ready Zoneadm -z zone2 ready
Set defrouter=192.168.202.2
Zone 1 /etc/hostname.bge1
Zones in separate networks using exclusive IP instances
Zonecfg set ip-type=exclusive
Zone2 192.168.202.1 are now active
192.168.101.201
Zone 1 /etc/hostname.bge1
Zone1 192.168.201.1,192.168.200.1 and zone2192.168.202.1
Zoneadm -z zone1 boot, zoneadm -z zone2 boot
Zone 1 /etc/hostname.bge3 /etc/defaultrouter
Load Balancer
Root password for system maintenance control-d to bypass
Booting a zone
Boot arguments in zones
Software installation per mount
∙ Detach the zone with zoneadm -z zone detach
Software installation with provisioning system
Zone migration among systems
Zone migration within a system
Global# zoneadm List -vc
Global Running Native Shared Test Export/home/zone/test
Global# zoneadm -z test halt
Global Running Native Shared Test Installed Container/test
Duplicating zones with zoneadm clone
ID Name Status Path Brand
100
Duplicating zones with zoneadm detach/attach and zfs clone
101
Moving a zone between a sun4u and a sun4v system
102
103
Using live upgrade to patch a system with local zones
Shutting down a zone
Lucreate -c s10-807 -n s10-807+1 -m //dev/dsk/c1t0d0s4ufs
Lumount s10-807+1
Reboot Luactivate s10-807+1 init
105
DTrace in a local zone
Zone1# dtrace -l tail +2 zone1#
Zone accounting
Zone audit
Limiting the /tmp-size within a zone
Swap Tmp Tmpfs Yes Size=250m
Limiting the CPU usage of a zone CPU capping
Resource pools with processor sets
108
109
Dynamic resource pools for zones
Global # svcs dynamic
Limiting the physical main memory consumption of a project
Implementing memory resource management for zones
Rcapadm -z zone1 -m 40m
110
111
Global # prctl -i zone zone1 Zone 22 zone1
Zone.max-swap Privileged 180MB Deny System 16.0EB Max
Solaris Container in OpenSolaris
OpenSolaris general
Ipkg-Branded zones
112
113
Cookbook Configuring an ipkg zone
Cookbook Installing an ipkg zone
References
114