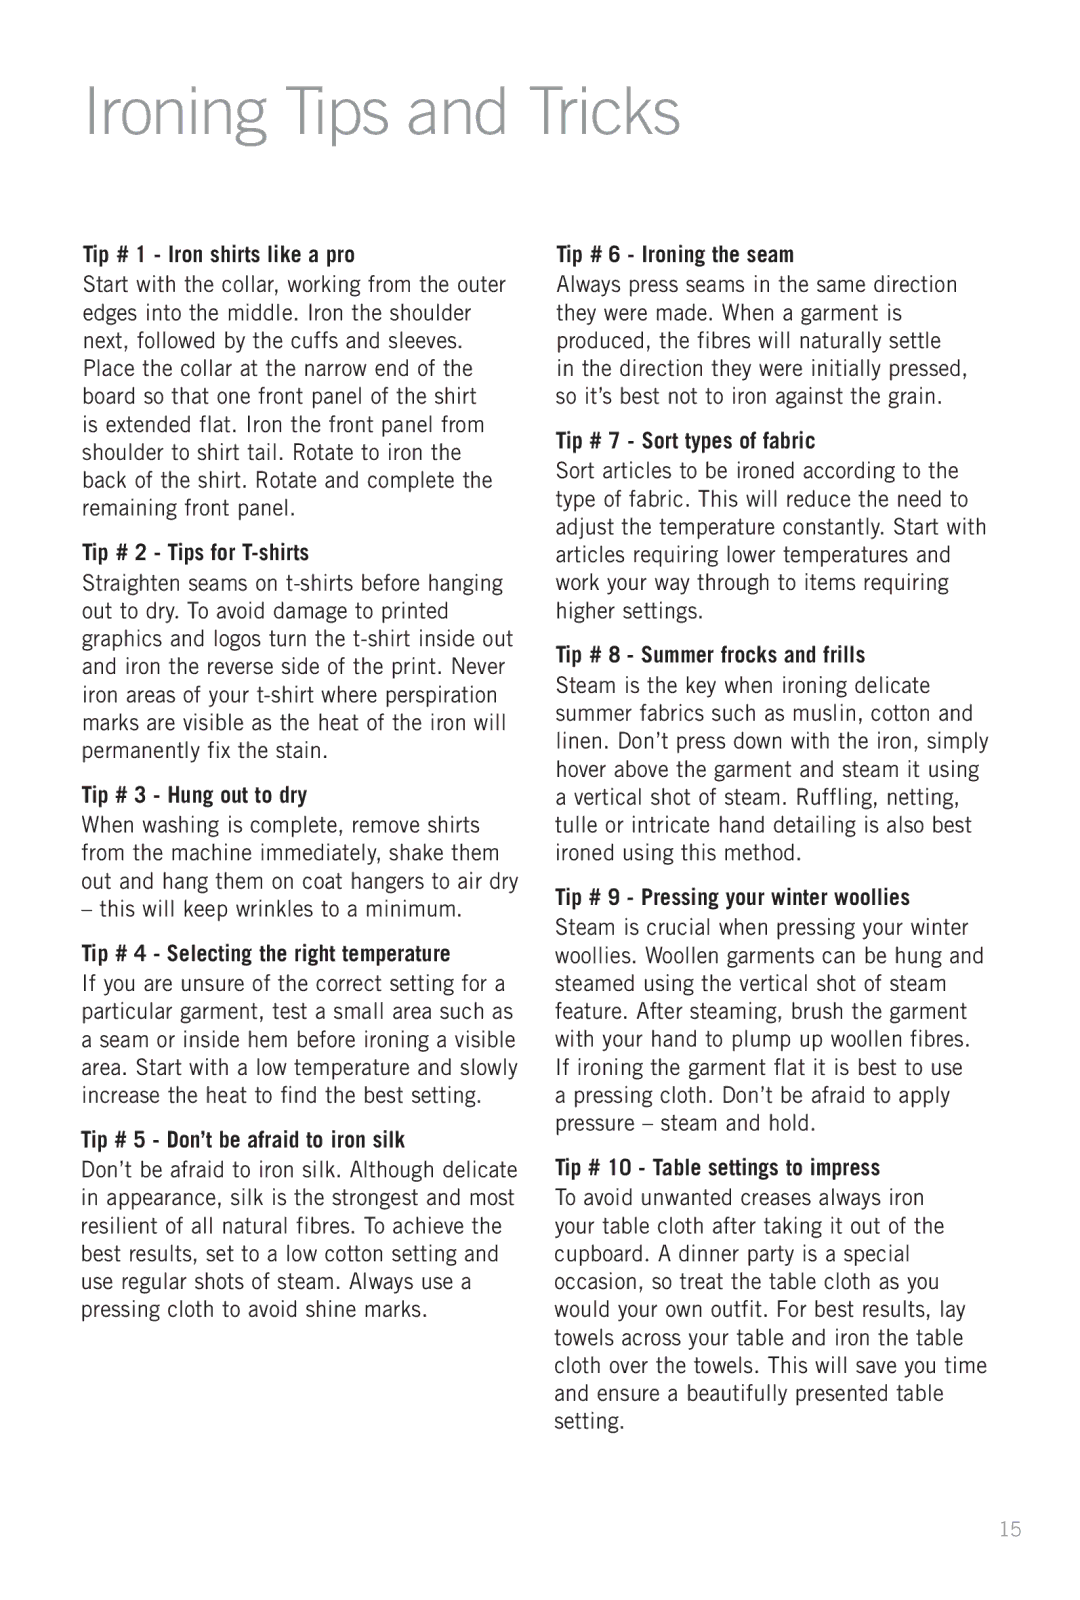
Ironing Tips and Tricks

Tip # 1 - Iron shirts like a pro

Start with the collar, working from the outer edges into the middle. Iron the shoulder next, followed by the cuffs and sleeves. Place the collar at the narrow end of the board so that one front panel of the shirt is extended flat. Iron the front panel from shoulder to shirt tail. Rotate to iron the back of the shirt. Rotate and complete the remaining front panel.

Tip # 2 - Tips for T-shirts

Straighten seams on t-shirts before hanging out to dry. To avoid damage to printed graphics and logos turn the t-shirt inside out and iron the reverse side of the print. Never iron areas of your t-shirt where perspiration marks are visible as the heat of the iron will permanently fix the stain.

Tip # 3 - Hung out to dry

When washing is complete, remove shirts from the machine immediately, shake them out and hang them on coat hangers to air dry

– this will keep wrinkles to a minimum.

Tip # 4 - Selecting the right temperature

If you are unsure of the correct setting for a particular garment, test a small area such as a seam or inside hem before ironing a visible area. Start with a low temperature and slowly increase the heat to find the best setting.

Tip # 5 - Don’t be afraid to iron silk

Don’t be afraid to iron silk. Although delicate in appearance, silk is the strongest and most resilient of all natural fibres. To achieve the best results, set to a low cotton setting and use regular shots of steam. Always use a pressing cloth to avoid shine marks.

Tip # 6 - Ironing the seam

Always press seams in the same direction they were made. When a garment is produced, the fibres will naturally settle in the direction they were initially pressed, so it’s best not to iron against the grain.

Tip # 7 - Sort types of fabric

Sort articles to be ironed according to the type of fabric. This will reduce the need to adjust the temperature constantly. Start with articles requiring lower temperatures and work your way through to items requiring higher settings.

Tip # 8 - Summer frocks and frills

Steam is the key when ironing delicate summer fabrics such as muslin, cotton and linen. Don’t press down with the iron, simply hover above the garment and steam it using a vertical shot of steam. Ruffling, netting, tulle or intricate hand detailing is also best ironed using this method.

Tip # 9 - Pressing your winter woollies

Steam is crucial when pressing your winter woollies. Woollen garments can be hung and steamed using the vertical shot of steam feature. After steaming, brush the garment with your hand to plump up woollen fibres. If ironing the garment flat it is best to use a pressing cloth. Don’t be afraid to apply pressure – steam and hold.

Tip # 10 - Table settings to impress

To avoid unwanted creases always iron your table cloth after taking it out of the cupboard. A dinner party is a special occasion, so treat the table cloth as you would your own outfit. For best results, lay towels across your table and iron the table cloth over the towels. This will save you time and ensure a beautifully presented table setting.

15

Page 15
Image 15
Sunbeam SR8700 manual Ironing Tips and Tricks

SR8700 specifications

The Sunbeam SR8700 is a versatile and innovative kitchen appliance designed to elevate the culinary experience for home cooks. Known for its multifunctionality, the SR8700 combines several kitchen tasks in one compact unit, making it a popular choice for both novice cooks and seasoned chefs.

One of the standout features of the Sunbeam SR8700 is its powerful motor, which provides efficient performance across various cooking functions. This appliance excels in blending, mixing, and whipping, thanks to its high-speed capabilities. With multiple speed settings available, users can easily adjust the power to match the specific requirements of their recipes.

The SR8700 is equipped with a stainless steel mixing bowl, providing durability and ease of cleaning. This bowl is designed to handle large batches, making it ideal for both everyday meal prep and special occasions. The appliance includes a variety of attachments, such as a whisk, dough hook, and flat beater, allowing users to tackle a wide range of mixing tasks, from whipping cream to kneading bread dough.

Another notable characteristic of the Sunbeam SR8700 is its user-friendly design. The intuitive control panel features simple buttons and easy-to-read indicators, enabling users to operate the appliance with minimal effort. The tilt-head design allows for easy access to the mixing bowl and attachments, facilitating a seamless cooking experience.

The SR8700 also incorporates safety features, such as a locking mechanism that ensures the appliance remains stable during operation. This focus on safety makes it suitable for households with children.

In terms of technology, the Sunbeam SR8700 utilizes advanced mixing technology to ensure consistent results every time. The appliance's planetary mixing action effectively rotates the attachment around the bowl for thorough mixing, eliminating the need for manual scraping of the sides.

With its sleek design and modern aesthetics, the Sunbeam SR8700 easily complements any kitchen decor. It is available in multiple colors, allowing users to choose one that fits their style.

In summary, the Sunbeam SR8700 is a powerful and multifunctional kitchen appliance. Its range of features, from various attachments and settings to user-friendly design and safety mechanisms, makes it a valuable addition to any kitchen. Whether you are baking, mixing, or whipping, the SR8700 provides reliable performance that can enhance your cooking experience.