Chapter 2: Installation
3.Gently press down on the memory module until it snaps into place.
4.With two CPUs installed, repeat step 2 to populate the CPU2 DIMM slots. Always install pairs of DIMMs to both CPU DIMM slots for more efficient operation.
Note: 256 MB, 512 MB, 1 GB, 2 GB, 4 GB and 8 GB memory modules are sup- ported. It is highly recommended that you remove the power cord from the system before installing or changing memory modules. Please refer to our web site for memory that has been tested on the
Support
The
Populating two adjacent slots at a time with memory modules of the same size and type will result in interleaved
Maximum Memory
128GB of DDR2-800/667/533/400 registered ECC SDRAM.
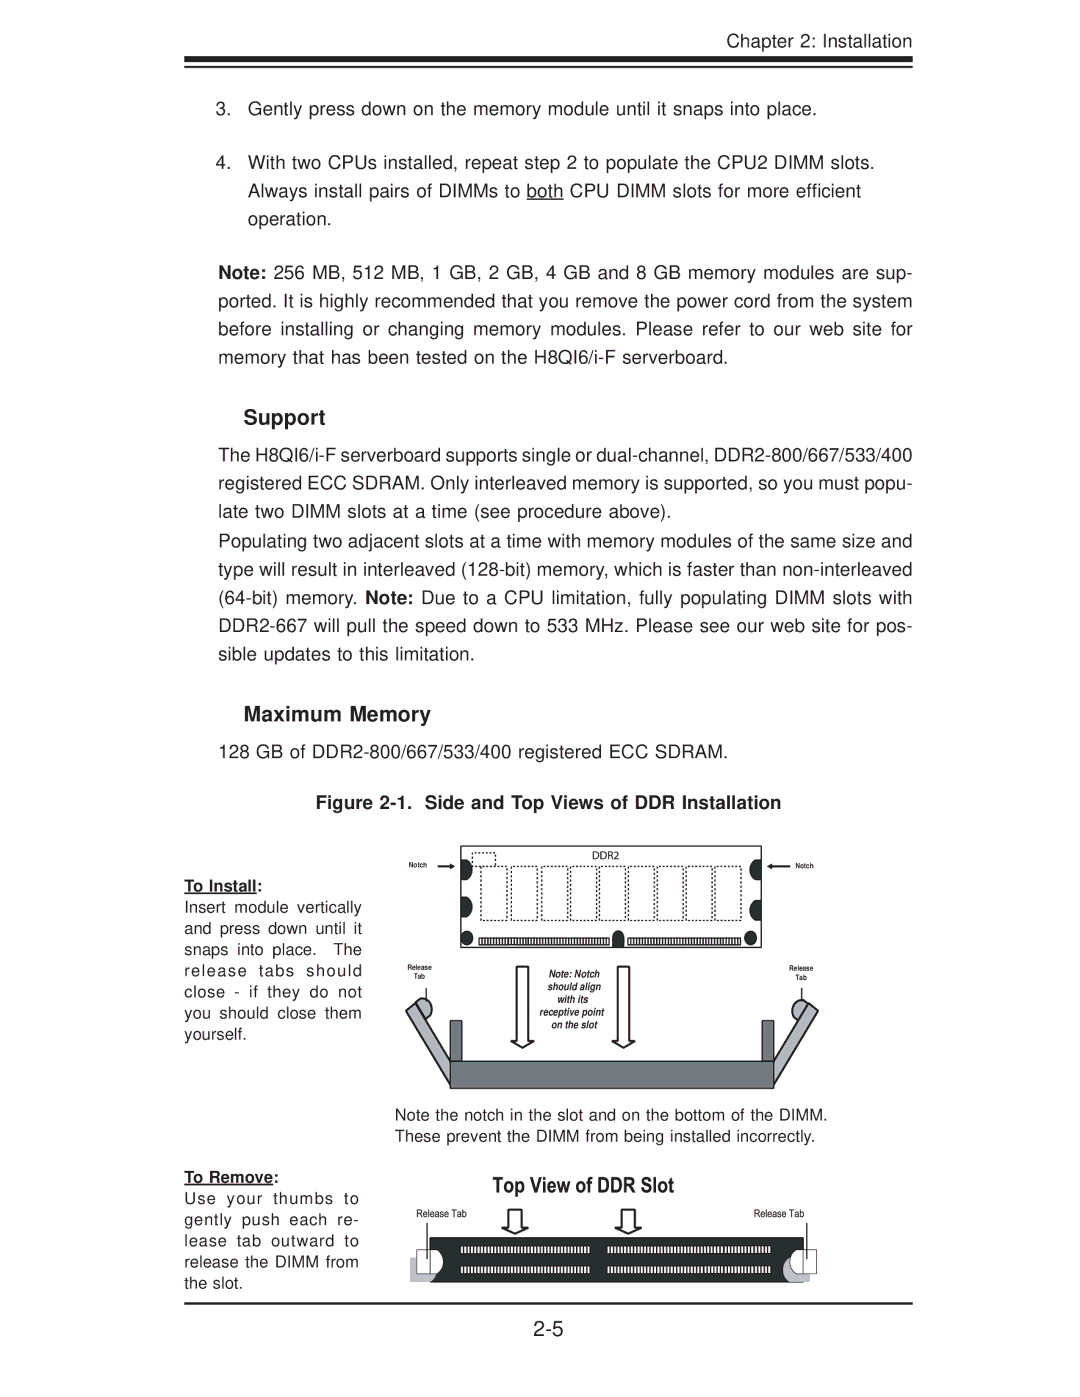
Figure 2-1. Side and Top Views of DDR Installation
To Install:
Insert module vertically and press down until it snaps into place. The release tabs should close - if they do not you should close them yourself.
Notch
Release
Tab
Note: Notch should align with its receptive point on the slot
Notch
Release
Tab
Note the notch in the slot and on the bottom of the DIMM.
These prevent the DIMM from being installed incorrectly.
To Remove:
Use your thumbs to gently push each re- lease tab outward to release the DIMM from the slot.