SVAT ELECTRONICS
Now You Can See
4. OPERATING PROCEDURE
4.1 POWERING ON
This DVR is built to be on at all times, and therefore should be connected to a surge protected power bar (UPC power backup). Use the power bar's switch to turn the unit off and on. This is especially important as loss of power while recording could possibly damage the hard drive. Every time the DVR is powered on, it will
4.2 MONITORING MODE
Monitoring mode is the default mode after the DVR is powered on. It will display all 4 camera views. To display a specific camera, press the corresponding number. This will place that camera's view on your entire screen. To display all cameras again, press the Quad Display button. To start recording, press REC. To stop recording, press STOP.
To reset all DVR settings to their factory default settings (under quad or single display), press the PAUSE button 5 times. The message ALL SETTING DATA IS INITIALIZED will be displayed, and after the reset the default password will be set as 111111.
When the reset is completed, the message DVR RESET COMPLETED. TURN OFF AND ON THE DVR will be displayed. Restart the DVR to continue.
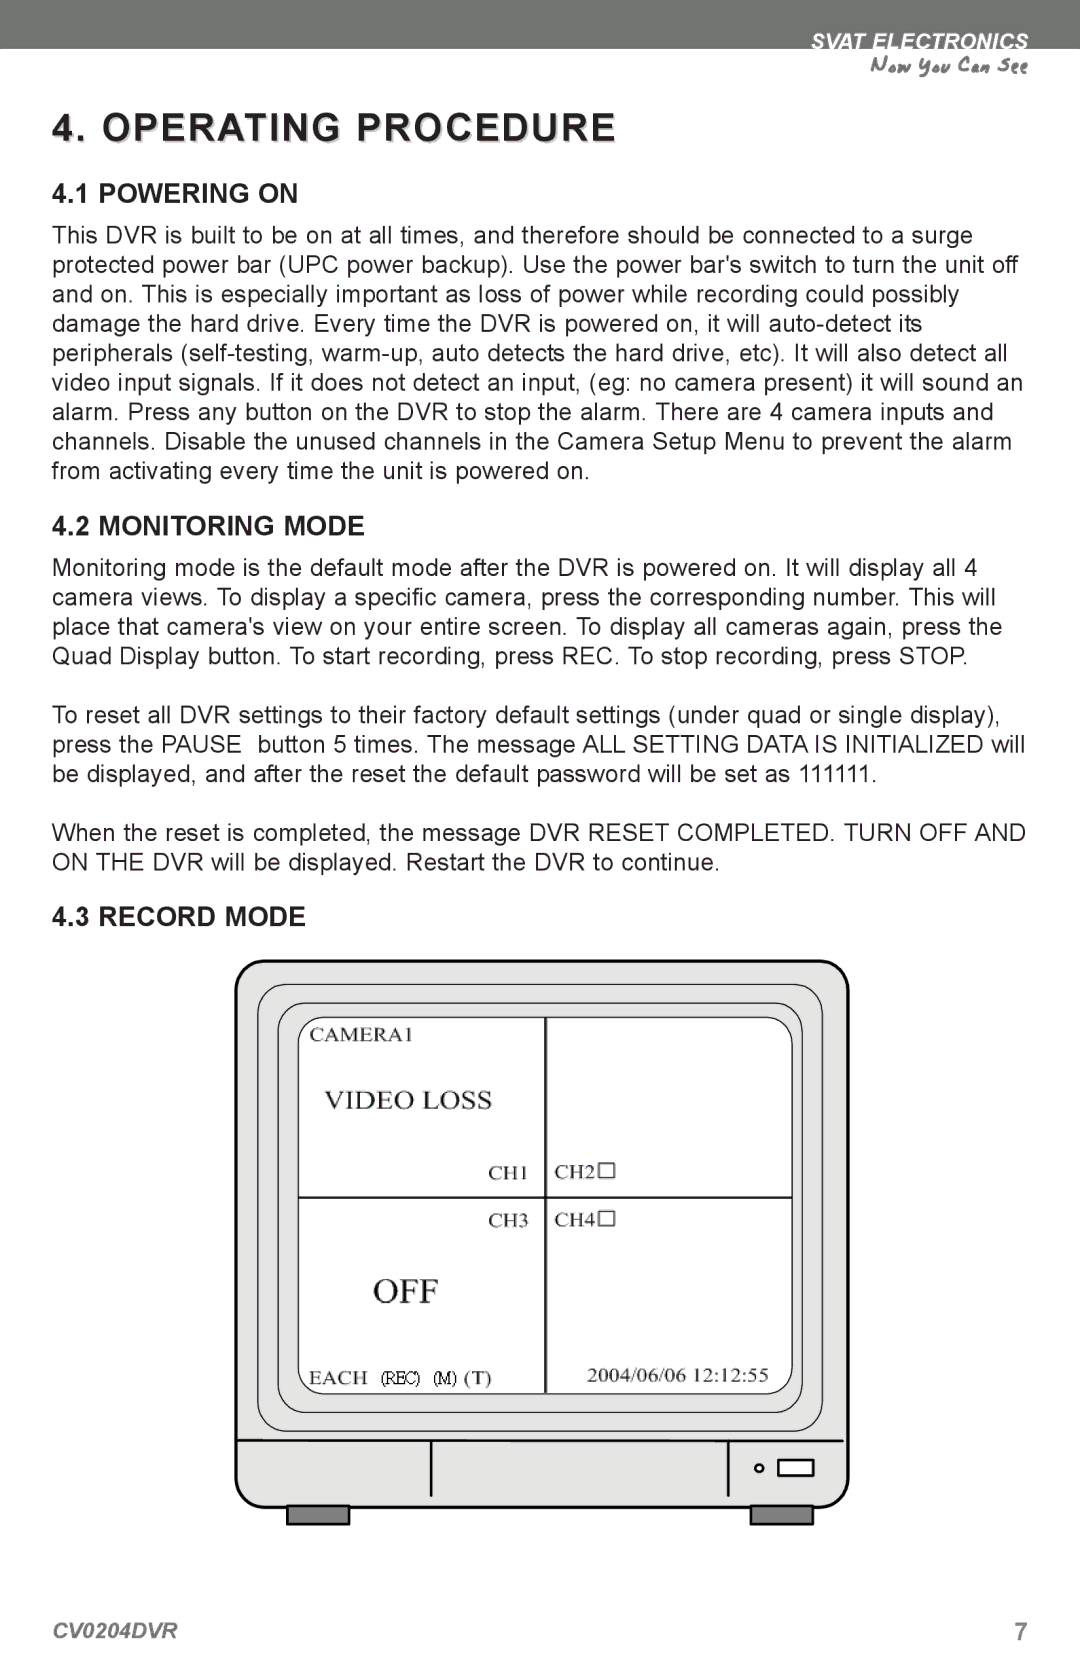
4.3 RECORD MODE
CV0204DVR | 7 |