Menu Operation
 Accessing and Navigating the Menu System
The main Setup Menu can be accessed by pressing the Menu Button ![]()
To navigate the menus press the directional arrow keys
To select the highlighted option press ![]() or
or ![]() or
or ![]()
To return to the previous menu press
Note: The menu cannot be accessed while in playback or backup mode. Return to the main camera view before entering the menu.
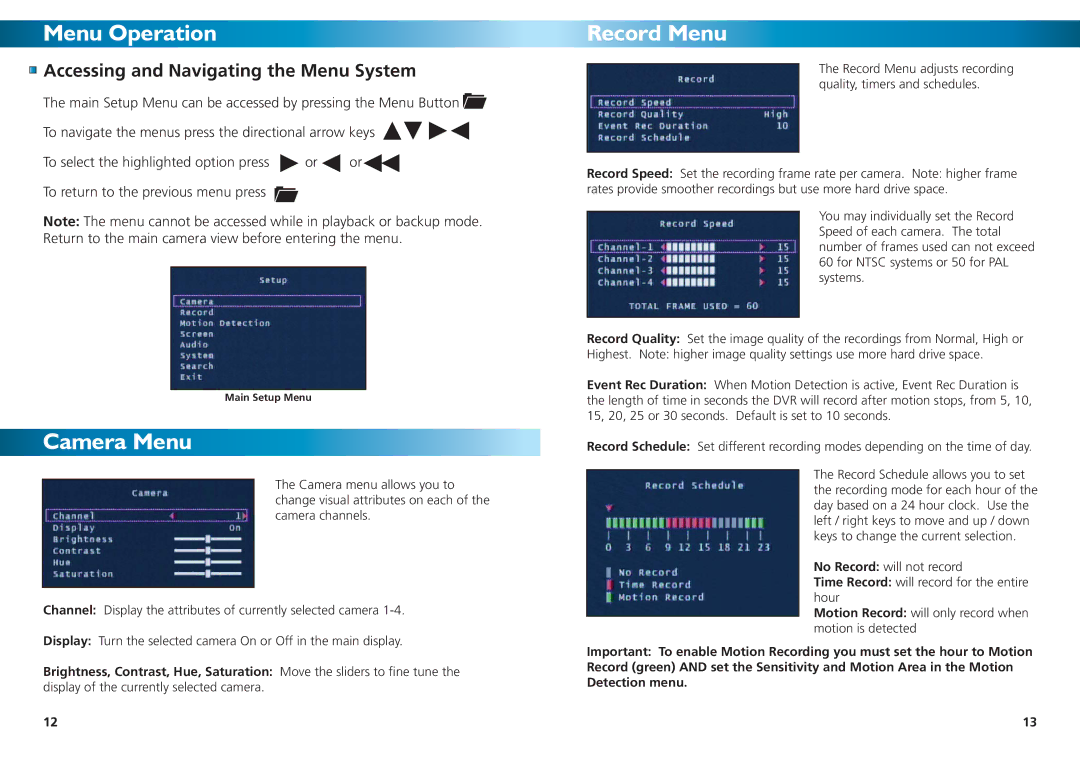
Main Setup Menu
Camera Menu
The Camera menu allows you to change visual attributes on each of the camera channels.
Channel: Display the attributes of currently selected camera
Display: Turn the selected camera On or Off in the main display.
Brightness, Contrast, Hue, Saturation: Move the sliders to fine tune the display of the currently selected camera.
Record Menu
The Record Menu adjusts recording quality, timers and schedules.
Record Speed: Set the recording frame rate per camera. Note: higher frame rates provide smoother recordings but use more hard drive space.
You may individually set the Record Speed of each camera. The total number of frames used can not exceed 60 for NTSC systems or 50 for PAL systems.
Record Quality: Set the image quality of the recordings from Normal, High or
Highest. Note: higher image quality settings use more hard drive space.
Event Rec Duration: When Motion Detection is active, Event Rec Duration is the length of time in seconds the DVR will record after motion stops, from 5, 10, 15, 20, 25 or 30 seconds. Default is set to 10 seconds.
Record Schedule: Set different recording modes depending on the time of day.
The Record Schedule allows you to set the recording mode for each hour of the day based on a 24 hour clock. Use the left / right keys to move and up / down keys to change the current selection.
No Record: will not record
Time Record: will record for the entire hour
Motion Record: will only record when motion is detected
Important: To enable Motion Recording you must set the hour to Motion Record (green) AND set the Sensitivity and Motion Area in the Motion Detection menu.
12 | 13 |