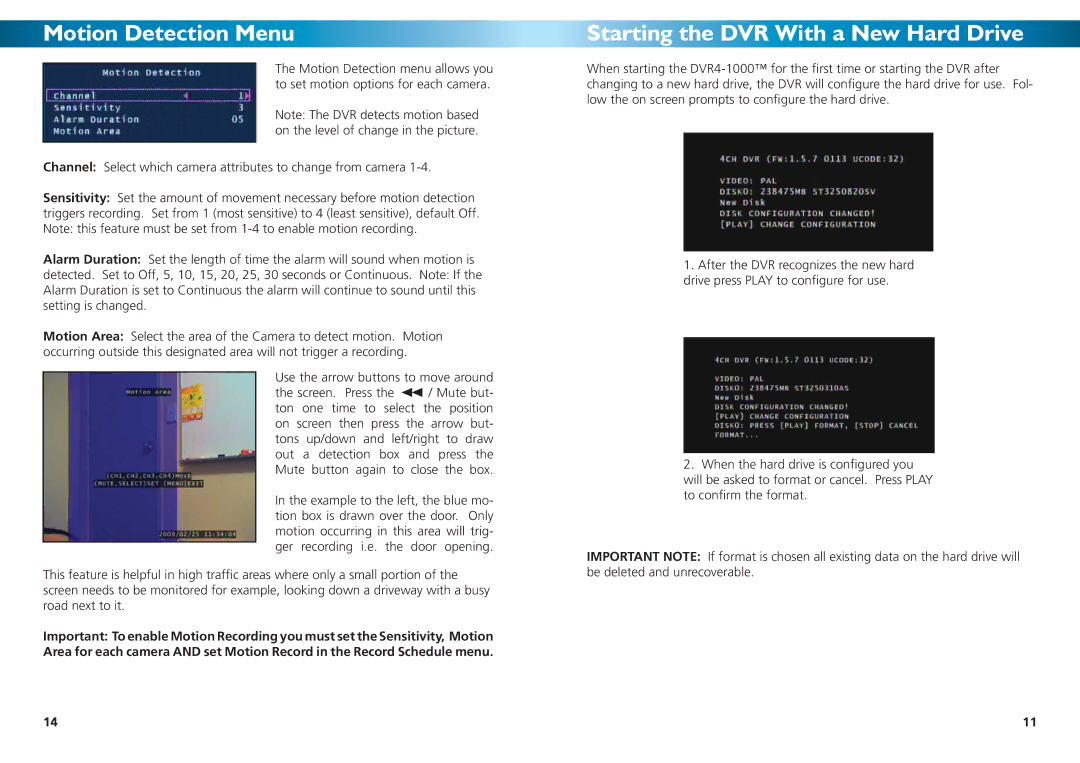
Motion Detection Menu
The Motion Detection menu allows you to set motion options for each camera.
Note: The DVR detects motion based on the level of change in the picture.
Channel: Select which camera attributes to change from camera
Sensitivity: Set the amount of movement necessary before motion detection triggers recording. Set from 1 (most sensitive) to 4 (least sensitive), default Off. Note: this feature must be set from
Alarm Duration: Set the length of time the alarm will sound when motion is
detected. Set to Off, 5, 10, 15, 20, 25, 30 seconds or Continuous. Note: If the Alarm Duration is set to Continuous the alarm will continue to sound until this setting is changed.
Motion Area: Select the area of the Camera to detect motion. Motion occurring outside this designated area will not trigger a recording.
Use the arrow buttons to move around
the screen. Press the ![]() / Mute but- ton one time to select the position on screen then press the arrow but- tons up/down and left/right to draw out a detection box and press the Mute button again to close the box.
/ Mute but- ton one time to select the position on screen then press the arrow but- tons up/down and left/right to draw out a detection box and press the Mute button again to close the box.
In the example to the left, the blue mo- tion box is drawn over the door. Only motion occurring in this area will trig- ger recording i.e. the door opening.
This feature is helpful in high traffic areas where only a small portion of the screen needs to be monitored for example, looking down a driveway with a busy road next to it.
Important: To enable Motion Recording you must set the Sensitivity, Motion Area for each camera AND set Motion Record in the Record Schedule menu.
Starting the DVR With a New Hard Drive
When starting the
1.After the DVR recognizes the new hard drive press PLAY to configure for use.
2.When the hard drive is configured you will be asked to format or cancel. Press PLAY to confirm the format.
IMPORTANT NOTE: If format is chosen all existing data on the hard drive will be deleted and unrecoverable.
14 | 11 |