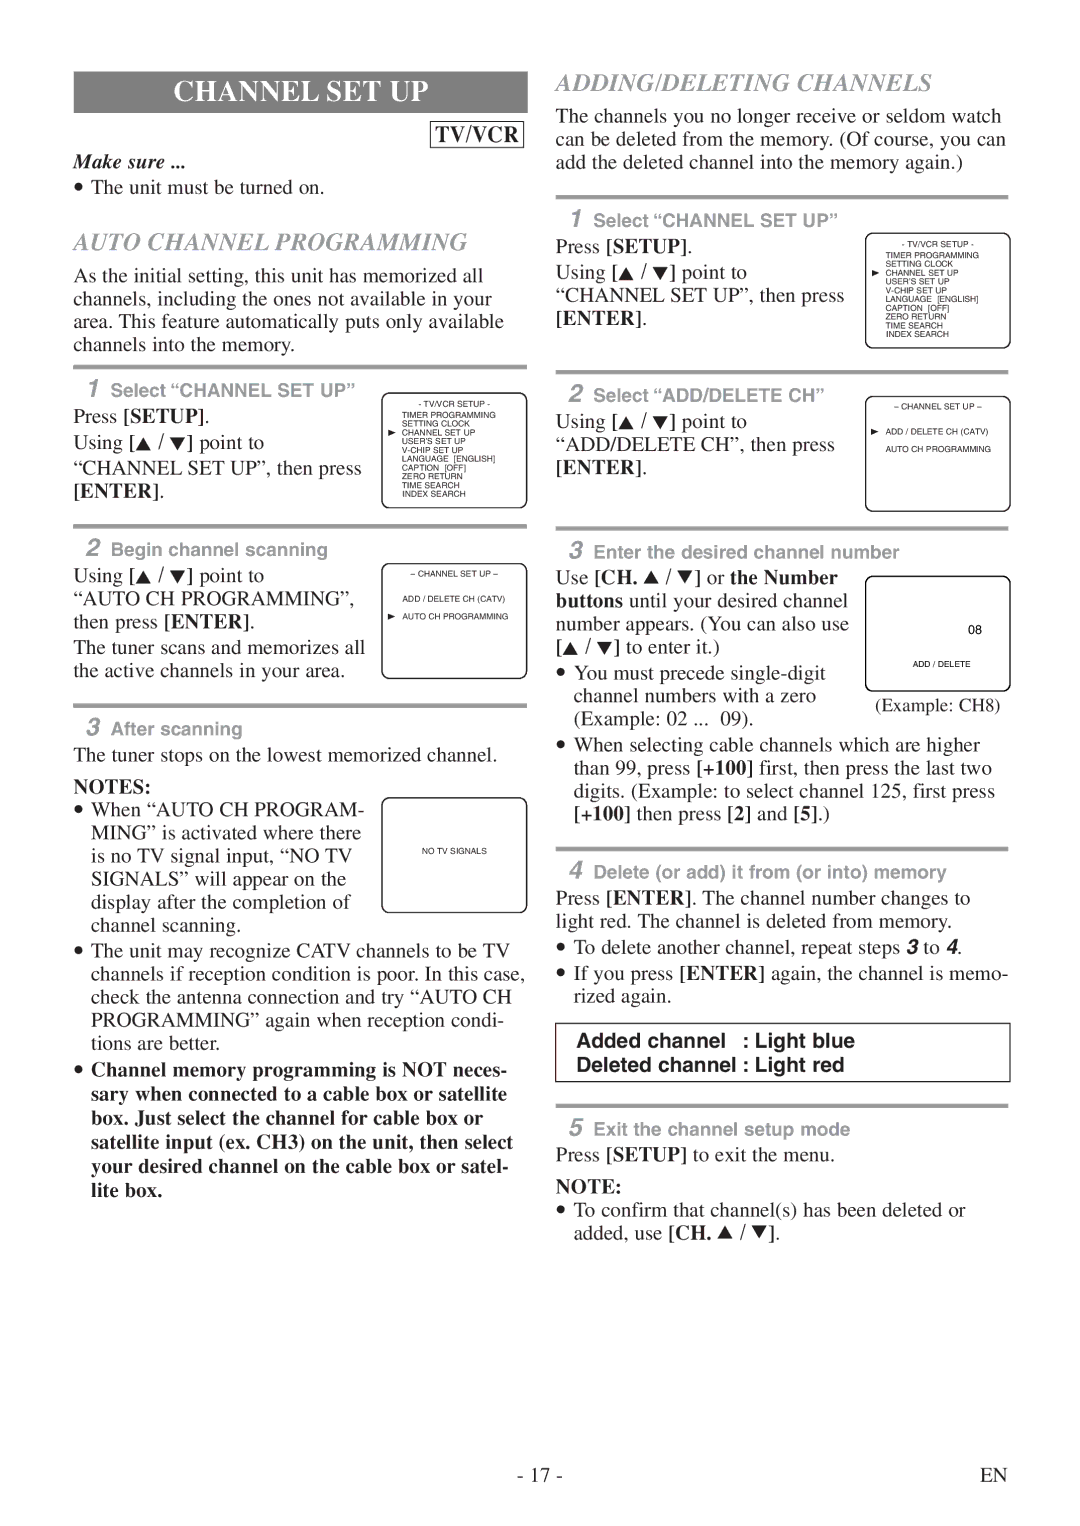
CHANNEL SET UP
TV/VCR
Make sure ...
•The unit must be turned on.
AUTO CHANNEL PROGRAMMING
As the initial setting, this unit has memorized all channels, including the ones not available in your area. This feature automatically puts only available channels into the memory.
1 Select “CHANNEL SET UP”
Press [SETUP]. | - TV/VCR SETUP - |
TIMER PROGRAMMING | |
SETTING CLOCK | |
Using [K / L] point to | B CHANNEL SET UP |
USER’S SET UP | |
“CHANNEL SET UP”, then press | LANGUAGE [ENGLISH] |
CAPTION [OFF] | |
ZERO RETURN | |
[ENTER]. | TIME SEARCH |
INDEX SEARCH | |
|
|
2 Begin channel scanning |
|
Using [K / L] point to | – CHANNEL SET UP – |
“AUTO CH PROGRAMMING”, | ADD / DELETE CH (CATV) |
then press [ENTER]. | B AUTO CH PROGRAMMING |
| |
The tuner scans and memorizes all |
|
the active channels in your area. |
|
3After scanning
The tuner stops on the lowest memorized channel.
NOTES:
• When “AUTO CH PROGRAM- MING” is activated where there
is no TV signal input, “NO TV | NO TV SIGNALS |
| |
SIGNALS” will appear on the |
|
display after the completion of |
|
channel scanning. |
|
•The unit may recognize CATV channels to be TV channels if reception condition is poor. In this case, check the antenna connection and try “AUTO CH PROGRAMMING” again when reception condi- tions are better.
•Channel memory programming is NOT neces- sary when connected to a cable box or satellite box. Just select the channel for cable box or satellite input (ex. CH3) on the unit, then select your desired channel on the cable box or satel- lite box.
ADDING/DELETING CHANNELS
The channels you no longer receive or seldom watch can be deleted from the memory. (Of course, you can add the deleted channel into the memory again.)
1 Select “CHANNEL SET UP”
Press [SETUP]. | TIMER PROGRAMMING | |
| - TV/VCR SETUP - | |
Using [K / L] point to | SETTING CLOCK | |
B CHANNEL SET UP | ||
“CHANNEL SET UP”, then press | USER’S SET UP | |
LANGUAGE [ENGLISH] | ||
[ENTER]. | CAPTION [OFF] | |
TIME SEARCH | ||
| ZERO RETURN | |
| INDEX SEARCH | |
|
| |
2 Select “ADD/DELETE CH” | – CHANNEL SET UP – | |
Using [K / L] point to | ||
B ADD / DELETE CH (CATV) | ||
“ADD/DELETE CH”, then press | ||
AUTO CH PROGRAMMING | ||
[ENTER]. |
|
3Enter the desired channel number
Use [CH. K / L] or the Number buttons until your desired channel
number appears. (You can also use | 08 | |
[K / L] to enter it.) |
| |
• You must precede | ADD / DELETE | |
| ||
channel numbers with a zero | (Example: CH8) | |
(Example: 02 ... 09). | ||
|
•When selecting cable channels which are higher than 99, press [+100] first, then press the last two digits. (Example: to select channel 125, first press [+100] then press [2] and [5].)
4Delete (or add) it from (or into) memory
Press [ENTER]. The channel number changes to light red. The channel is deleted from memory.
•To delete another channel, repeat steps 3 to 4.
•If you press [ENTER] again, the channel is memo- rized again.
Added channel : Light blue
Deleted channel : Light red
5Exit the channel setup mode
Press [SETUP] to exit the menu.
NOTE:
•To confirm that channel(s) has been deleted or added, use [CH. K / L].
- 17 - | EN |
