Telephone Usage
FACTORY PRESETS
The following table shows you the factory settings for your unit:
Display | Setting |
Language | English |
LCD Contrast | 3 |
Area Code | no setting |
LDS Code | 1 |
Access Code | - <- No Hunt Group selected |
Note: After you have set up the unit completely for the first time, use the MENU button to review or reprogram the Language, Contrast, Area Code, LDS Code or Access Code.
SETUP
After the adapter is connected, the display will show as indicated below for setting
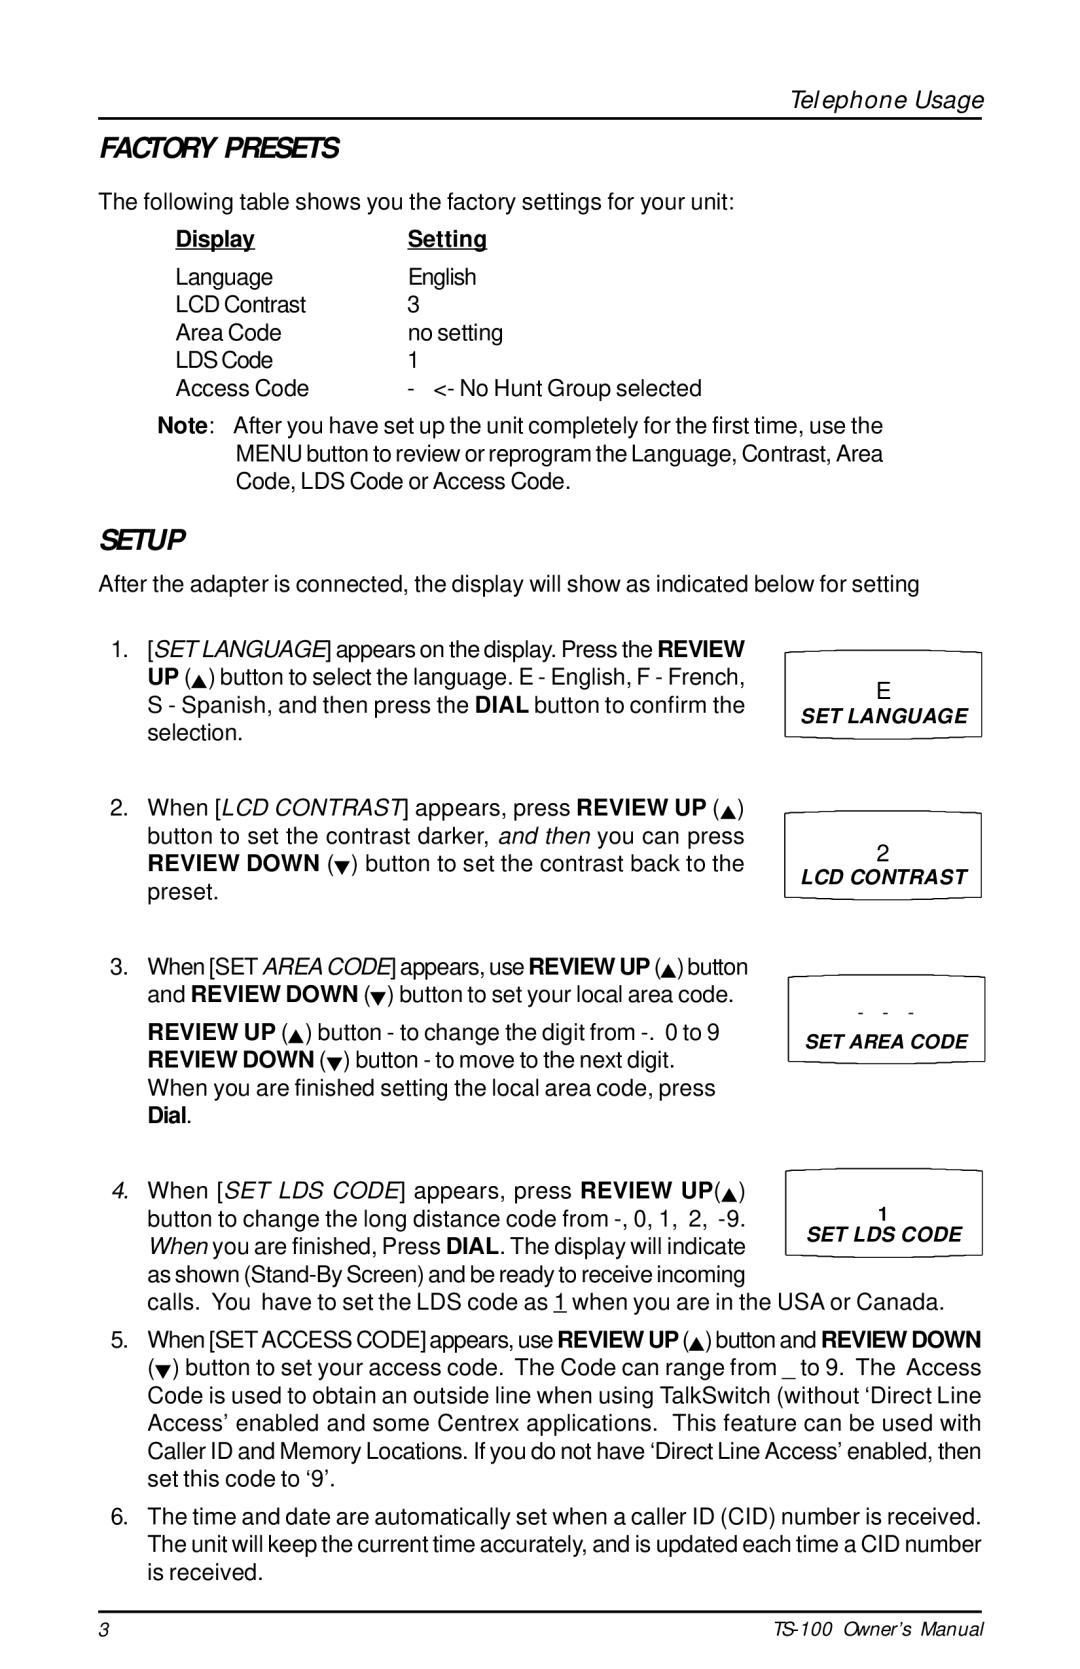
1. [SET LANGUAGE] appears on the display. Press the REVIEW UP (![]() ) button to select the language. E - English, F - French, S - Spanish, and then press the DIAL button to confirm the selection.
) button to select the language. E - English, F - French, S - Spanish, and then press the DIAL button to confirm the selection.
2. When [LCD CONTRAST] appears, press REVIEW UP (![]() ) button to set the contrast darker, and then you can press REVIEW DOWN (
) button to set the contrast darker, and then you can press REVIEW DOWN (![]() ) button to set the contrast back to the preset.
) button to set the contrast back to the preset.
3.When [SET AREA CODE] appears, use REVIEW UP (![]() ) button and REVIEW DOWN (
) button and REVIEW DOWN (![]() ) button to set your local area code.
) button to set your local area code.
REVIEW UP (![]() ) button - to change the digit from
) button - to change the digit from
REVIEW DOWN (![]() ) button - to move to the next digit.
) button - to move to the next digit.
When you are finished setting the local area code, press
Dial.
4.When [SET LDS CODE] appears, press REVIEW UP( )
)
button to change the long distance code from
calls. You have to set the LDS code as 1 when you are in the USA or Canada.
5.When [SET ACCESS CODE] appears, use REVIEW UP (![]() ) button and REVIEW DOWN (
) button and REVIEW DOWN (![]() ) button to set your access code. The Code can range from _ to 9. The Access Code is used to obtain an outside line when using TalkSwitch (without ‘Direct Line Access’ enabled and some Centrex applications. This feature can be used with Caller ID and Memory Locations. If you do not have ‘Direct Line Access’ enabled, then set this code to ‘9’.
) button to set your access code. The Code can range from _ to 9. The Access Code is used to obtain an outside line when using TalkSwitch (without ‘Direct Line Access’ enabled and some Centrex applications. This feature can be used with Caller ID and Memory Locations. If you do not have ‘Direct Line Access’ enabled, then set this code to ‘9’.
6.The time and date are automatically set when a caller ID (CID) number is received. The unit will keep the current time accurately, and is updated each time a CID number is received.
3 |