1With a recordable disc loaded, press the RECORD key (J or D) so that the unit enters record ready mode.
2Start the source material, and press the FADER key (5 or 8).
The display shows FADE IN for the time specified in the menu item above.
As the fade progresses, the monitored signal gradually becomes louder, reflecting the level recorded on disc.
To perform a
1While recording, press the FADER key (5 or 8).
The display shows FADE OUT for the time specified in the menu above.
As the fade progresses, the monitored signal gradually becomes quieter, reflecting the level recorded on disc.
2When the end of the
PLAY or PAUSE keys.
It is not possible to change the
Fades are also possible in digital direct mode (4.3.3, “Digital direct”).
4.4 Copy-protection
The
There are three settings:
•FREE (may be freely copied), where no copy- protection is applied to the recorded disc.
•1GEN
•PROH (copy prohibited) which prevents any digi- tal copies being made from the recorded disc
4 – Recording—Copy-protection
1Press the MENU key (9 or 6) repeatedly until the display shows COPY ID>XXXX, where XXXX is the current setting for copy- protection as shown above.
2Turn the MULTI DIAL control B or use the SKIP keys H to change the
NOTE
4.5 Rehearsal
There are two areas in which the unit’s rehearsal facilities can be used: synchronized recording (4.3.1, “Synchronized recording”) and automatic track divi- sion (4.3.2, “Automatic track division”).
The purpose of the rehearsal facilities is to allow you to override the automatic synchronized recording and track division facilities where necessary.
Here is an example where this facility may be of value:
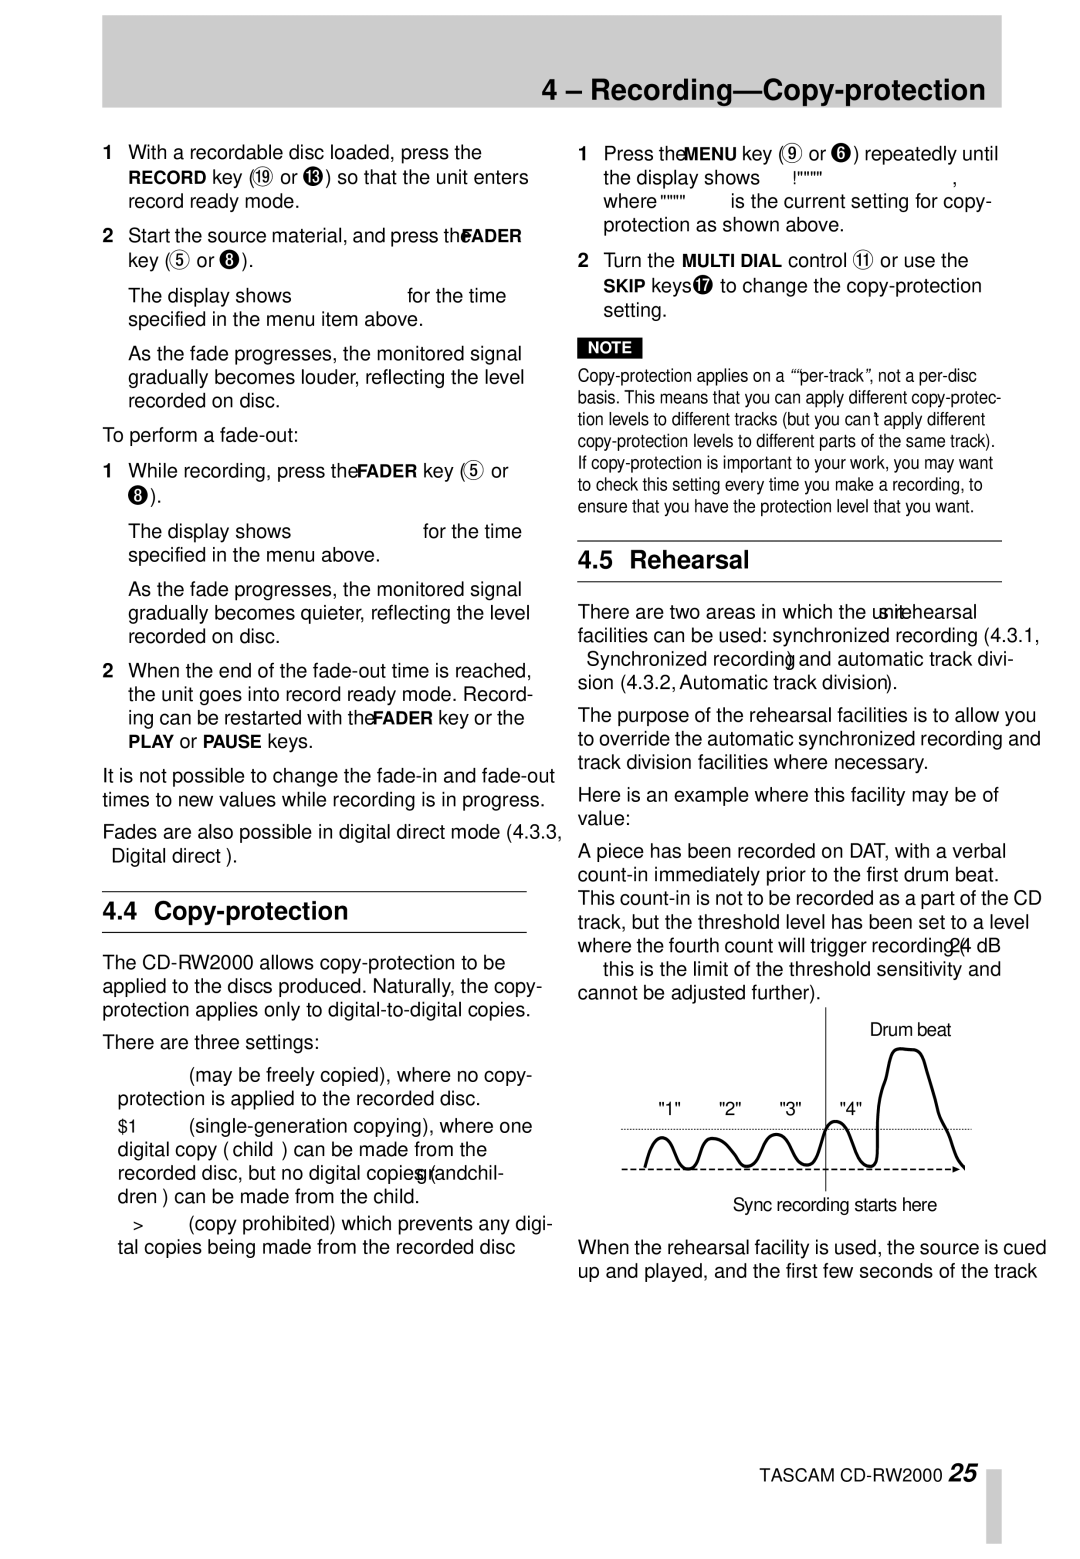
A piece has been recorded on DAT, with a verbal
—this is the limit of the threshold sensitivity and cannot be adjusted further).
Drum beat
LVL | "1" | "2" | "3" | "4" | |
S | |||||
|
|
|
|
Sync recording starts here
When the rehearsal facility is used, the source is cued up and played, and the first few seconds of the track
TASCAM
