4 – Control panel settings
Overview
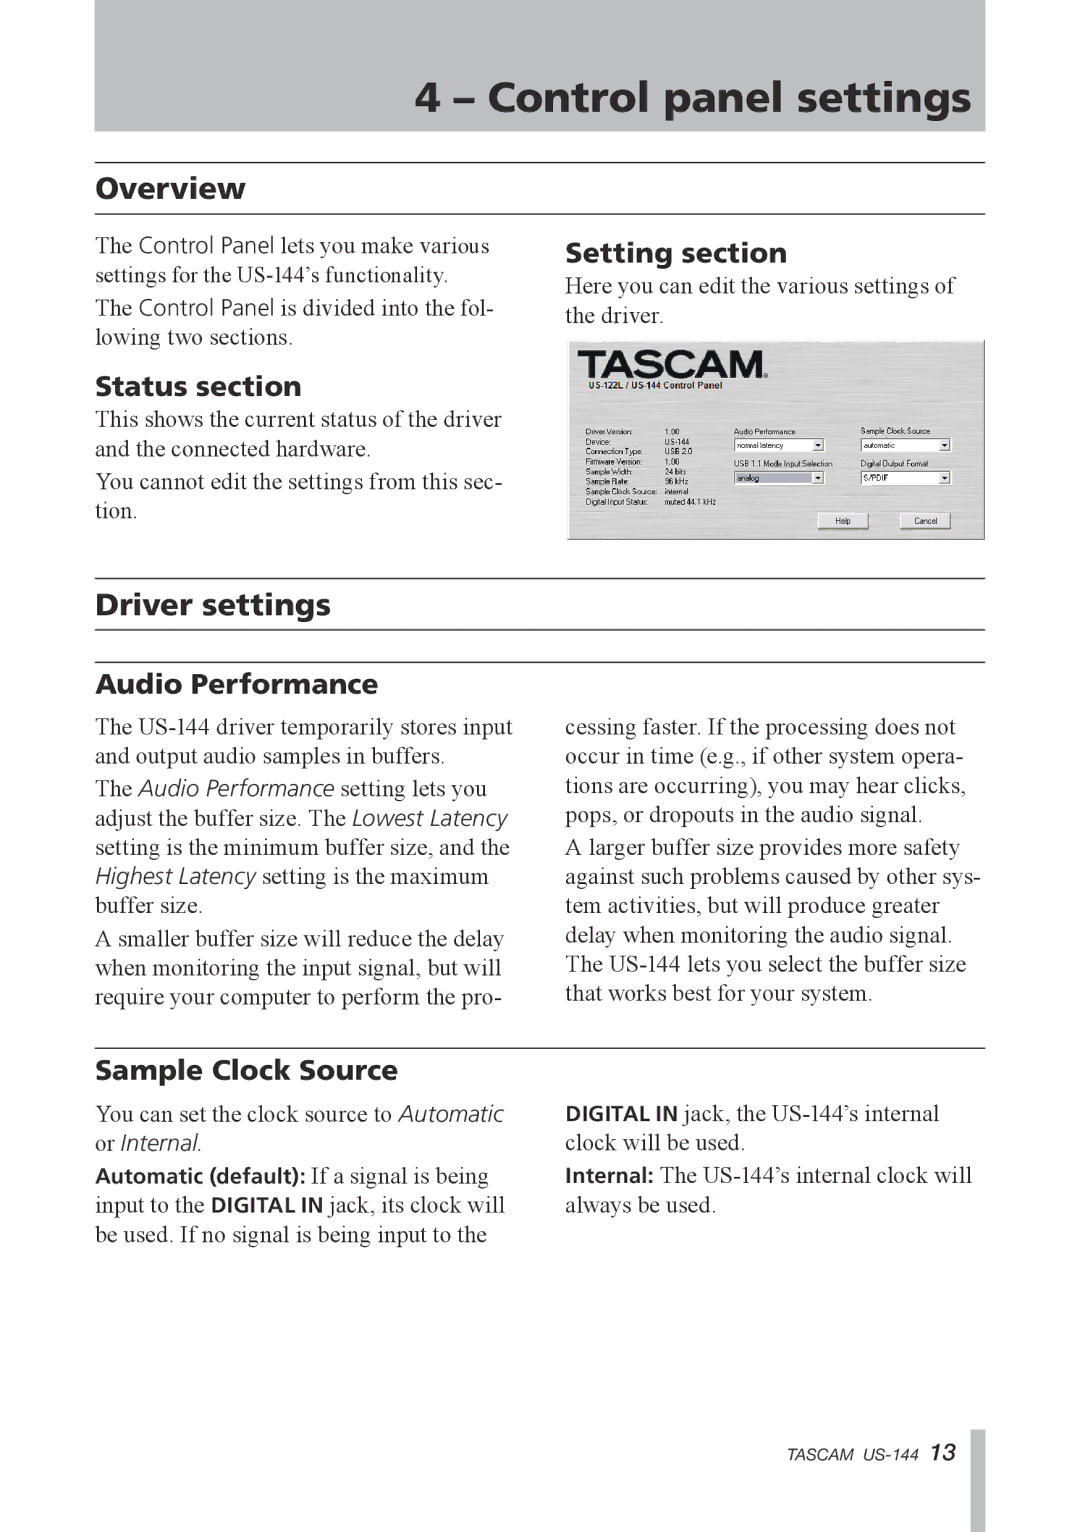
The Control Panel lets you make various settings for the
Status section
This shows the current status of the driver and the connected hardware.
You cannot edit the settings from this sec- tion.
Setting section
Here you can edit the various settings of the driver.
Driver settings
Audio Performance
The
The Audio Performance setting lets you adjust the buffer size. The Lowest Latency setting is the minimum buffer size, and the Highest Latency setting is the maximum buffer size.
A smaller buffer size will reduce the delay when monitoring the input signal, but will require your computer to perform the pro-
cessing faster. If the processing does not occur in time (e.g., if other system opera- tions are occurring), you may hear clicks, pops, or dropouts in the audio signal.
A larger buffer size provides more safety against such problems caused by other sys- tem activities, but will produce greater delay when monitoring the audio signal. The
Sample Clock Source
You can set the clock source to Automatic or Internal.
Automatic (default): If a signal is being input to the DIGITAL IN jack, its clock will be used. If no signal is being input to the
DIGITAL IN jack, the
Internal: The
TASCAM
