Connecting the PortaDVD
This section explains how to connect the PortaDVD to an IBM PC or compatible portable computer that utilizes PCMCIA card technology. The procedure begins by connecting the appropriate cables to the Por- taDVD. Please read the following instructions thoroughly; the installa- tion procedure varies depending on the operating system you are using.
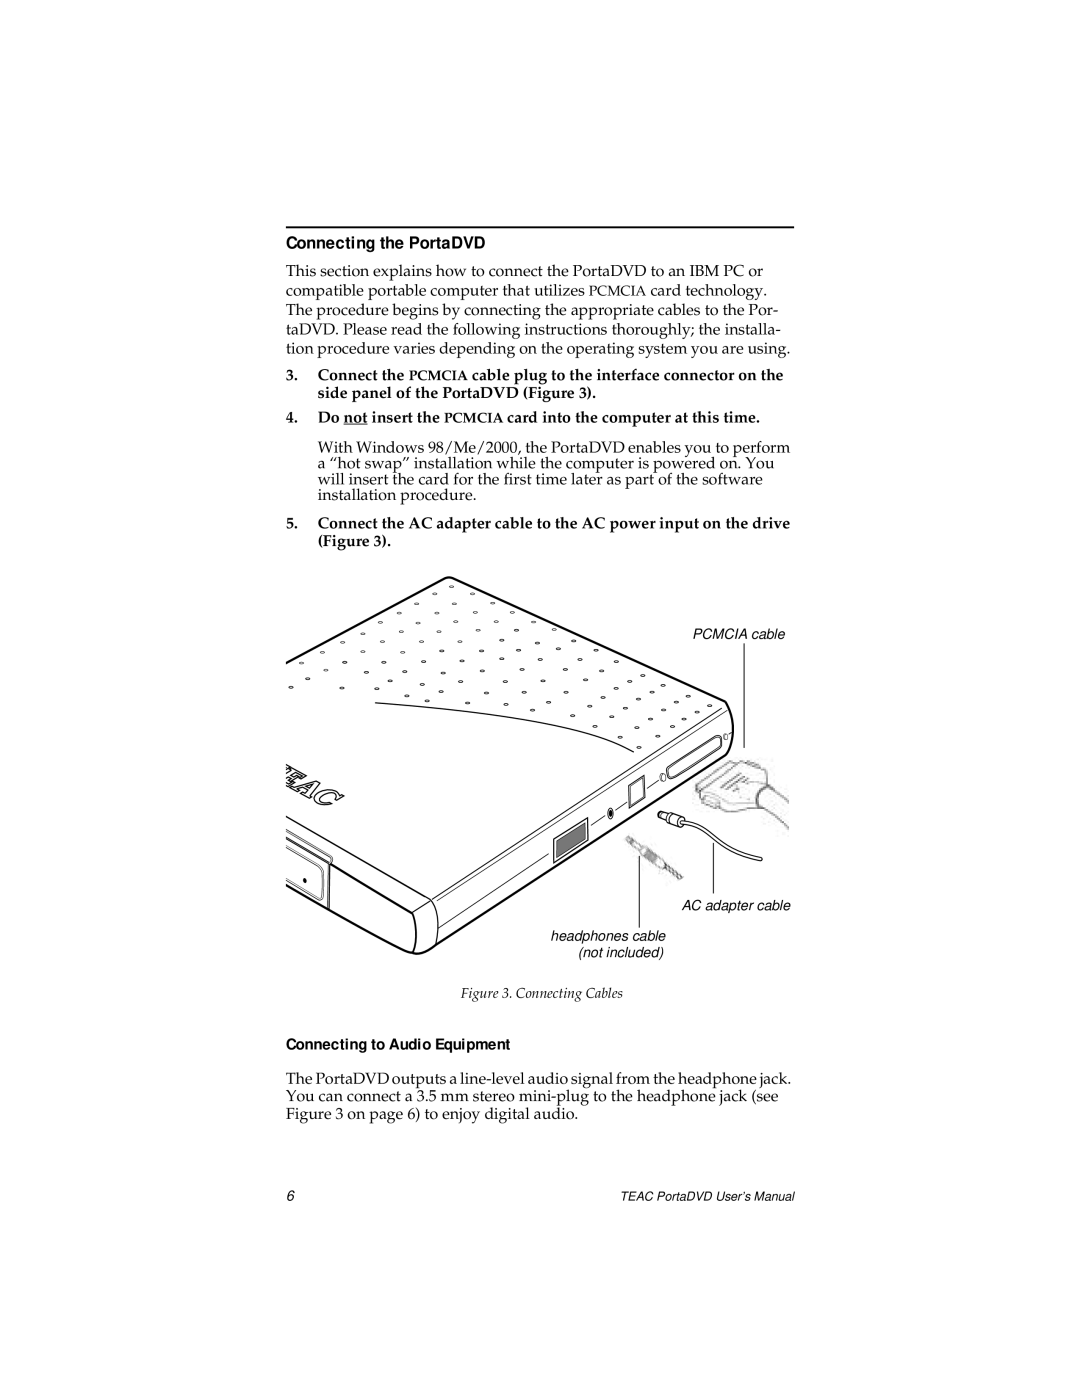
3.Connect the PCMCIA cable plug to the interface connector on the side panel of the PortaDVD (Figure 3).
4.Do not insert the PCMCIA card into the computer at this time.
With Windows 98/Me/2000, the PortaDVD enables you to perform a “hot swap” installation while the computer is powered on. You will insert the card for the first time later as part of the software installation procedure.
5.Connect the AC adapter cable to the AC power input on the drive (Figure 3).
PCMCIA cable
AC adapter cable
headphones cable (not included)
Figure 3. Connecting Cables
Connecting to Audio Equipment
The PortaDVD outputs a
6 | TEAC PortaDVD User’s Manual |
