Operation |
| |
|
|
|
1.Turn the unit off (if it is on).
2.Hold the instrument face down in the palm of your hand. Use a coin to pry up the latch that secures the battery compartment door. Remove the battery compartment door.
CAUTION: IMPROPER INSTALLATION OF THE BATTERIES MAY RESULT IN DAMAGE TO THE UNIT AND BATTERIES.
Note: Use alkaline batteries only. Other battery types will produce erroneous battery test readings.
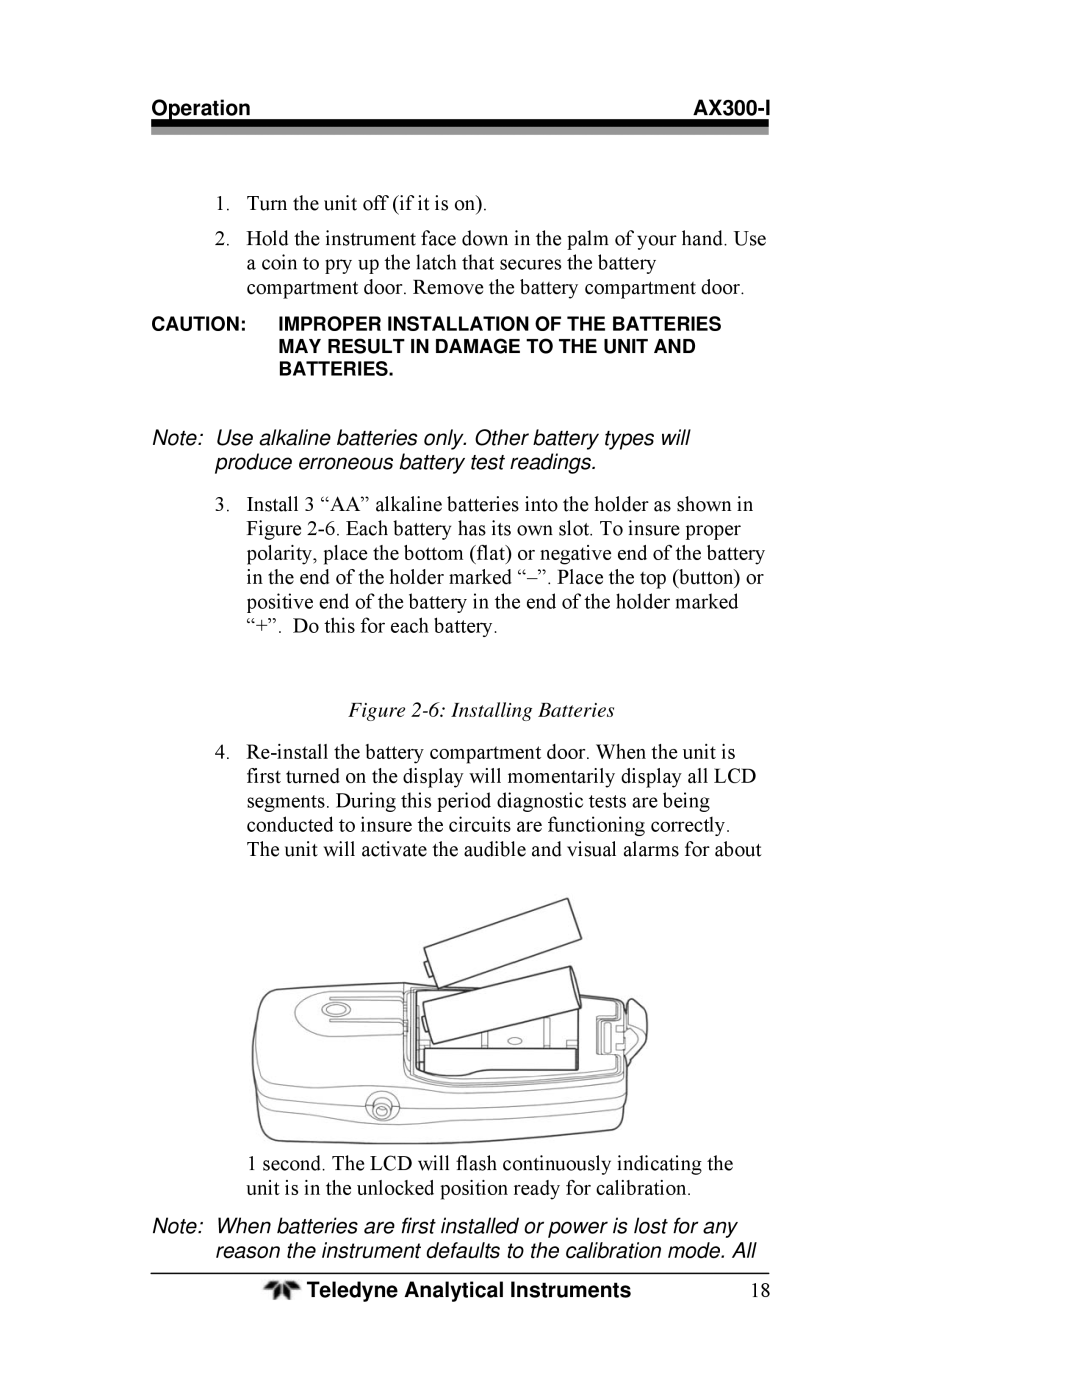
3.Install 3 “AA” alkaline batteries into the holder as shown in Figure
Figure 2-6: Installing Batteries
4.
1 second. The LCD will flash continuously indicating the unit is in the unlocked position ready for calibration.
Note: When batteries are first installed or power is lost for any reason the instrument defaults to the calibration mode. All
Teledyne Analytical Instruments | 18 |