Camera
Picture projection with the
document imaging camera
Preparation
Display the image as explained in “Picture Projection” . 21
OVERLAY PHOTO/TEXT ARM LIGHT
|
|
| 1 |
LOCK | W.BALANCE CAMERA |
| |
|
|
| 3 |
|
|
| 6 |
SELECT/ADJUST |
|
| |
|
| ON |
|
ON/STANDBY MENU | ENTER | INPUT |
|
|
| LAMP | 3 |
|
| TEMP | |
AUTO SET ![]() ON/STANDBY
ON/STANDBY
KEYSTONE
MARKER LASER
![]() POINTER
POINTER
![]() PJ
PJ
| ||
MENU | ENTER |
|
RGB | VIDEO CAMERA | 3 |
RESIZE | RESET FREEZE |
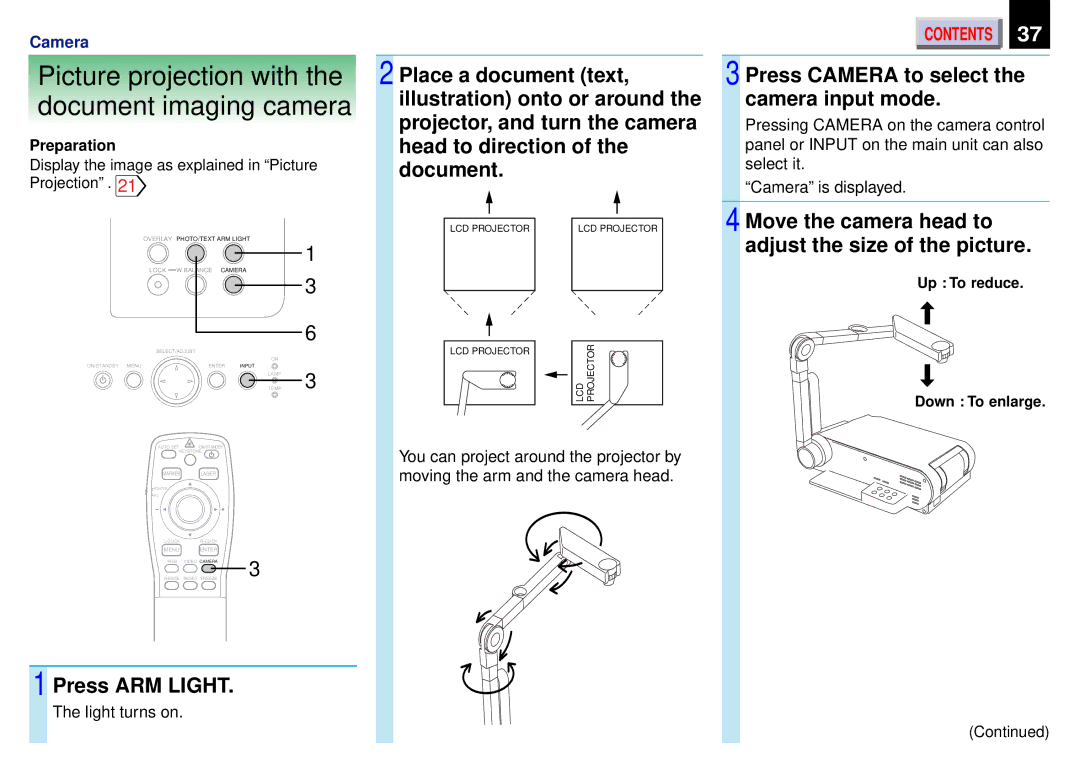
1 Press ARM LIGHT.
The light turns on.
2 Place a document (text, | |
illustration) onto or around the | |
projector, and turn the camera | |
head to direction of the | |
document. |
|
LCD PROJECTOR | LCD PROJECTOR |
LCD PROJECTOR ![]()
![]()
![]() LCD PROJECTOR
LCD PROJECTOR
You can project around the projector by moving the arm and the camera head.
CONTENTS | 37 |
3 Press CAMERA to select the camera input mode.
Pressing CAMERA on the camera control panel or INPUT on the main unit can also select it.
“Camera” is displayed.
4 Move the camera head to adjust the size of the picture.
Up : To reduce.
Down : To enlarge.
(Continued)