HW Setup and Passwords
■PC card HDD boot is supported only by slot 0 on the computer. Support is guaranteed only for TOSHIBA PC card HDDs.
■When you assign a PC card HDD top priority, “PC” is not displayed. However, the PC card HDD takes the position of HDD in the Boot Priority Options list above.
To change the boot drive, follow the steps below.
1.Hold down F12 and boot the computer.
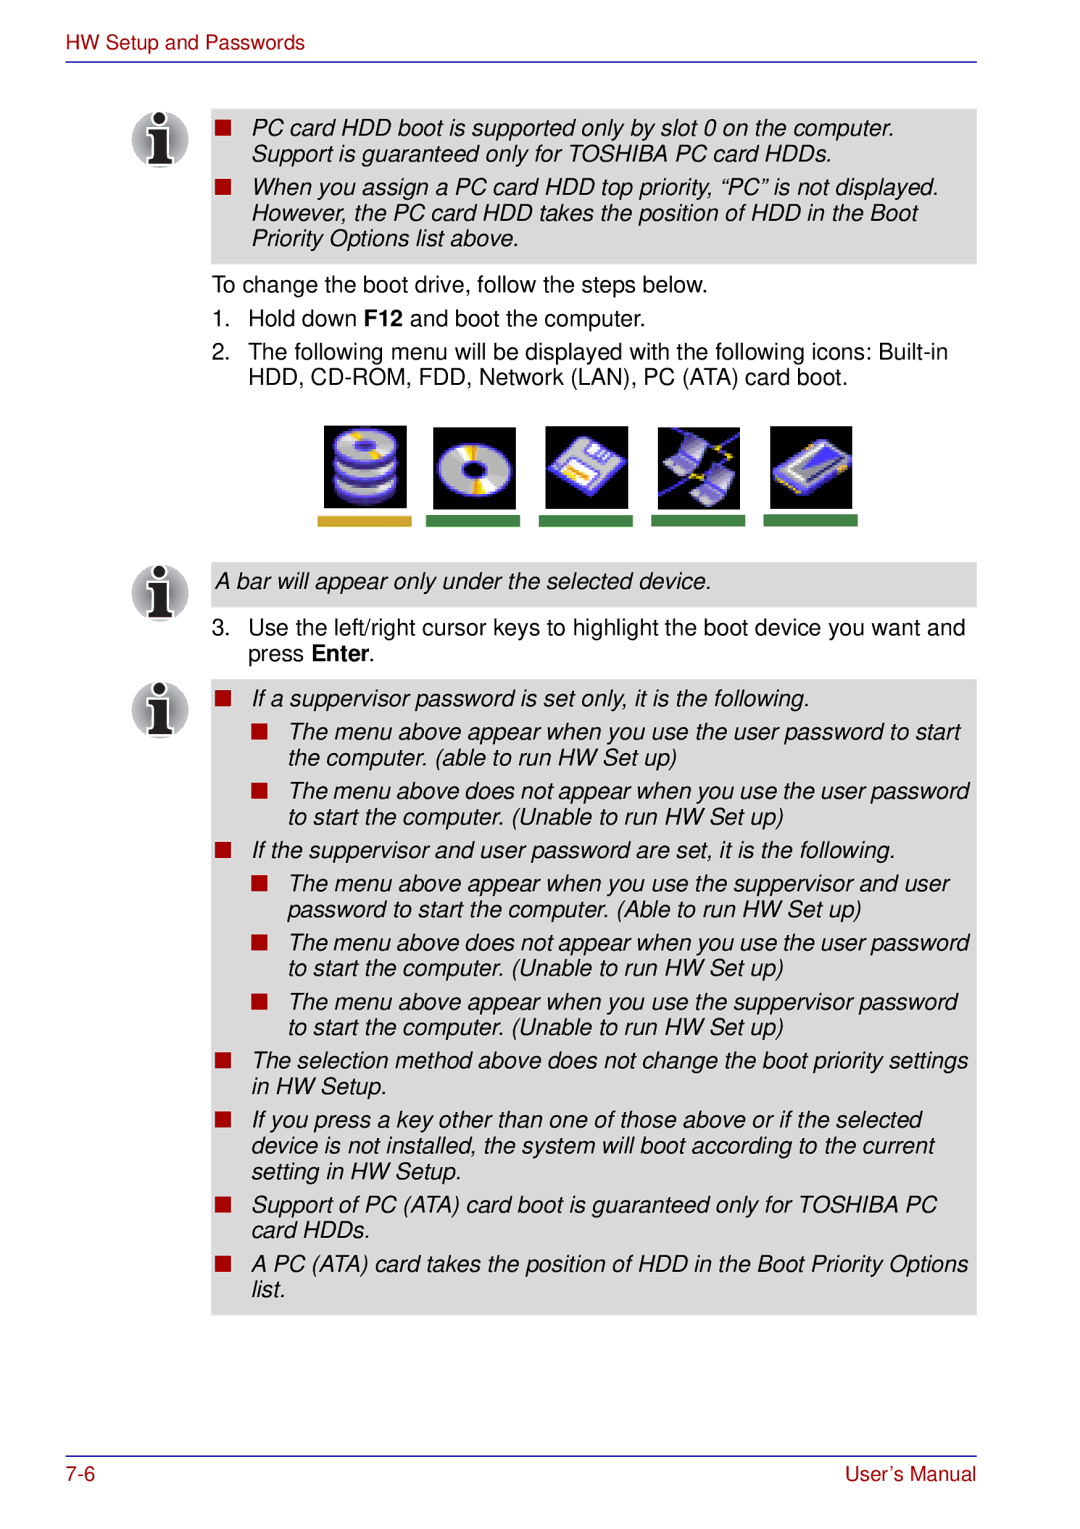
2.The following menu will be displayed with the following icons:
A bar will appear only under the selected device.
3.Use the left/right cursor keys to highlight the boot device you want and press Enter.
■If a suppervisor password is set only, it is the following.
■The menu above appear when you use the user password to start the computer. (able to run HW Set up)
■The menu above does not appear when you use the user password to start the computer. (Unable to run HW Set up)
■If the suppervisor and user password are set, it is the following.
■The menu above appear when you use the suppervisor and user password to start the computer. (Able to run HW Set up)
■The menu above does not appear when you use the user password to start the computer. (Unable to run HW Set up)
■The menu above appear when you use the suppervisor password to start the computer. (Unable to run HW Set up)
■The selection method above does not change the boot priority settings in HW Setup.
■If you press a key other than one of those above or if the selected device is not installed, the system will boot according to the current setting in HW Setup.
■Support of PC (ATA) card boot is guaranteed only for TOSHIBA PC card HDDs.
■A PC (ATA) card takes the position of HDD in the Boot Priority Options list.
User’s Manual |