The following steps must be performed to properly install your
ROM.
●Set drive’s jumpers
●Connect audio cable
●Attach IDE BUS cable
●Connect power cable
●Mount
●Install CyberLink PowerDVD™ software (used for viewing DVD movies)
●Install VOB InstantCD/DVD software (used for recording CDs)
SETTING JUMPERS
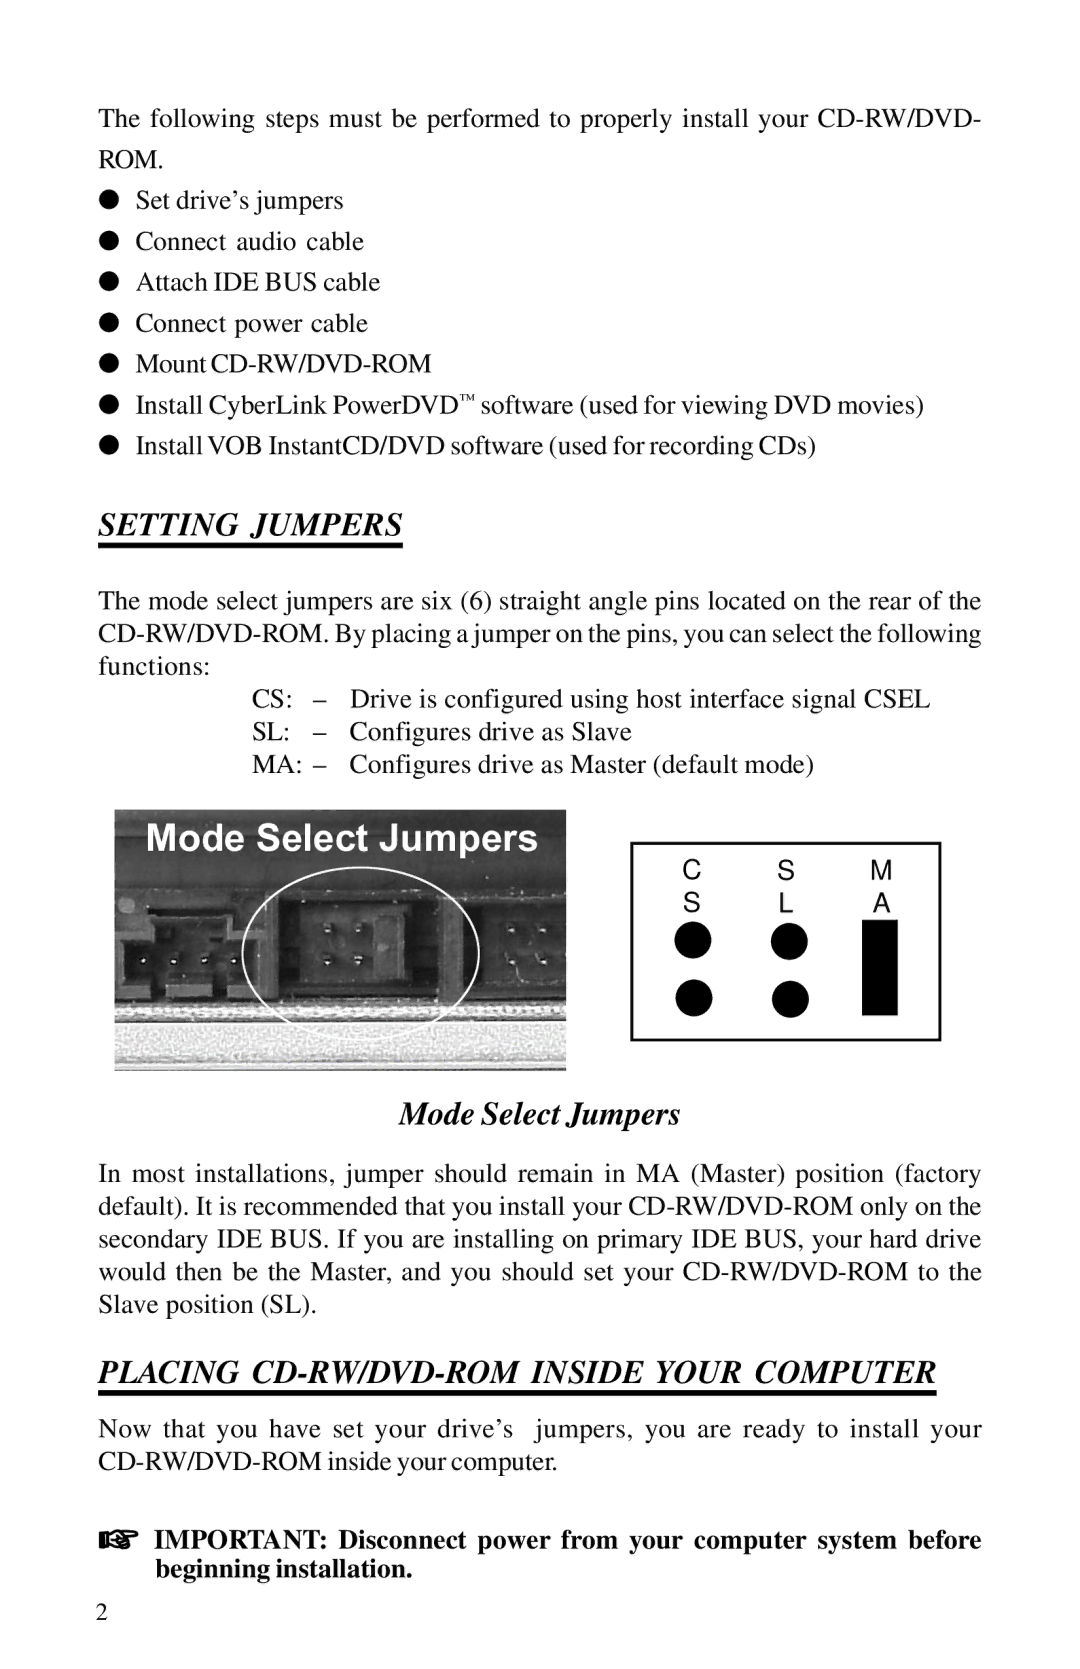
The mode select jumpers are six (6) straight angle pins located on the rear of the
CS: – Drive is configured using host interface signal CSEL
SL: – Configures drive as Slave
MA: – Configures drive as Master (default mode)
C S M
S L A
Mode Select Jumpers
In most installations, jumper should remain in MA (Master) position (factory default). It is recommended that you install your
PLACING CD-RW/DVD-ROM INSIDE YOUR COMPUTER
Now that you have set your drive’s jumpers, you are ready to install your
☞IMPORTANT: Disconnect power from your computer system before beginning installation.
2