
SD3300KU, SD3300 specifications
The Toshiba SD3300 is an advanced digital video recorder that has garnered attention for its impressive array of features designed to enhance the home entertainment experience. This model stands out due to its combination of cutting-edge technology, user-friendly interface, and strong performance.One of the defining features of the Toshiba SD3300 is its compatibility with multiple formats, including DVD, CD, and various digital media files. This flexibility allows users to enjoy a vast library of content without the need for multiple devices. The unit supports various disc types, enabling playback of both commercial and home-recorded DVDs.
The Toshiba SD3300 also boasts an integrated upscaling technology that enhances standard-definition content. Through this feature, users can enjoy improved picture quality when watching lower resolution videos, making older films and shows look sharper and more vivid on widescreen displays. The upscaling function works seamlessly, providing a cinema-like experience right from the comfort of home.
Connectivity is another strong point of the Toshiba SD3300. The device comes equipped with HDMI ports, which facilitate a simple and efficient connection to modern televisions and sound systems. For those with older equipment, the model also includes composite and S-Video outputs, ensuring compatibility with a wide range of devices. USB ports are integrated as well, allowing users to connect portable storage devices and access additional media files.
In terms of user interface, the Toshiba SD3300 prioritizes simplicity and ease of use. The menu navigation is straightforward, making it accessible for users of all ages. The remote control is designed with an intuitive layout, enabling quick access to various functions, from channel selection to media playback features.
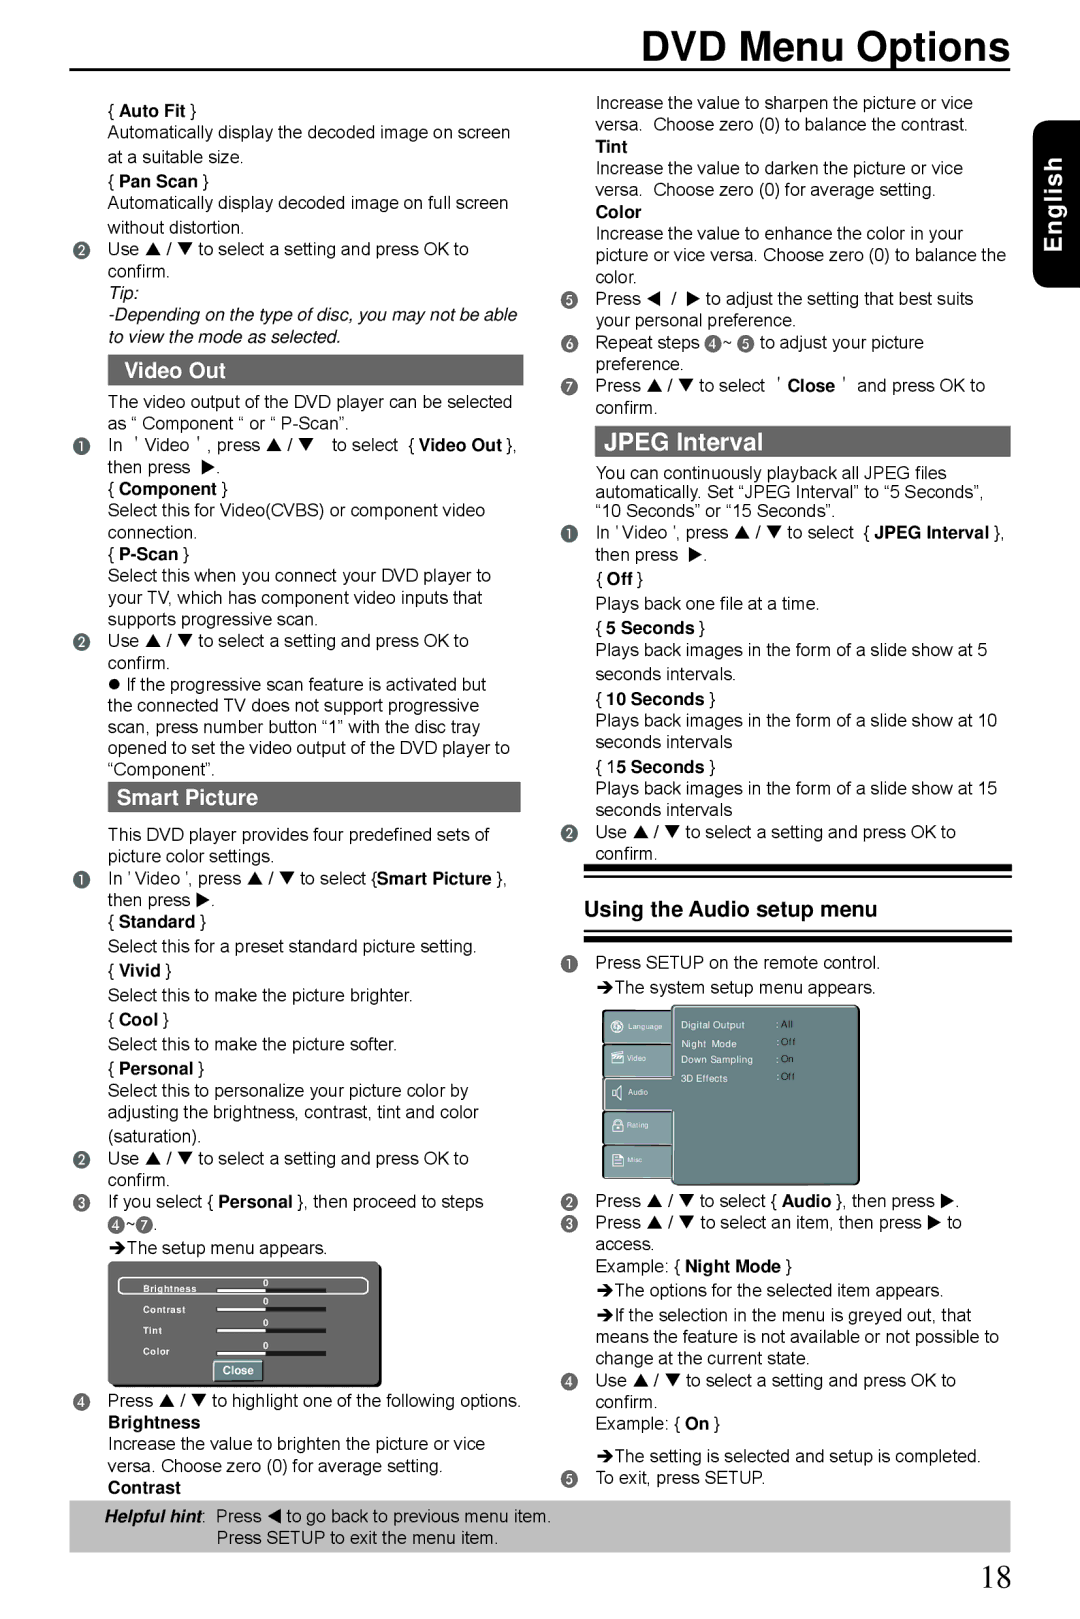
Toshiba has also incorporated robust audio technologies into the SD3300. Users can enjoy high-fidelity sound through digital audio outputs, supporting various surround sound formats that enhance the overall viewing experience. This makes the SD3300 an excellent choice for movie lovers and those who appreciate immersive audio.
Finally, the Toshiba SD3300 is designed with reliability in mind. Its build quality ensures longevity, and the manufacturer provides solid support and service options. Overall, the Toshiba SD3300 digital video recorder is a versatile and feature-rich device that caters to the needs of modern consumers looking for an all-in-one media playback solution.