Contents
General Description | 2 |
Features | 2 |
Front Panel, Input Section | 3 |
Front Panel, Output Section | 4 |
Meter Panel | 5 |
Rear Panel | 6 |
Rear Panel | 7 |
Connection Examples | 8~10 |
How to use "channel patching" accessory jack | 11 |
How to get a good mixing | 12 |
Channel and Graphic Equalizers | 13~14 |
General Specification | 14 |
Input & Output Specifications | 15 |
Characteristic Diagrams | 16 |
Block Diagram | 17 |
Level Diagram | 18 |
Dimensional Diagrams | 18 |
Precautions
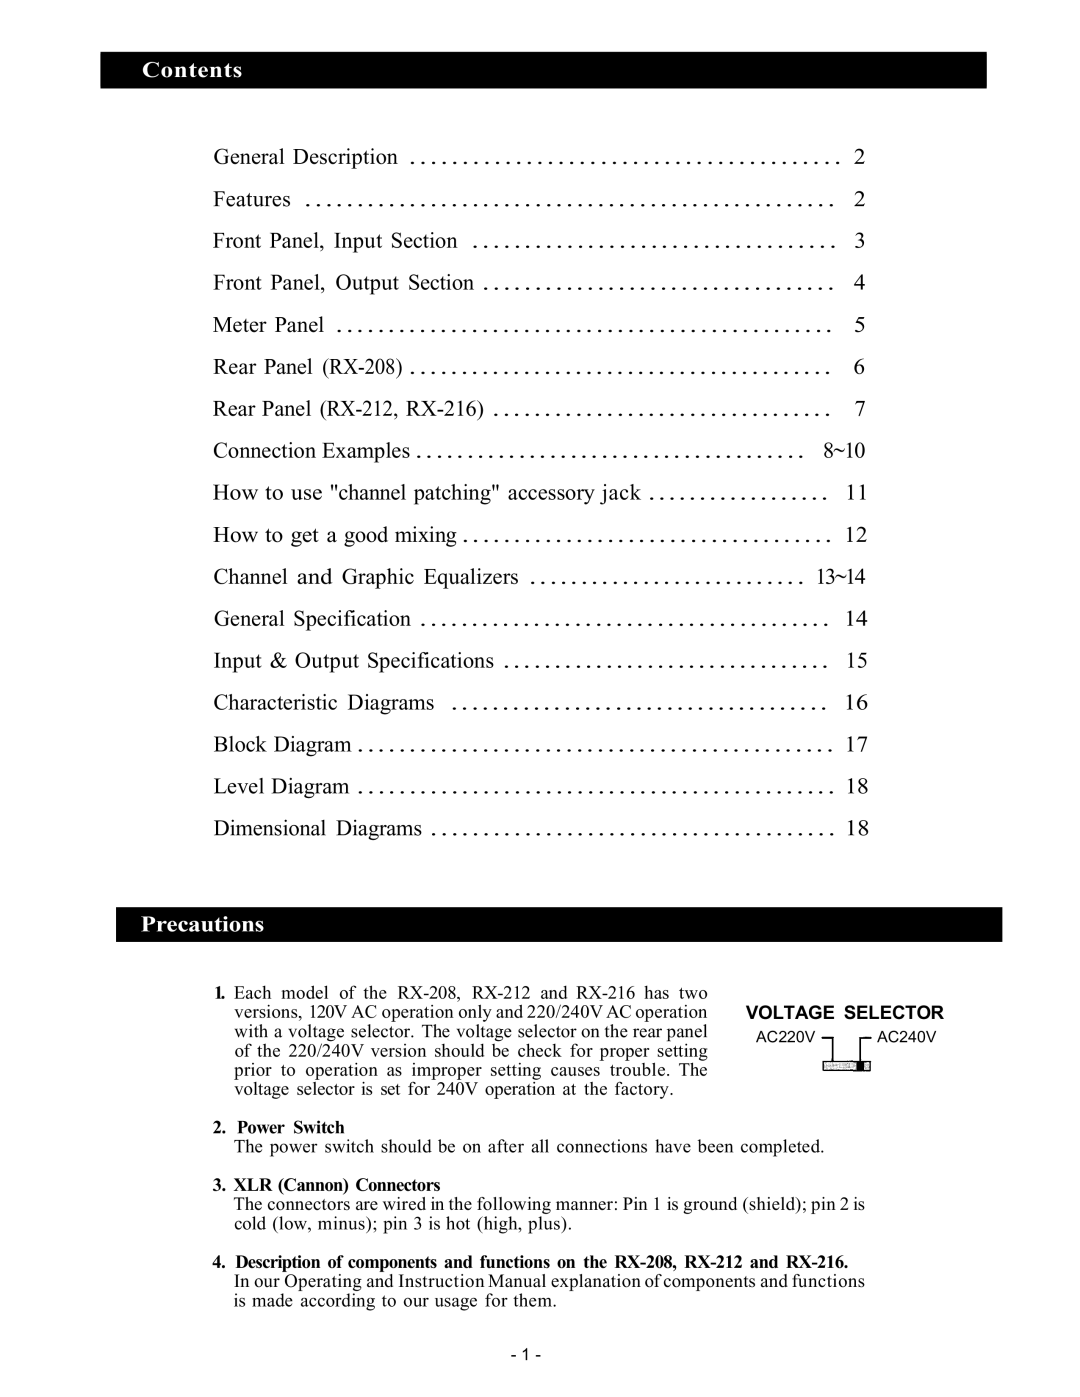
1.Each model of the
VOLTAGE SELECTOR
AC220V AC240V
2. Power Switch
The power switch should be on after all connections have been completed.
3.XLR (Cannon) Connectors
The connectors are wired in the following manner: Pin 1 is ground (shield); pin 2 is cold (low, minus); pin 3 is hot (high, plus).
4.Description of components and functions on the
- 1 -