RBC100, RBC200 & RBC400, RBC50, RBC50, RBC100, RBC200, RBC400, RBC200RT, RBC400RT specifications
The Traulsen RBC series represents a significant advancement in commercial refrigeration, offering a range of robust and reliable products suitable for various foodservice applications. The lineup includes the RBC50, RBC100, RBC200, RBC400, RBC200RT, and RBC400RT, each designed to meet specific storage and operational needs while maintaining exceptional performance and energy efficiency.The Traulsen RBC50 is a compact refrigerator ideal for smaller kitchens, boasting an impressive refrigeration capacity while taking up minimal space. It features a stainless steel exterior and aluminum interior, ensuring both durability and ease of cleaning. This model is equipped with a self-closing door and a magnetic door gasket that ensures a snug fit, which helps to maintain consistent temperatures.
The RBC100 follows closely, offering greater capacity without compromising on quality. It features digital controls that provide accurate temperature settings and monitoring, allowing operators to maintain optimal conditions for food storage. With energy-efficient insulation and a high-performance compressor, the RBC100 is designed for rigorous use in busy commercial environments.
Moving up in capacity and functionality, the RBC200 and RBC400 models cater to larger foodservice operations. The RBC200 provides extensive storage space with energy-efficient components, including a forced-air cooling system that ensures even temperature distribution throughout the cabinet. The RBC400, with its impressive size, is perfect for high-volume establishments, featuring multiple shelves and an optimized layout for easy access to stored goods.
For operations requiring rapid cooling, the RBC200RT and RBC400RT models add advanced refrigeration technologies. The RT series employs rapid chill functionality, ideal for quickly cooling hot foods to safe storage temperatures, enhancing food safety and quality in commercial kitchens.
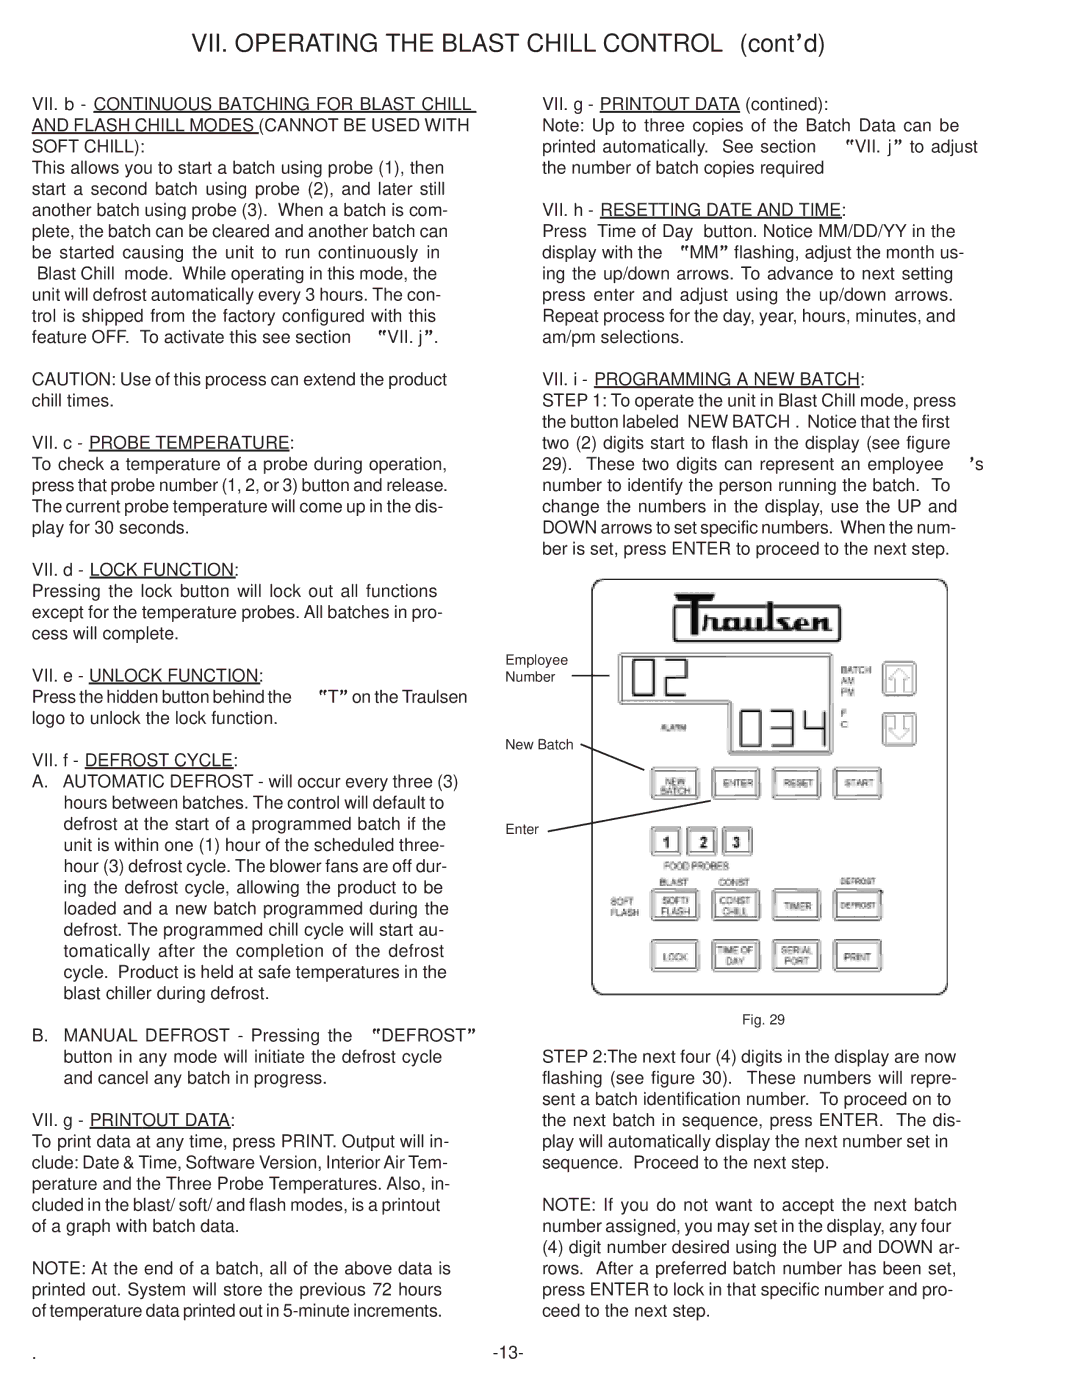
All models in the Traulsen RBC series are equipped with adjustable shelving, allowing flexibility in storage solutions. The user-friendly digital display and controls facilitate temperature monitoring and adjustments, ensuring that food remains at safe and optimal temperatures.
Overall, the Traulsen RBC series stands out for its combination of efficiency, durability, and cutting-edge technology, making it an excellent choice for any foodservice operator looking to enhance their refrigeration solutions.

