Rack Installation
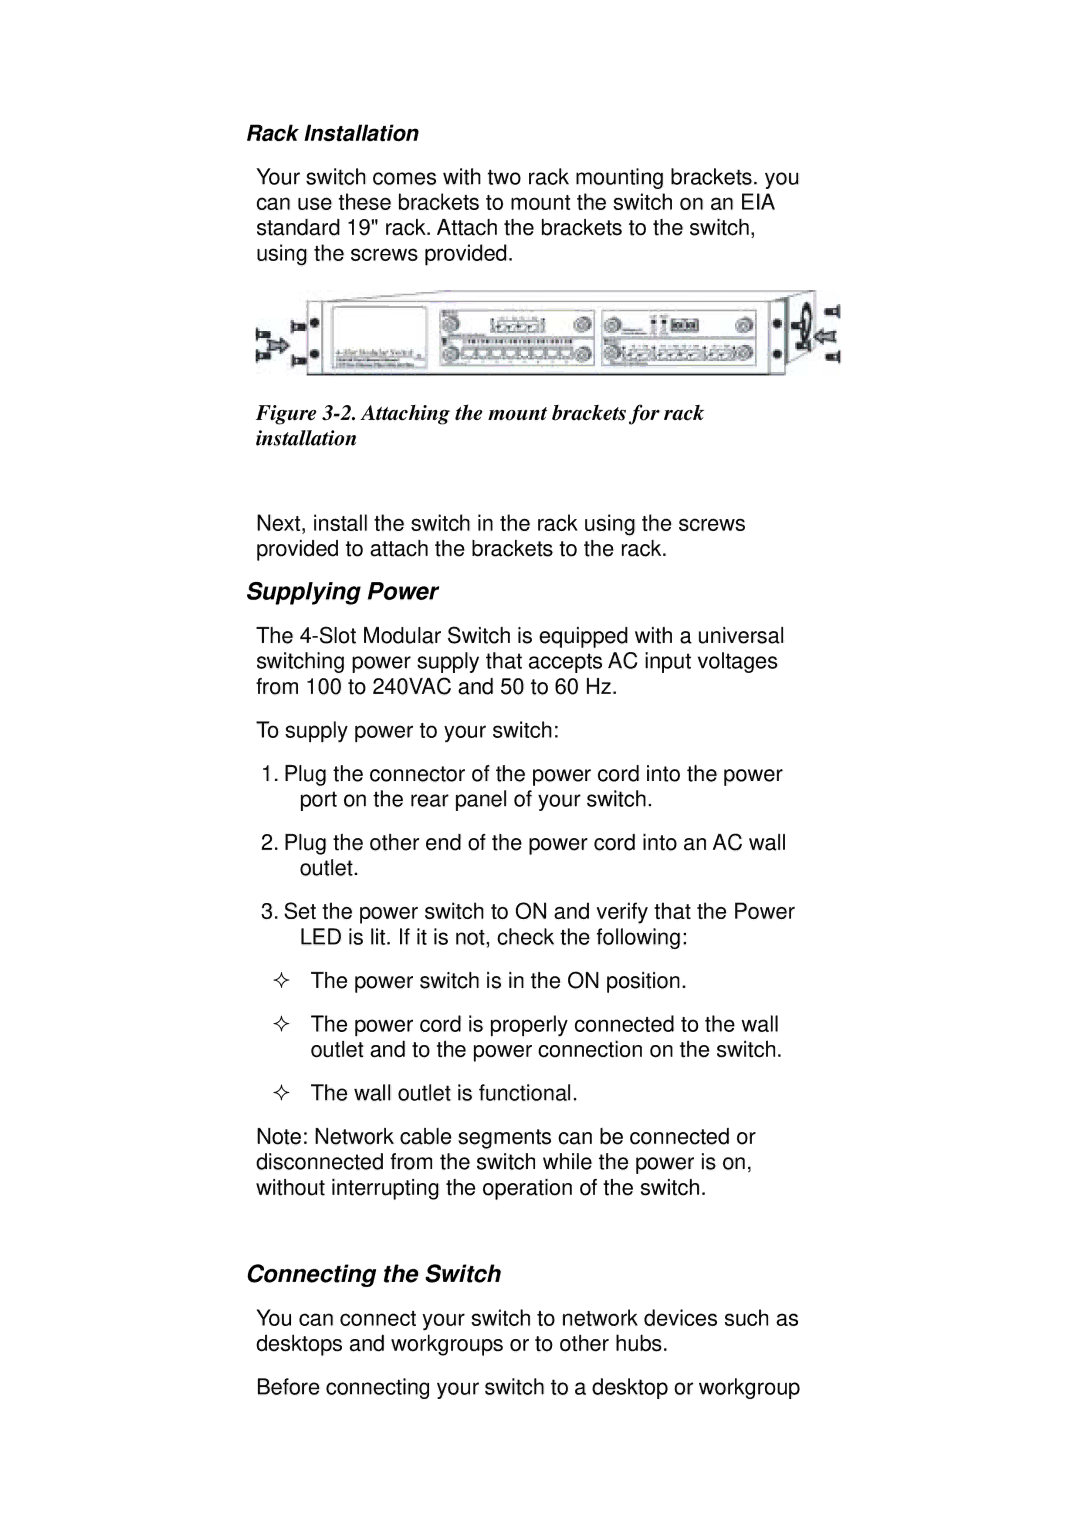
Your switch comes with two rack mounting brackets. you can use these brackets to mount the switch on an EIA standard 19" rack. Attach the brackets to the switch, using the screws provided.
Figure 3-2. Attaching the mount brackets for rack installation
Next, install the switch in the rack using the screws provided to attach the brackets to the rack.
Supplying Power
The
To supply power to your switch:
1.Plug the connector of the power cord into the power port on the rear panel of your switch.
2.Plug the other end of the power cord into an AC wall outlet.
3.Set the power switch to ON and verify that the Power LED is lit. If it is not, check the following:
The power switch is in the ON position.
The power cord is properly connected to the wall outlet and to the power connection on the switch.
The wall outlet is functional.
Note: Network cable segments can be connected or disconnected from the switch while the power is on, without interrupting the operation of the switch.
Connecting the Switch
You can connect your switch to network devices such as desktops and workgroups or to other hubs.
Before connecting your switch to a desktop or workgroup