TRENDnet User’s Guide
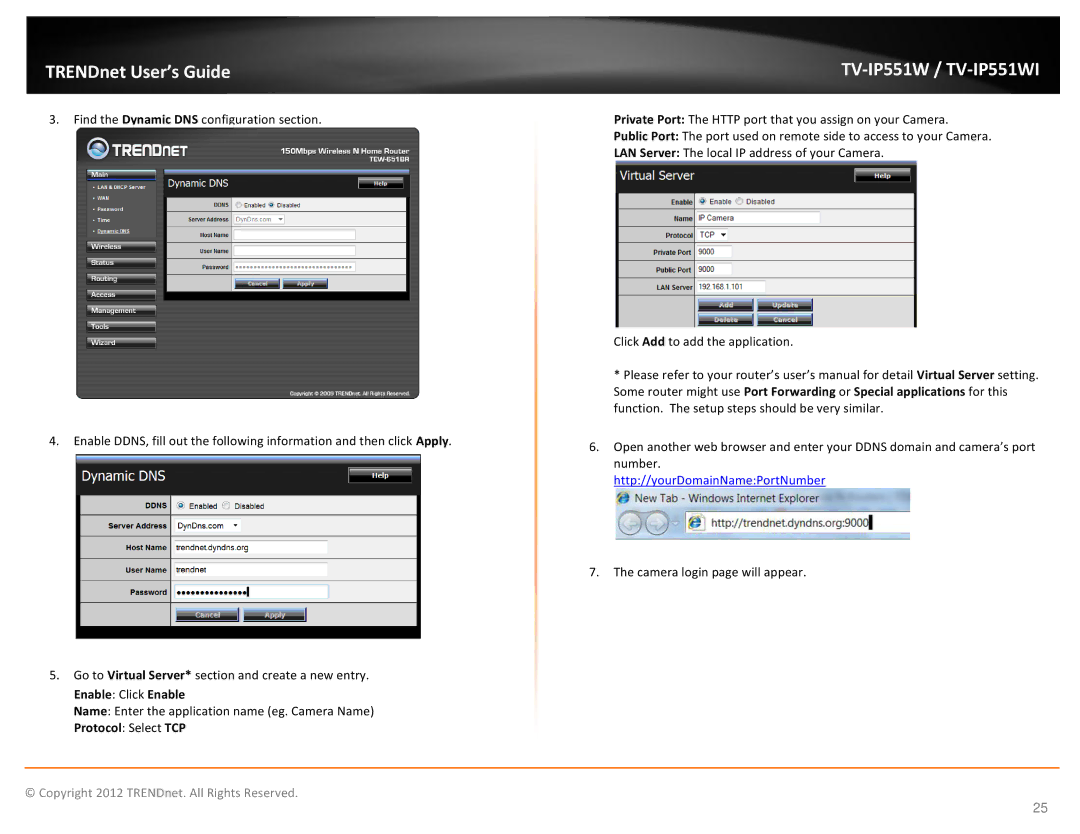
3.Find the Dynamic DNS configuration section.
4.Enable DDNS, fill out the following information and then click Apply.
5.Go to Virtual Server* section and create a new entry. Enable: Click Enable
Name: Enter the application name (eg. Camera Name)
Protocol: Select TCP
TV-IP551W / TV-IP551WI
Private Port: The HTTP port that you assign on your Camera.
Public Port: The port used on remote side to access to your Camera.
LAN Server: The local IP address of your Camera.
Click Add to add the application.
*Please refer to your router’s user’s manual for detail Virtual Server setting. Some router might use Port Forwarding or Special applications for this function. The setup steps should be very similar.
6.Open another web browser and enter your DDNS domain and camera’s port number.
http://yourDomainName:PortNumber
7.The camera login page will appear.
© Copyright 2012 TRENDnet. All Rights Reserved.
25