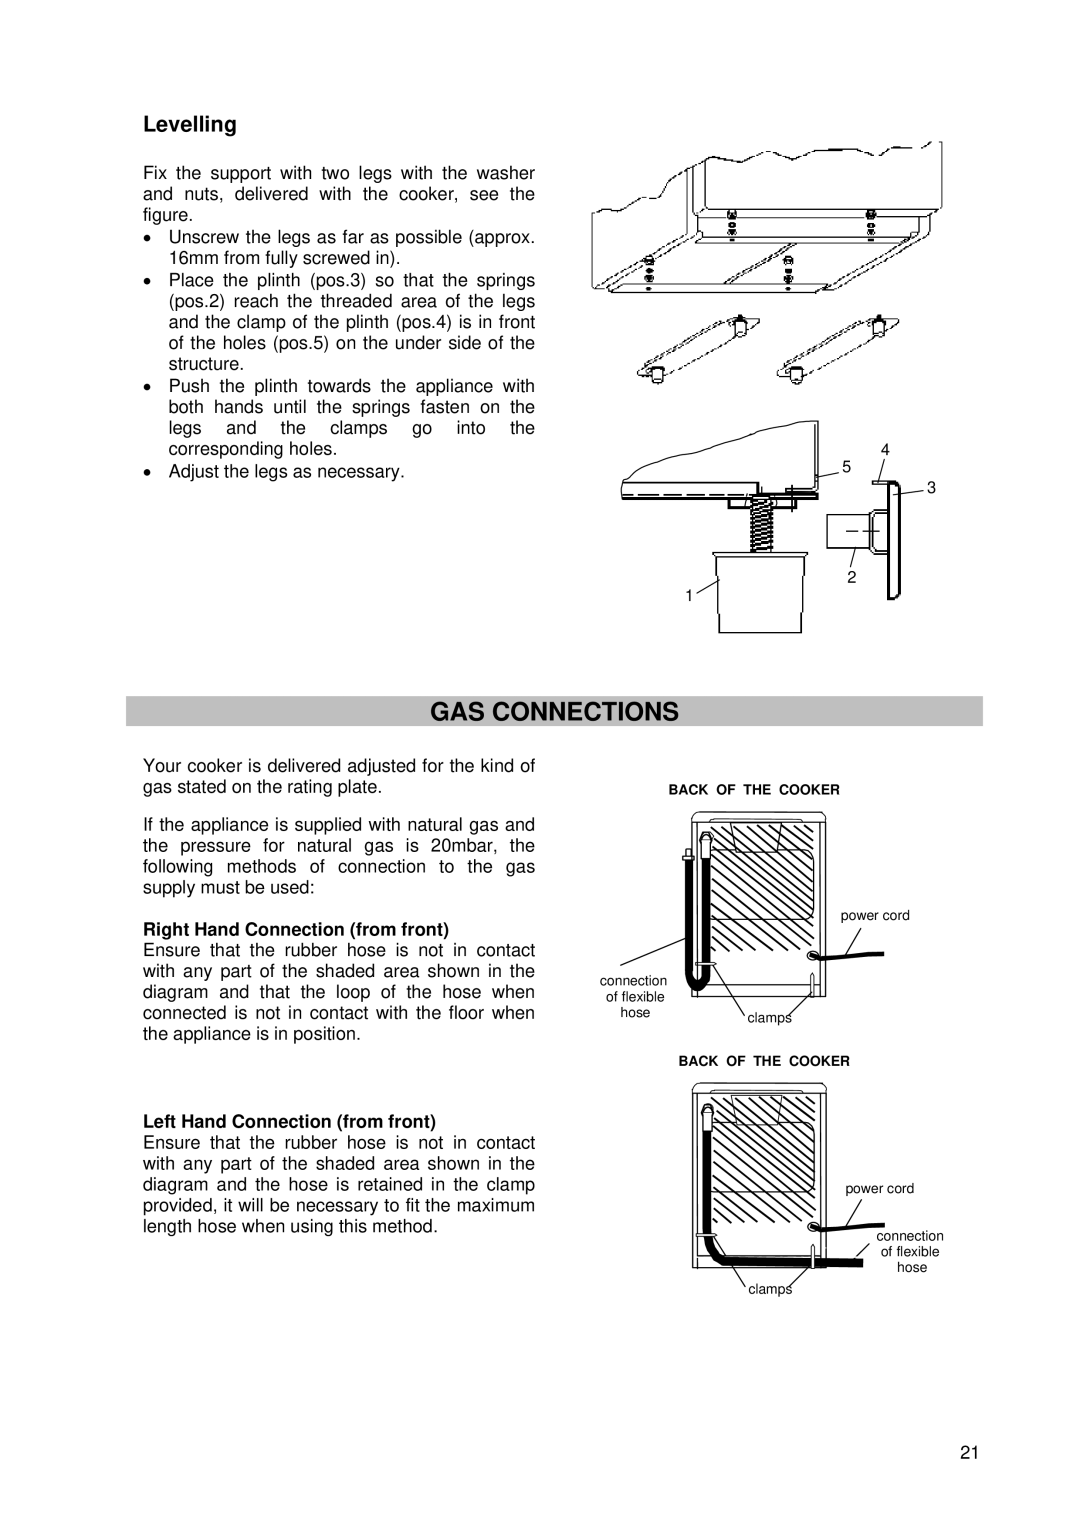
Levelling
Fix the support with two legs with the washer and nuts, delivered with the cooker, see the figure.
•Unscrew the legs as far as possible (approx. 16mm from fully screwed in).
•Place the plinth (pos.3) so that the springs (pos.2) reach the threaded area of the legs and the clamp of the plinth (pos.4) is in front of the holes (pos.5) on the under side of the structure.
•Push the plinth towards the appliance with both hands until the springs fasten on the legs and the clamps go into the corresponding holes.
•Adjust the legs as necessary.
4
5
![]() 3
3
2
1
GAS CONNECTIONS
Your cooker is delivered adjusted for the kind of gas stated on the rating plate.
If the appliance is supplied with natural gas and the pressure for natural gas is 20mbar, the following methods of connection to the gas supply must be used:
Right Hand Connection (from front)
Ensure that the rubber hose is not in contact with any part of the shaded area shown in the diagram and that the loop of the hose when connected is not in contact with the floor when the appliance is in position.
Left Hand Connection (from front)
Ensure that the rubber hose is not in contact with any part of the shaded area shown in the diagram and the hose is retained in the clamp provided, it will be necessary to fit the maximum length hose when using this method.
BACK OF THE COOKER
| power cord |
connection |
|
of flexible |
|
hose | clamps |
| |
| BACK OF THE COOKER |
| power cord |
| connection |
| of flexible |
| hose |
| clamps |
21