200210187 Smart
Mounting
Matching Your Front Panel to Your Equipment
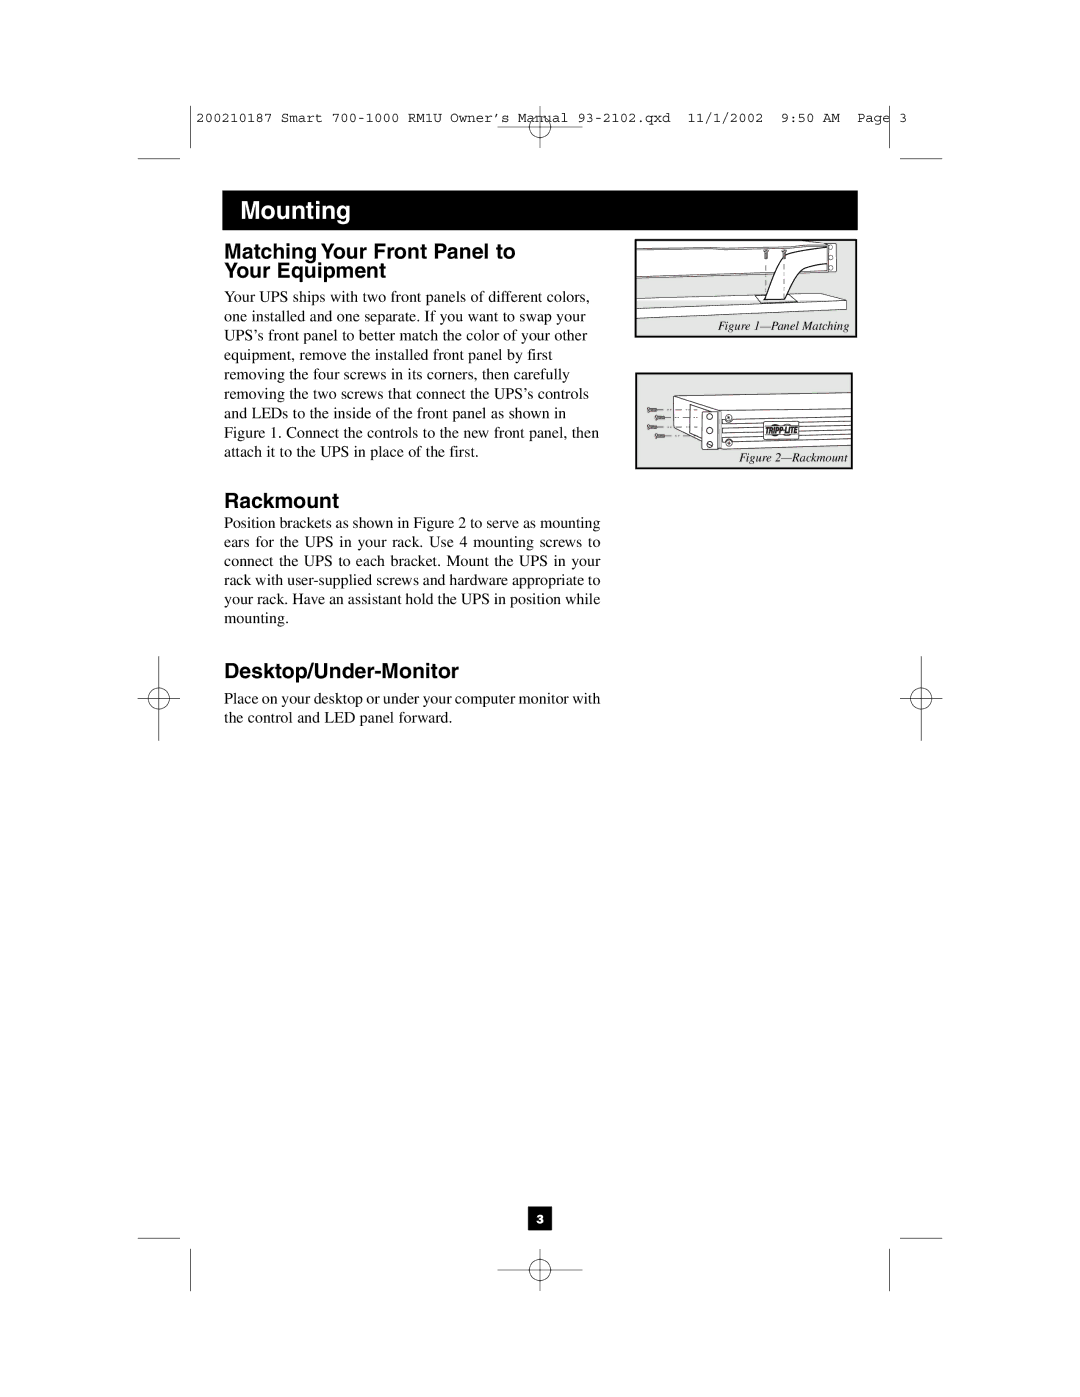
Your UPS ships with two front panels of different colors, one installed and one separate. If you want to swap your UPS’s front panel to better match the color of your other equipment, remove the installed front panel by first removing the four screws in its corners, then carefully removing the two screws that connect the UPS’s controls and LEDs to the inside of the front panel as shown in Figure 1. Connect the controls to the new front panel, then attach it to the UPS in place of the first.
Rackmount
Position brackets as shown in Figure 2 to serve as mounting ears for the UPS in your rack. Use 4 mounting screws to connect the UPS to each bracket. Mount the UPS in your rack with
Desktop/Under-Monitor
Place on your desktop or under your computer monitor with the control and LED panel forward.
Figure 1—Panel Matching
Figure 2—Rackmount
3