Installation
STEP 1) Place Your Console Component Power Center in a Console or Mount It in a Rack: The Console Component Power Center includes rubber mounting feet as well as rackmount hardware. Place the Console Component Power Center on a shelf as a console component or use the rackmount hardware to mount it in any standard size rack.
To mount the unit in a rack, first remove the console feet by unscrewing them. Attach the included rackmount hardware to the sides of the Console Component Power Center (STEP 1A) with the included screws. Before tightening the screws, adjust the hardware
to desired depth. The hardware's slots are designed to provide a
supplied rackmount screws through the unit's rackmount hardware (STEP 1B) and into the rack rails as shown. The user must determine the fitness of the
STEP 2) Connect Your Console Component Power Center to the AC Power Line: Plug the Console Component Power Center's power cord into a standard,
STEP 3) Turn Your Console Component Power Center ON: Press the Console Component Power Center's power switch until it illuminates, indicating power is supplied at the Console Component Power Center's outlets.
STEP 4) Check Your Console Component Power Center's Diagnostic Indicator Lights: Check the LEDs prior to connecting your equipment. They will indicate various operating conditions when the Console Component Power Center is plugged into a live 120V AC outlet and the Power Conditioning Center's power switch is on.
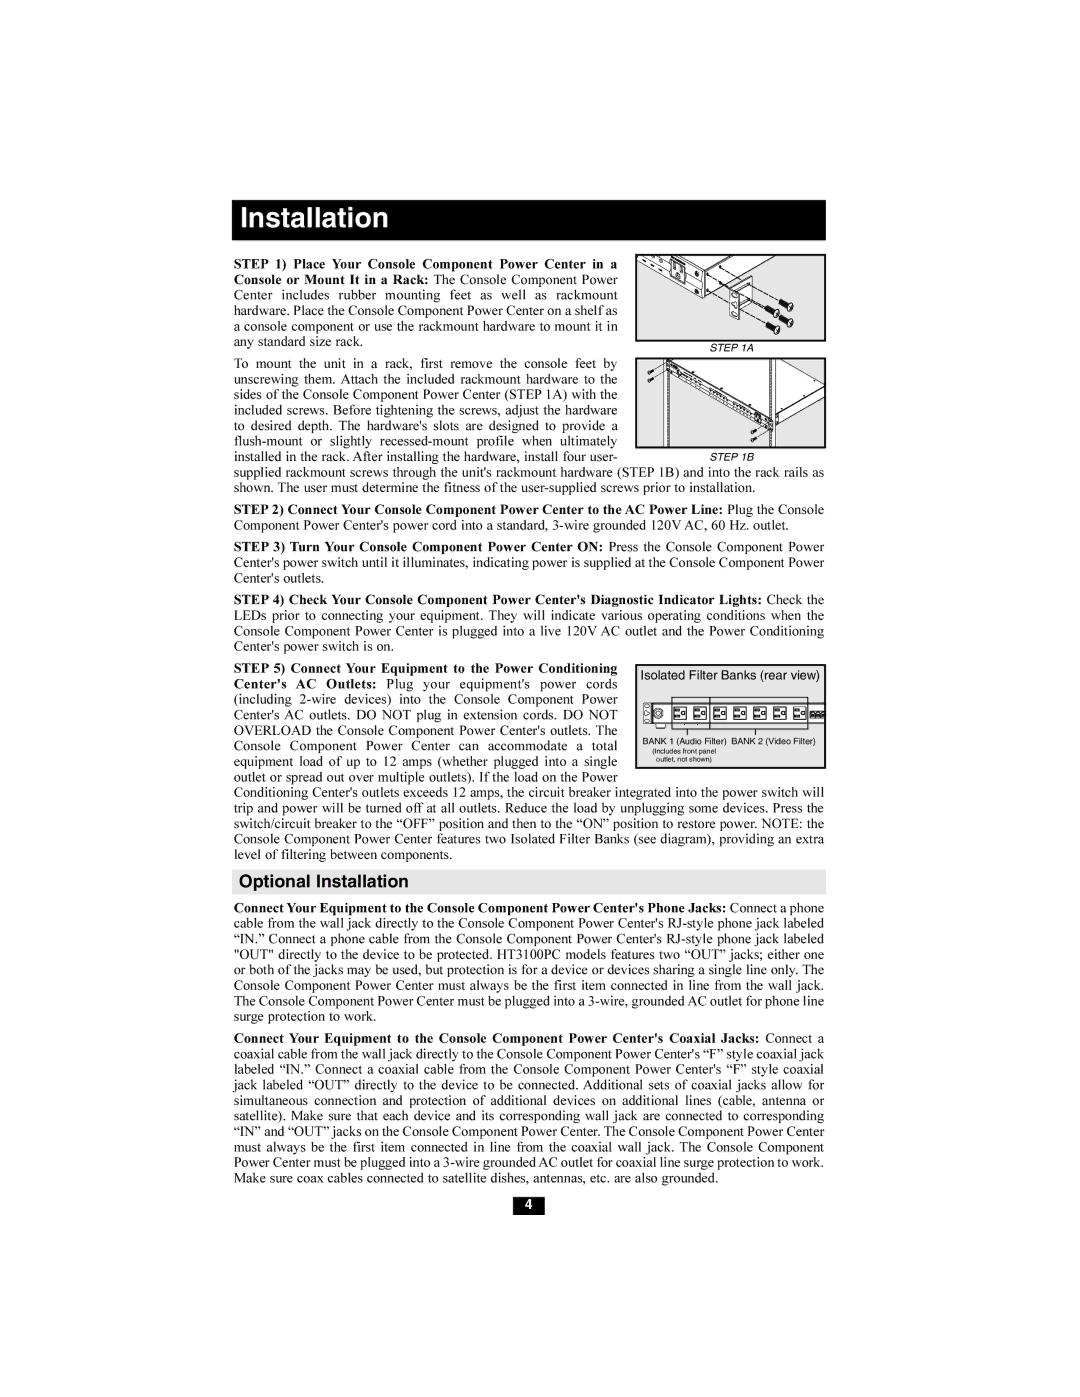
STEP 5) Connect Your Equipment to the Power Conditioning Center's AC Outlets: Plug your equipment's power cords (including
OVERLOAD the Console Component Power Center's outlets. The Console Component Power Center can accommodate a total
equipment load of up to 12 amps (whether plugged into a single outlet or spread out over multiple outlets). If the load on the Power
Conditioning Center's outlets exceeds 12 amps, the circuit breaker integrated into the power switch will trip and power will be turned off at all outlets. Reduce the load by unplugging some devices. Press the switch/circuit breaker to the “OFF” position and then to the “ON” position to restore power. NOTE: the Console Component Power Center features two Isolated Filter Banks (see diagram), providing an extra level of filtering between components.
Optional Installation
Connect Your Equipment to the Console Component Power Center's Phone Jacks: Connect a phone cable from the wall jack directly to the Console Component Power Center's
Connect Your Equipment to the Console Component Power Center's Coaxial Jacks: Connect a coaxial cable from the wall jack directly to the Console Component Power Center's “F” style coaxial jack labeled “IN.” Connect a coaxial cable from the Console Component Power Center's “F” style coaxial jack labeled “OUT” directly to the device to be connected. Additional sets of coaxial jacks allow for simultaneous connection and protection of additional devices on additional lines (cable, antenna or satellite). Make sure that each device and its corresponding wall jack are connected to corresponding “IN” and “OUT” jacks on the Console Component Power Center. The Console Component Power Center must always be the first item connected in line from the coaxial wall jack. The Console Component Power Center must be plugged into a
4
