INSTALLING THE SUMMIT
For more information on
INSTALLING THE SUMMIT
The Summit can be mounted in a rack, or placed
RACK MOUNTING
The switch is 2U high and will fit in most standard
The rack mount kits must not be used to suspend the switch from under a table or desk, or attach it to a wall.
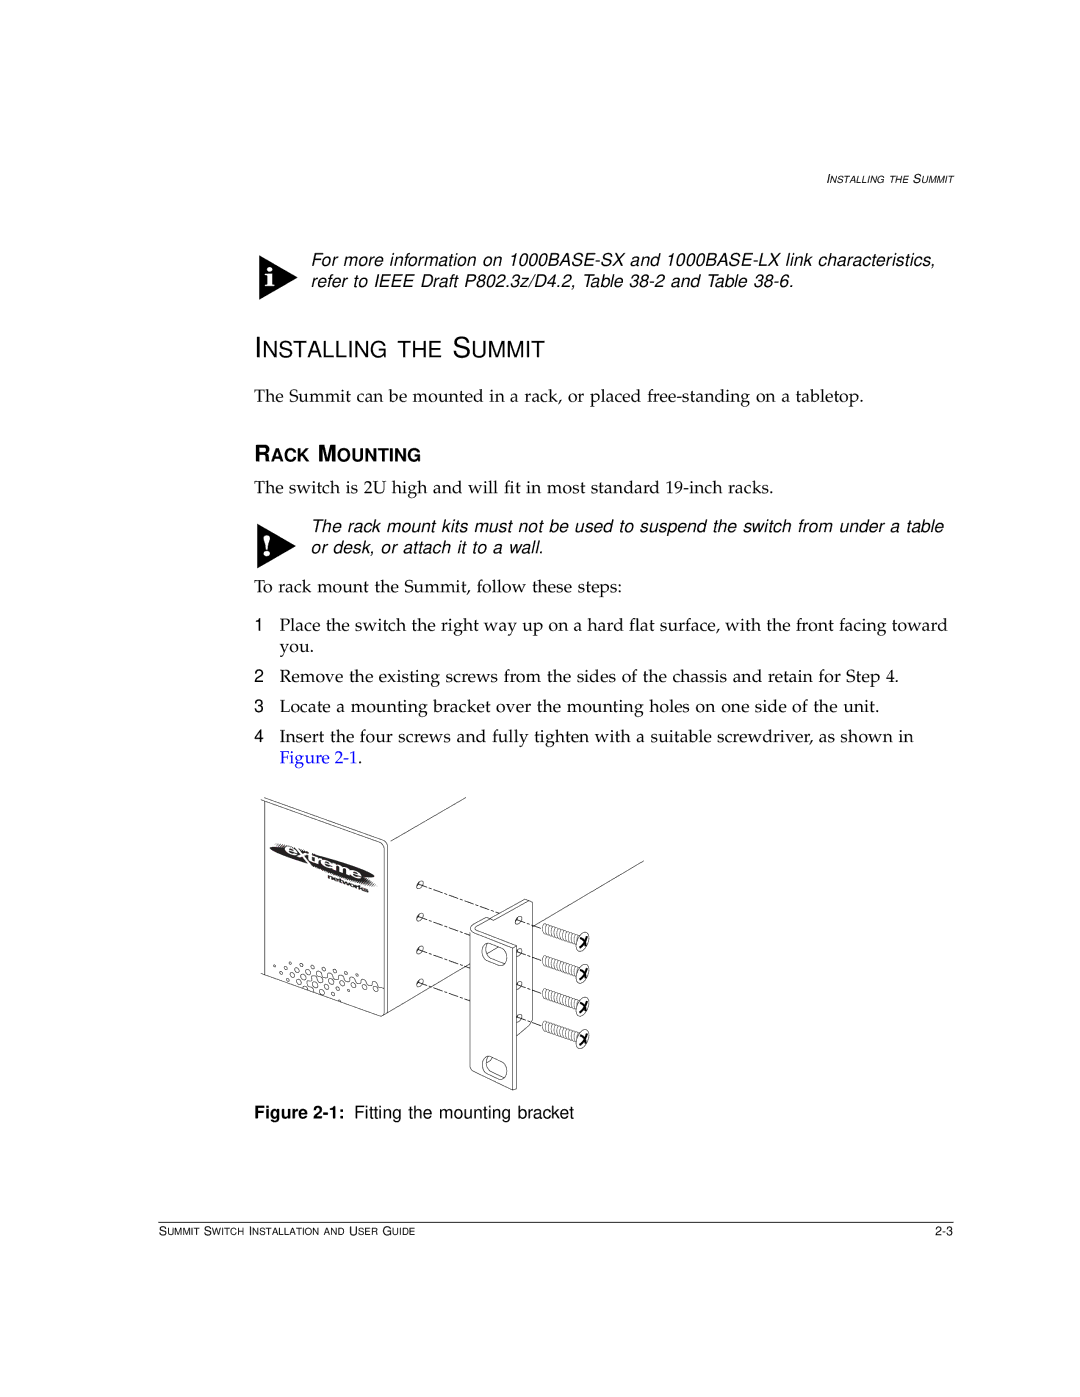
To rack mount the Summit, follow these steps:
1Place the switch the right way up on a hard flat surface, with the front facing toward you.
2Remove the existing screws from the sides of the chassis and retain for Step 4.
3Locate a mounting bracket over the mounting holes on one side of the unit.
4Insert the four screws and fully tighten with a suitable screwdriver, as shown in Figure
Figure 2-1: Fitting the mounting bracket
SUMMIT SWITCH INSTALLATION AND USER GUIDE |