Connection continued
Cold Start (optional): To use your UPS as a
Configure UPS output: Put the UPS into bypass mode by holding the OFF button K down until the UPS beeps, then put the UPS into setup mode by holding down both of its scroll buttons J at once. Scroll through the setup options and select the appropriate setting for each of the following options.
Output Voltage: Select 200, 208, 220, 230 or 240V AC.
Output Frequency: The UPS will automatically select 50 or 60 Hz to match the input.
Economy Mode: The UPS can provide true
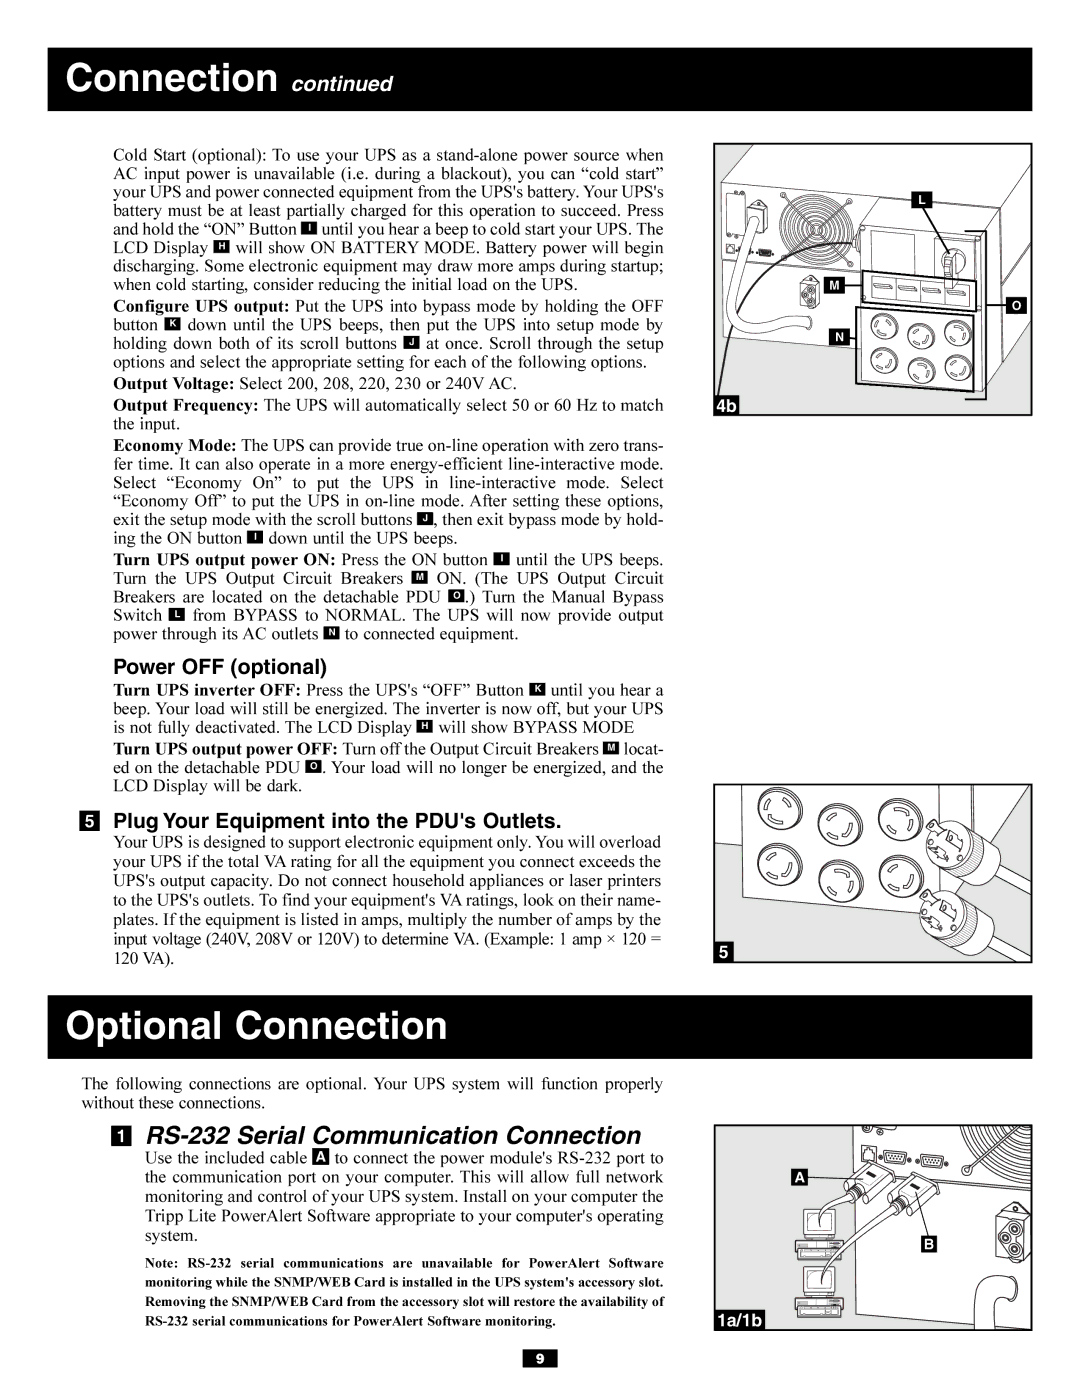
Turn UPS output power ON: Press the ON button I until the UPS beeps. Turn the UPS Output Circuit Breakers M ON. (The UPS Output Circuit Breakers are located on the detachable PDU O .) Turn the Manual Bypass Switch L from BYPASS to NORMAL. The UPS will now provide output power through its AC outlets N to connected equipment.
Power OFF (optional)
Turn UPS inverter OFF: Press the UPS's “OFF” Button K until you hear a beep. Your load will still be energized. The inverter is now off, but your UPS is not fully deactivated. The LCD Display H will show BYPASS MODE
Turn UPS output power OFF: Turn off the Output Circuit Breakers M locat- ed on the detachable PDU O . Your load will no longer be energized, and the LCD Display will be dark.
5Plug Your Equipment into the PDU's Outlets.
Your UPS is designed to support electronic equipment only. You will overload your UPS if the total VA rating for all the equipment you connect exceeds the UPS's output capacity. Do not connect household appliances or laser printers to the UPS's outlets. To find your equipment's VA ratings, look on their name- plates. If the equipment is listed in amps, multiply the number of amps by the input voltage (240V, 208V or 120V) to determine VA. (Example: 1 amp × 120 = 120 VA).
L |
M |
O |
N |
4b |
5 |
Optional Connection
The following connections are optional. Your UPS system will function properly without these connections.
1RS-232 Serial Communication Connection
Use the included cable A to connect the power module's
Note:
A ![]()
![]()
B
1a/1b
9
