SRC-2X Installation and Operation Manual
Quick Start Application Example - 1
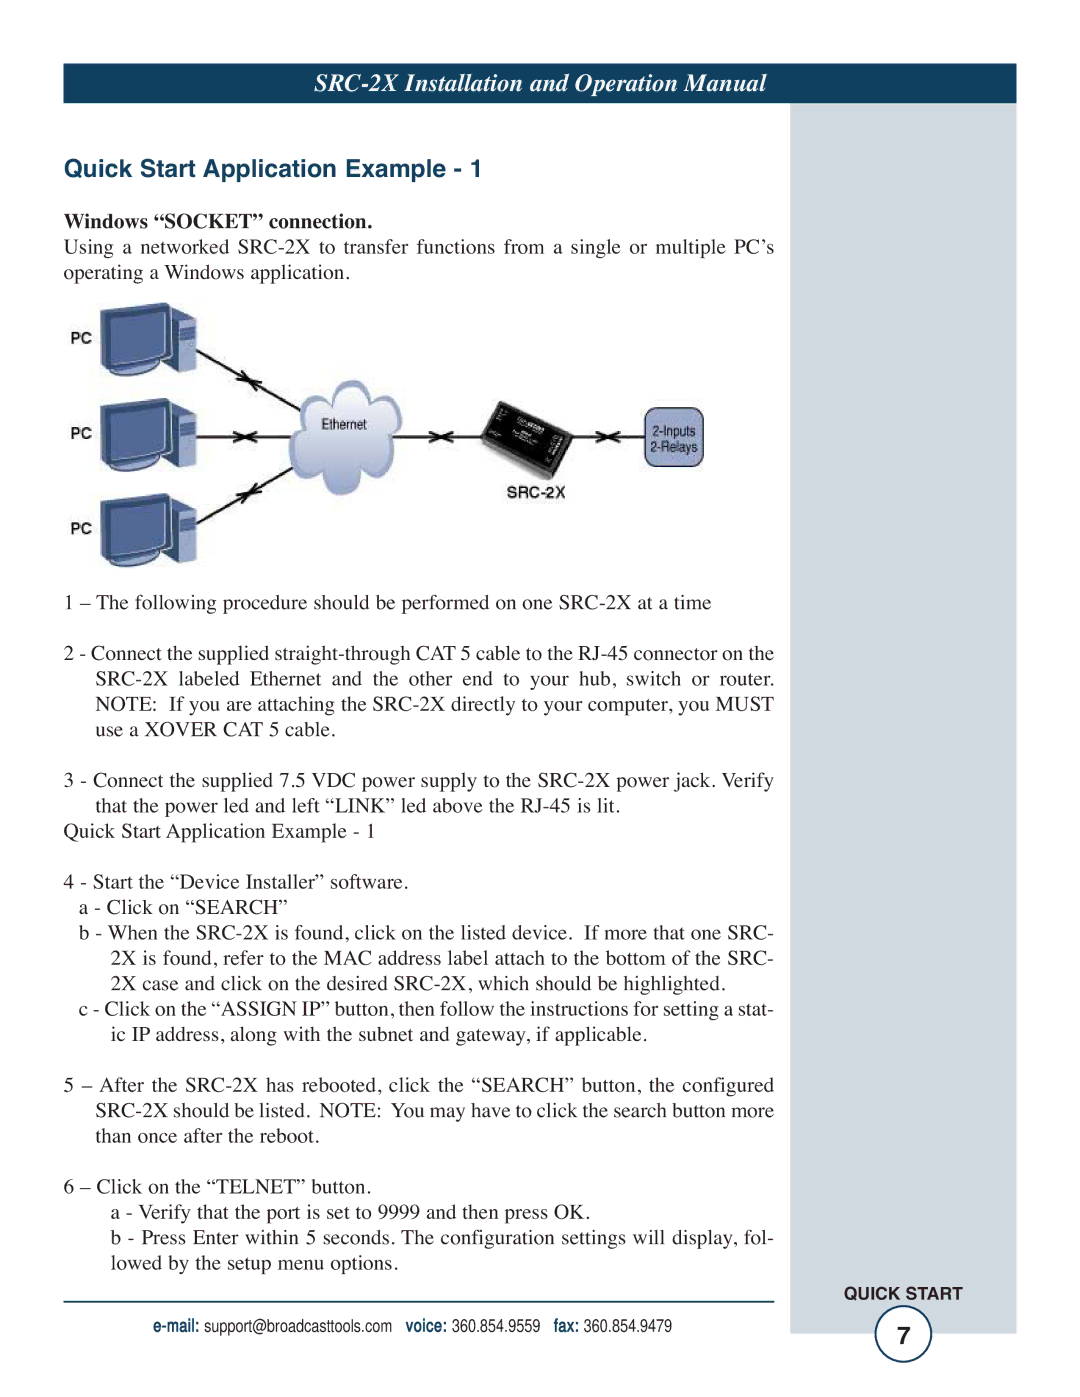
Windows “SOCKET” connection.
Using a networked SRC-2X to transfer functions from a single or multiple PC’s operating a Windows application.
1 – The following procedure should be performed on one SRC-2X at a time
2 - Connect the supplied straight-through CAT 5 cable to the RJ-45 connector on the SRC-2X labeled Ethernet and the other end to your hub, switch or router. NOTE: If you are attaching the SRC-2X directly to your computer, you MUST use a XOVER CAT 5 cable.
3 - Connect the supplied 7.5 VDC power supply to the SRC-2X power jack. Verify that the power led and left “LINK” led above the RJ-45 is lit.
Quick Start Application Example - 1
4 - Start the “Device Installer” software. a - Click on “SEARCH”
b - When the SRC-2X is found, click on the listed device. If more that one SRC- 2X is found, refer to the MAC address label attach to the bottom of the SRC- 2X case and click on the desired SRC-2X, which should be highlighted.
c - Click on the “ASSIGN IP” button, then follow the instructions for setting a stat- ic IP address, along with the subnet and gateway, if applicable.
5 – After the SRC-2X has rebooted, click the “SEARCH” button, the configured SRC-2X should be listed. NOTE: You may have to click the search button more than once after the reboot.
6 – Click on the “TELNET” button.
a - Verify that the port is set to 9999 and then press OK.
b - Press Enter within 5 seconds. The configuration settings will display, fol- lowed by the setup menu options.
| | | QUICK START |
e-mail:support@broadcasttools.com | voice: 360.854.9559 | fax: 360.854.9479 | 7 |
| | |