Section 3: Assembly

5.Place one end of needle nose pliers on bottom of axle and other end of pliers on top of e-ring. Seat e-ring by pressing pliers closed.

6.Repeat step 3 through 5 to secure second wheel.

8.To aid support leg assembly, rest generator on cradle, engine end down. Attach support leg with two

M8 x 16mm cap screws and two locking hex nuts as shown.

9.Use two 13 mm wrenches to tighten leg hardware. Rest generator on wheels and support leg.

10.Center handle bracket on generator frame at support leg end of cradle, as shown.

11.Attach handle bracket with two M8 x 45mm cap screws and two locking hex nuts.

12.Check that all fasteners are tight and the tires are inflated to value marked on tire or within 15 and 40 psi.

BEFORE STARTING THE ENGINE

Add Engine Oil

• Place generator on a level surface.

CAUTION

Any attempt to crank or start the engine before it has been properly filled with the recommended oil will result in equipment failure.

Refer to engine manual for oil fill information.

Damage to equipment resulting from failure to follow this instruction will void warranty.

Refer to engine owner’s manual and follow oil recommendations and instructions.

NOTE: Check oil often during engine break–in. Refer to engine owner’s manual for recommendations.

NOTE: The generator assembly rotates on a prelubricated and sealed ball bearing that requires no additional lubrication for the life of the bearing.

Add Fuel

NOTE: This gasoline engine is certified to operate on

gasoline. Exhaust Emission Control System: EM (Engine Modifications).

WARNING

Fuel and its vapors are extremely flammable and explosive.

Fire or explosion can cause severe burns or death.

WHEN ADDING FUEL

Turn generator OFF and let it cool at least 2 minutes before removing fuel cap. Loosen cap slowly to relieve pressure in tank.

Fill fuel tank outdoors.

DO NOT overfill tank. Allow space for fuel expansion.

Keep fuel away from sparks, open flames, pilot lights, heat, and other ignition sources.

DO NOT light a cigarette or smoke.

1.Use clean, fresh, regular UNLEADED fuel with a minimum of 85 octane. DO NOT use fuel which contains Methanol. DO NOT mix oil with fuel.

2.Clean area around fuel fill cap, remove cap.

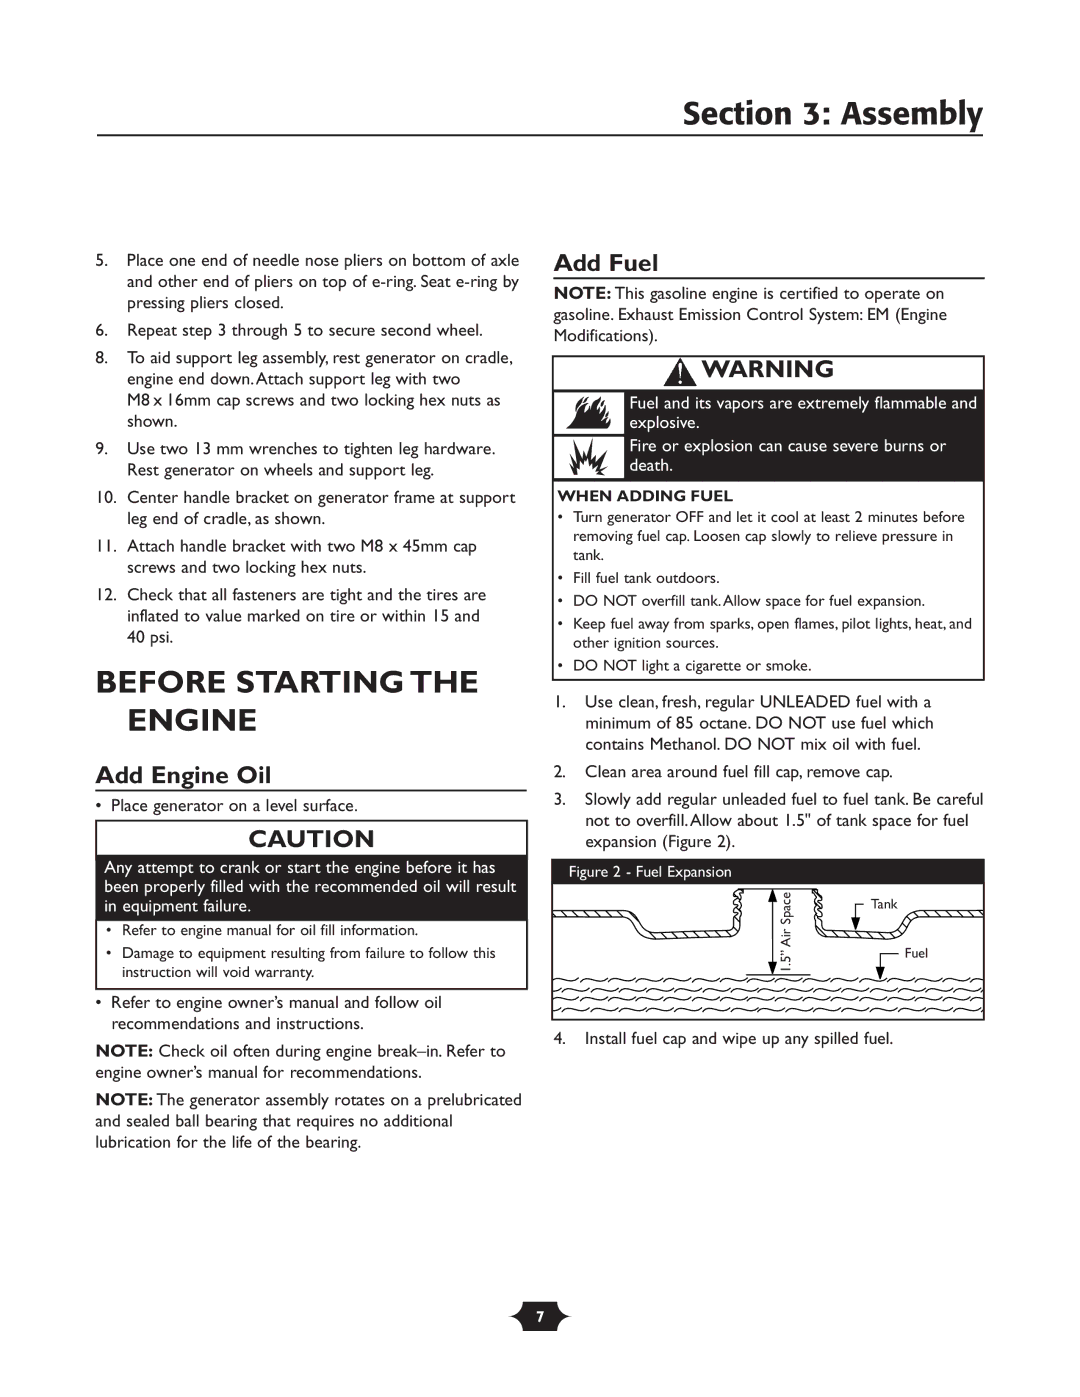
3.Slowly add regular unleaded fuel to fuel tank. Be careful not to overfill. Allow about 1.5" of tank space for fuel expansion (Figure 2).

Figure 2 - Fuel Expansion

AirSpace

Tank

Fuel

1.5”


4.Install fuel cap and wipe up any spilled fuel.

7

Page 7
Image 7
Troy-Bilt 1919 owner manual Assembly, Before Starting the Engine, Add Engine Oil, Add Fuel, When Adding Fuel

1919 specifications

Troy-Bilt 1919 is a remarkable addition to Troy-Bilt's expansive collection of outdoor power equipment, symbolizing over a century of innovation and reliable performance. Designed for gardening enthusiasts and professional landscapers alike, the 1919 model integrates advanced features and technology that enhance its usability and efficiency.

One of the standout characteristics of the Troy-Bilt 1919 is its robust construction. Built with high-quality materials, it offers durability that withstands the rigors of outdoor use. The reinforced frame and heavy-duty components ensure that this equipment can tackle even the most challenging gardening tasks without compromising performance.

The engine is a critical element of the 1919 model, boasting powerful performance with a reliable gas-powered engine that provides ample horsepower to handle various gardening and landscaping jobs. This engine is designed for easy starting, reducing the frustration often experienced with traditional pull-starts. With improved fuel efficiency, users can enjoy longer operational times between tank refills, making it an economical choice for extensive gardening projects.

Troy-Bilt has incorporated innovative technology into the 1919 model, including the patented 3-in-1 capability, which allows users to mulch, bag, or discharge clippings effortlessly. This versatility is ideal for maintaining clean and healthy lawns, as it caters to a variety of preferences in lawn care while promoting optimal grass health.

Another impressive feature is the adjustable cutting height, which enables users to customize the mower’s height to suit different types of grass and seasonal lawn care needs. This feature ensures that users can achieve a professional-looking finish without unnecessary strain or effort.

Comfort and ergonomics have also been prioritized in the design of the Troy-Bilt 1919. The adjustable handle, padded grips, and lightweight structure make it user-friendly and reduce fatigue during prolonged use. Additionally, the smooth and responsive maneuverability enhances the mowing experience, allowing users to navigate tight spaces and edges with ease.

Overall, the Troy-Bilt 1919 stands out for its blend of strength, innovation, and user-oriented design. Whether you're a gardening novice or an experienced professional, this model promises to deliver superior performance and reliability to meet your lawn care needs. With its multitude of features and cutting-edge technology, the Troy-Bilt 1919 exemplifies the brand's commitment to excellence in outdoor power equipment.