4

Operating

Your Snow

Thrower

WARNING

Read, understand, and follow all instruc- tions and warnings on the machine and in this manual before operating.

Use extreme care when handling gasoline. Gasoline is extremely flammable and the vapors are explosive. Never fuel the machine indoors or while the engine is hot or running. Extinguish cigarettes, cigars, pipes and other sources of ignition.

Gas & Oil Fill-Up

Service the engine with gasoline and oil as instructed in the separate engine manual packed separately with your snow thrower. Read instructions carefully.

Starting The Engine

1.Attach spark plug wire to spark plug. Make certain the metal loop on the end of the spark plug wire (inside the rubber boot) is fastened securely over the metal tip on the spark plug.

2.Make certain both the auger control and drive control are in the disengaged (released) position.

3.Move throttle control up to FAST position. Insert ignition key into slot. Make sure it snaps into place. Do not attempt to turn the key.

NOTE: The engine cannot start unless the key is inserted into ignition switch.

Electric Starter (on certain models)

1.Determine that your home’s wiring is a three-wire grounded system. Ask a licensed electrician if you are not certain.

WARNING: The optional electric starter is equipped with a grounded three-wire power cord and plug, and is designed to operate on 120 volt AC household current. It must be used with a properly grounded three-prong receptacle at all times to avoid the possibility of electric shock. Follow all instructions carefully prior to operat- ing the electric starter.

If your home’s wiring system is not a three-wire grounded system, do not use this electric starter under

any conditions.

If your home electrical system is grounded, but a three-hole receptacle is not available, one should be installed by a licensed electrician before using the electric starter.

If you have a grounded three-prong receptacle, proceed as follows:

1.Plug the extension cord into the outlet located on the engine’s surface. Plug the other end of extension cord into a three-prong 120-volt, grounded, AC outlet in a well-ventilated area.

2.Rotate choke control to FULL choke position (for a cold engine start).

NOTE: If the engine is already warm, place choke control in the OFF position instead of FULL.

3.Push the primer two or three times for cold engine start, making sure to cover vent hole in the center of the primer when pushing.

NOTE: DO NOT use primer to restart a warm engine after a short shutdown.

4. Push starter button to start engine.

5.Once the engine starts, immediately release starter button.

6.As the engine warms, slowly rotate the choke control to the OFF position. If the engine falters, quickly rotate the choke control back to FULL and then slowly into the OFF position again.

7.When disconnecting the extension cord, always unplug the end at the three-prong wall outlet before unplug- ging the opposite end from the snow thrower.

Recoil Starter

1.Rotate choke control to FULL choke position (cold engine start).

NOTE: If the engine is already warm, place choke control in the OFF position instead of FULL.

2.Push the primer two or three times for cold engine start, making sure to cover vent hole in the center of the primer when pushing.

NOTE: DO NOT use primer to restart a warm engine after a short shutdown.

NOTE: Additional priming may be necessary if the temperature is below 15° F. (-9° C).

3.Grasp the recoil starter handle and slowly pull the rope out. At the point where it becomes slightly harder to pull the rope, slowly allow the rope to recoil.

4.Pull the starter handle with a firm, rapid stroke. Do not release the handle and allow it to snap back. Keep a firm hold on the starter handle and allow it to slowly recoil.

5.As the engine warms, slowly rotate the choke control to the OFF position. If the engine falters, quickly rotate the choke control back to the FULL position and then slowly into the OFF position again.

NOTE: Allow the engine to warm up for a few minutes after starting. The engine will not develop full power until it reaches operating temperatures.

Stopping The Engine

Run engine for a few minutes before stopping to help dry off any moisture on the engine.

Move throttle control to STOP position.

Remove the ignition key (Do not turn key) to prevent unauthorized use of equipment.

NOTE: Keep the key in a safe place. The engine cannot start without the ignition key.

Wipe all snow and moisture from the area around the engine as well as the area in and around the drive control and auger control. Also, engage and release both controls several times.

12

Page 12
Image 12
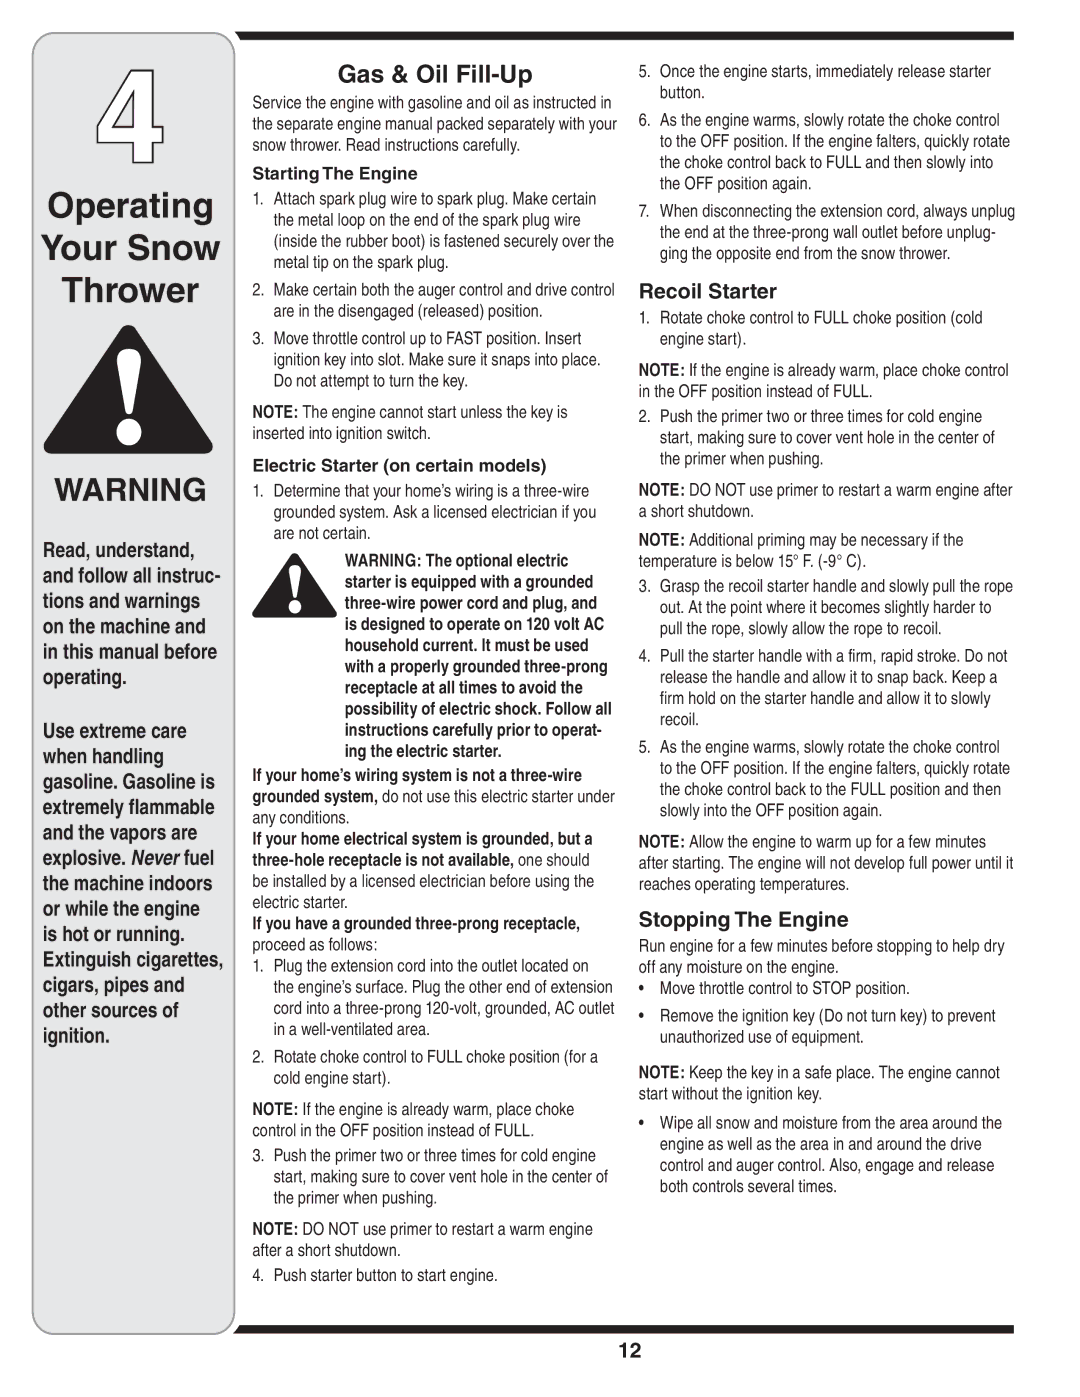
Troy-Bilt 769-02528 warranty Recoil Starter, Stopping The Engine, Starting The Engine, Electric Starter on certain models

769-02528 specifications

The Troy-Bilt 769-02528 is a powerful and versatile tool designed to make outdoor work easier and more efficient. This machine is particularly known for its robust performance in various landscaping tasks, including tilling, planting, and cultivating. With a well-engineered design, it addresses the needs of both amateur gardeners and professional landscapers who require reliable equipment.

One of the standout features of the Troy-Bilt 769-02528 is its potent 208cc engine. This engine provides ample power to tackle tough soil conditions and heavy-duty gardening tasks. The engine is designed for easy starting, which is a significant advantage for users who may not want to deal with the frustrations of traditional pull-start systems. The machine is equipped with a recoil starter that engages smoothly, reducing overall strain during the starting process.

In terms of tilling capabilities, the Troy-Bilt 769-02528 is built with a set of 12-inch hardened steel tines. These tines are engineered for durability and efficiency, allowing the tiller to penetrate deeper into the soil and break up compacted ground easily. The adjustable tilling width offers versatility, enabling users to select the appropriate width for their specific gardening needs. The tilling width can vary from 16 to 21 inches, catering to a range of tasks from small garden beds to larger areas.

An intuitive design is evident in the balance and maneuverability of the Troy-Bilt 769-02528. It comes with a low-profile design, which enhances stability during operation. The adjustable handlebars offer comfort and control as users navigate through their gardens. Additionally, the forward and reverse drive options make it easy to maneuver the tiller in tight spaces and improve overall usability.

Another key technology featured in the Troy-Bilt 769-02528 is its self-propelled feature. This allows the tiller to move on its own, reducing the physical effort required by the operator. The combination of this self-propulsion with variable-speed options makes it suitable for various terrains and soil types, ultimately enhancing productivity.

Overall, the Troy-Bilt 769-02528 combines power, efficiency, and innovative technology to deliver a reliable gardening tool. Its features cater to a wide audience, from seasoned gardeners looking for a dependable helper to those just starting in landscaping. With its solid construction and advanced capabilities, the Troy-Bilt 769-02528 stands out as an essential asset for any outdoor project.