True Food Service Equipment, Inc.
INSTALLATION / OPERATION INSTRUCTIONS
SEALING CABINET TO FLOOR
Step 4
Step A - Position Cabinet
When positioning cabinet into a final location make sure there are no obstructions in front of the intake and exhaust areas. These areas are located in the front and back of the cabinet.
Step B - Level Cabinet
Cabinet should be level, side to side and front to back. Place a carpenter’s level in the interior floor in four places:
1.Position level in the inside floor of the unit near the front. (Level should be parallel to cabinet front). Level cabinet.
2.Position level at the inside rear of cabinet. (Again level should be placed parallel to cabinet back).
3.Perform similar procedures to steps a & b by placing the level on inside floor (left and right sides - parallel to the depth of the freezer). Level cabinet.
Step C
Draw an outline on the base on the floor.
Step D
Raise and block the front side of the cabinet.
Step E
Apply a bead of “NSF Approved Sealant”, (see list below), To floor half inch inside the outline drawn. The bead must be heavy enough to seal the entire cabinet surface when it is down on the sealant.
Step F
Raise and block the rear of the cabinet.
Step G
Apply sealant on floor as outline in Step E. on other three sides.
Step H
Examine to see that cabinet is sealed to floor around entire perimeter.
Note:
Asphalt floors are very susceptible to chemical attack. A layer of tape on the floor prior to applying the sealant will protect the floor.
NSF Approved Sealants:
1.Minnesota Mining #ECU800 Caulk
2.Minnesota Mining #ECU2185 Caulk
3.Minnesota Mining #ECU1055 Bead
4.Minnesota Mining #ECU1202 Bead
5.Armstrong Cork - Rubber Caulk
6.Products Research Co. #5000 Rubber Caulk
7.G.E. Silicone Sealer
8.Dow Corning Silicone Sealer
VENTILATION
Step 5
A.Set unit in its final location. Be sure there is adequate ventilation in your room. Maximum ambient operating temperature is 75˚F / 55% humidity.
Warning
Warranty is void if ventilation is insufficient.
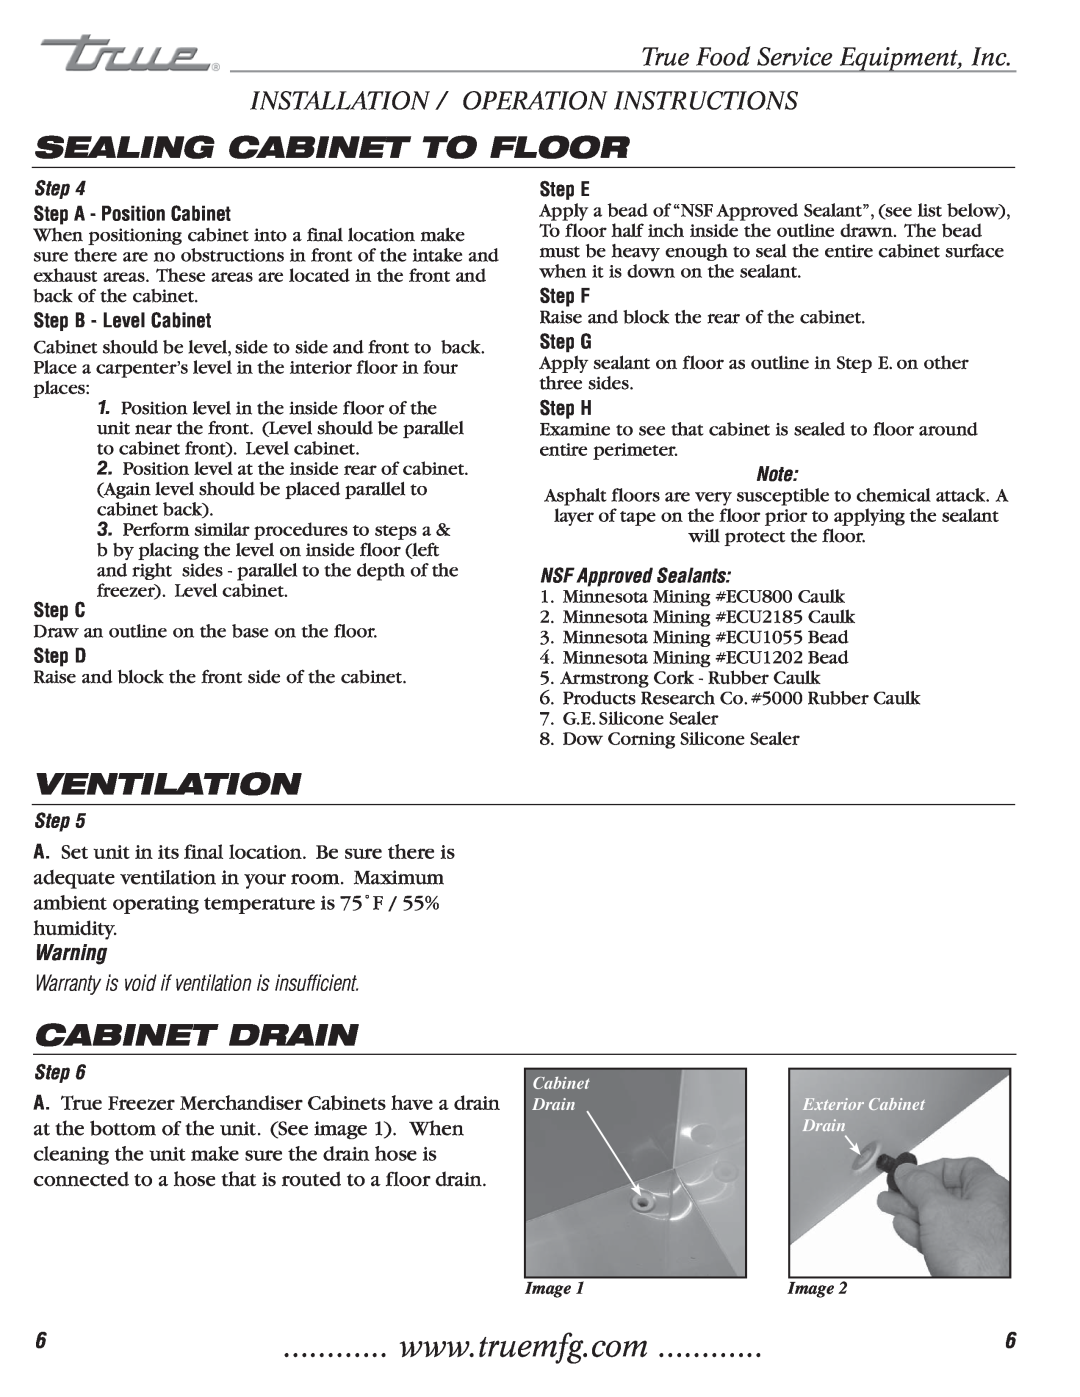
CABINET DRAIN
Step 6
A.True Freezer Merchandiser Cabinets have a drain at the bottom of the unit. (See image 1). When cleaning the unit make sure the drain hose is connected to a hose that is routed to a floor drain.
Cabinet Drain
Exterior Cabinet Drain
| Image 1 | Image 2 |
6 | www.truemfg.com | 6 |