Installation
Connecting the Power Cord
WARNING
This radio can be used only in vehicles with a negative ground electrical system. Connecting this unit to a positive ground electrical system will result in serious damage to the radio.
1.Check the vehicle battery connections to determine which battery terminal (positive or negative) is grounded to the engine block or chassis. Most of today's automobiles are negative ground.
2.Connect the REDwire of the DC power cord to the accessory contact in your vehicle's +13.8 VDC fuse box.
3.Connect the BLACKwire of the DC power cord to the negative side of the automobile (usually the chassis).
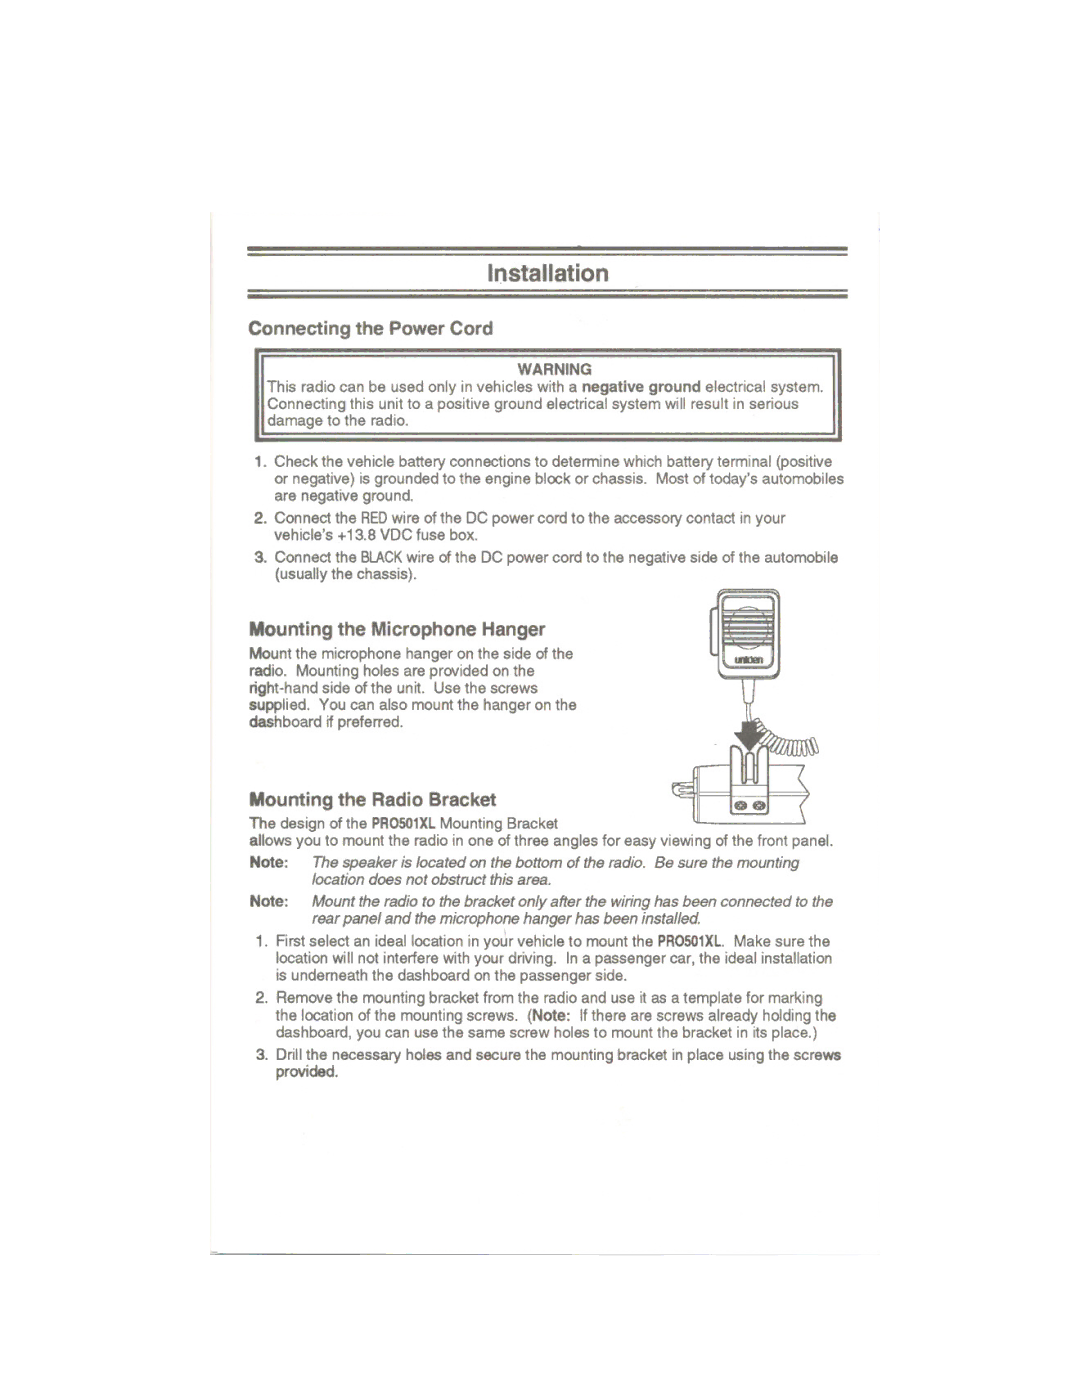
Mounting the Microphone Hanger
Mountthe microphone hanger on the side of the radio. Mounting holes are provided on the
Mounting the Radio Bracket
~
00
The design of the PRO501XLMounting Bracket
allows you to mount the radio in one of three angles for easy viewing of the front panel.
Note: The speaker is located on the bottom of the radio. Be sure the mounting location does not obstruct this area.
Note: Mount the radio to the bracket only after the wiring has been connected to the
rear panel and the microphone hanger has been installed
1.First select an ideal location in yo~r vehicle to mount the PRO501XL. Make sure the location will not interfere with your driving. In a passenger car, the ideal installation is underneath the dashboard on the passenger side.
2.Remove the mounting bracket from the radio and use it as a template for marking
the location of the mounting screws. (Note: If there are screws already holding the dashboard, you can use the same screw holes to mount the bracket in its place.)
3.Drill the necessary holes and secure the mounting bracket in place using the screws
provided.
.:;