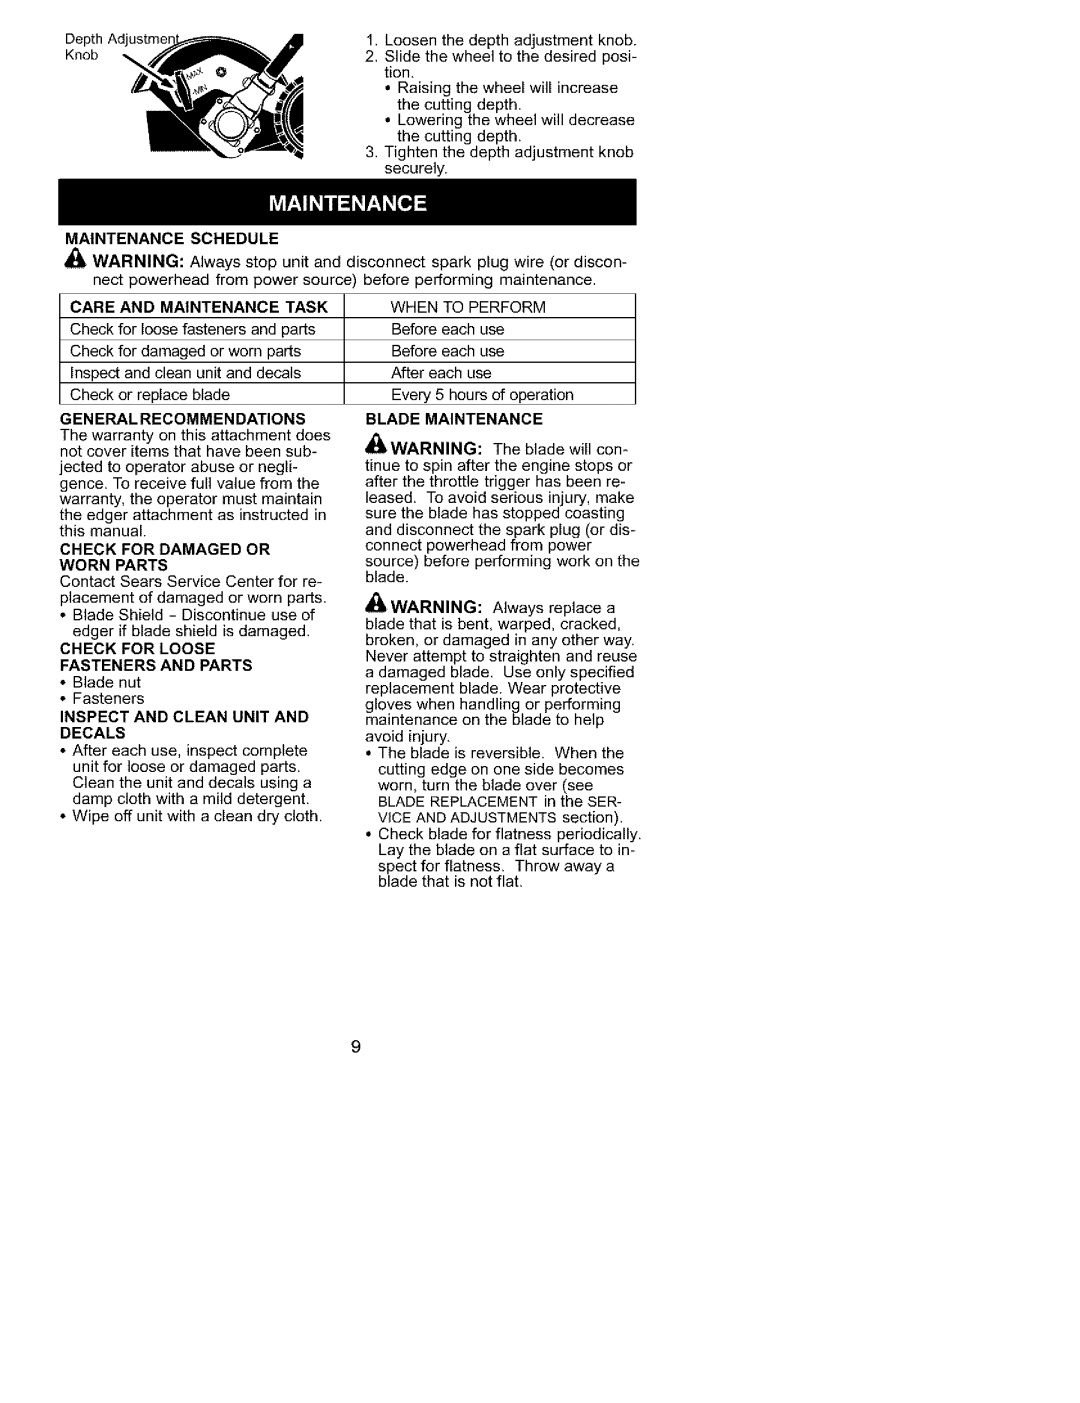
eoA0,ostbh __ 1. Loosen the depth adjustment knob. 2. Slide the wheel to the desired posi-
tion.
• Raising the wheel wilt increase the cutting depth.
• Lowering the wheel will decrease the cutting depth.
3. Tighten the depth adjustment knob securely.
MAINTENANCE SCHEDULE
WARNING: Always stop unit and disconnect spark plug wire (or discon-
nect powerhead from power source)
CARE AND MAINTENANCE TASK
Check for loose fasteners and parts
Check for damaged or worn parts
Inspect and clean unit and decals
Check or replace blade
GEN ERAL RECOMMEN DATIONS
The warranty on this attachment does not cover items that have been sub-
jected to operator abuse or negli-
gence. To receive full value from the warranty, the operator must maintain the edger attachment as instructed in this manual.
CHECK FOR DAMAGED OR WORN PARTS
Contact Sears Service Center for re- placement of damaged or worn parts.
• Blade Shield - Discontinue use of
edger if blade shield is damaged.
CHECK FOR LOOSE FASTENERS AND PARTS
•Blade nut
•Fasteners
INSPECT AND CLEAN UNIT AND DECALS
•After each use, inspect complete unit for loose or damaged parts. Clean the unit and decals using a damp cloth with a mild detergent.
•Wipe off unit with a clean dry cloth.
before performing maintenance.
WHEN TO PERFORM
Before each use
Before each use
After each use
Every 5 hours of operation
BLADE MAINTENANCE
_WARNING: | The blade will corn |
tinue to spin after the engine stops or after the throttle trigger has been re- leased. To avoid serious injury, make sure the blade has stopped coasting and disconnect the spark plug (or dis- connect powerhead from power source) before performing work on the blade.
zl,_
all.WARNING: Always replace a blade that is bent, warped, cracked, broken, or damaged in any other way. Never attempt to straighten and reuse a damaged blade, Use only specified replacement blade. Wear protective gloves when handling or performing maintenance on the blade to help avoid injury,
•The blade is reversible. When the cutting edge on one side becomes worn, turn the blade over (see BLADE REPLACEMENT in the SER- VICE AND ADJUSTMENTS section).
•Check blade for flatness periodically. Lay the blade on a flat surface to in- spect for flatness. Throw away a blade that is not flat.
9
