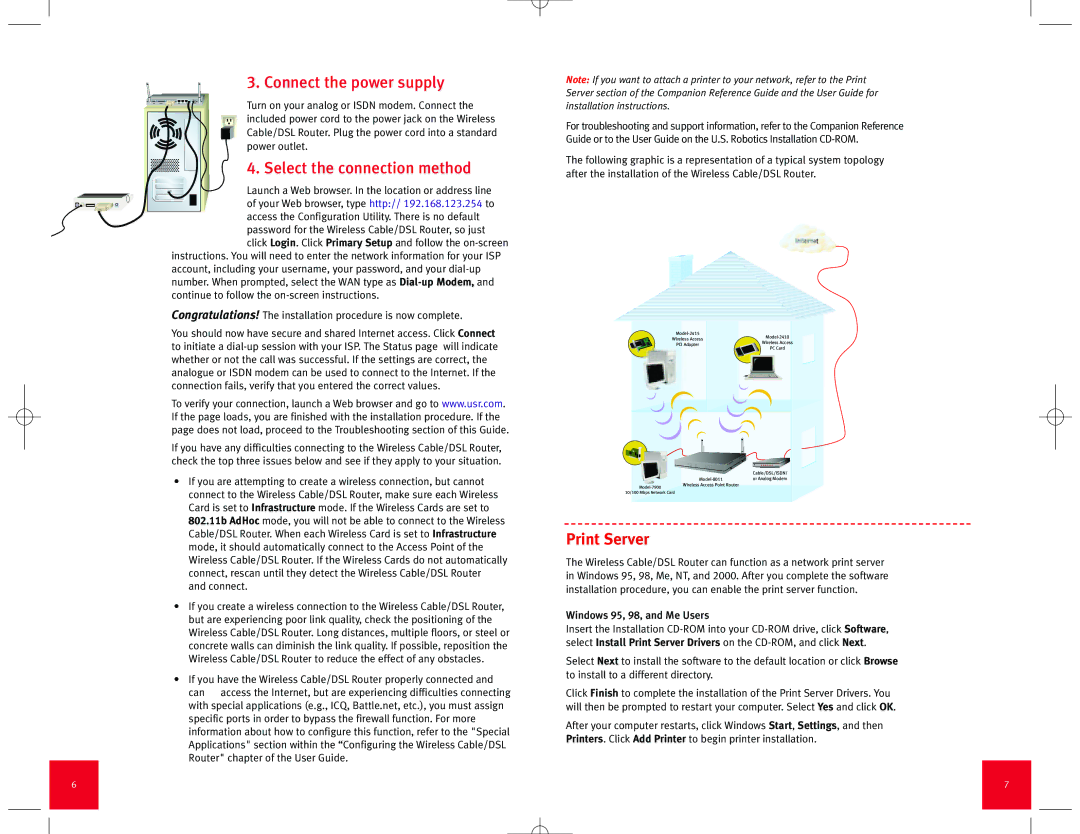
Wireless Cable/DSL Router specifications
The USRobotics Wireless Cable/DSL Router is a powerful device designed to provide reliable internet connectivity for homes and small offices. As a versatile hub for managing various networking tasks, it combines essential features of both routers and modems to ensure seamless internet access for multiple devices.One of its main features is its dual WAN capability, allowing users to connect to two different internet sources simultaneously. This feature is particularly beneficial for users looking to maintain uninterrupted internet service, as it allows for automatic failover between connections. This ensures that in the event of a primary connection failure, the router will automatically switch to the secondary connection, providing continuous access to the internet.
The USRobotics router supports high-speed wireless standards, including 802.11n, which enables faster data transfer rates and improved coverage compared to earlier standards. With the capability to support multiple devices simultaneously without sacrificing performance, this router is ideal for households with numerous internet-connected devices such as smartphones, tablets, and smart TVs.
Security is a top priority for USRobotics, and this router includes advanced security features to protect users from unauthorized access. The device supports WPA2 encryption, ensuring that data transmitted over the network is secure and that only authorized users can gain access to the network. Additionally, the router offers features such as a built-in firewall that helps protect against external threats and vulnerabilities.
Convenience is another hallmark of the USRobotics Wireless Cable/DSL Router. Its easy-to-use web interface allows for straightforward setup and management, enabling users to easily modify network settings, set up parental controls, and manage connected devices. This level of user-friendly design makes it an excellent choice for both tech-savvy individuals and those less familiar with networking technology.
Moreover, the router features multiple Ethernet ports, enabling direct connections for devices that require stable, wired internet access. This versatility makes it suitable for gaming consoles, desktops, and entertainment systems that demand high-speed connectivity.
In conclusion, the USRobotics Wireless Cable/DSL Router stands out for its dual WAN capability, robust wireless standards, enhanced security features, and user-friendly management options, making it a comprehensive solution for both home and small business networking needs. Its reliable performance ensures that users can enjoy fast, secure internet access whenever they need it.

