QUICK START GUIDE
STEP 2: TURNING ON THE UNIT
1.While the AC adapter is connected and the unit is on standby, power will be consumed and the power indicator is RED.
2.Press the ![]() STANDBY/ON button to turn on the unit. The power indicator is GREEN.
STANDBY/ON button to turn on the unit. The power indicator is GREEN.
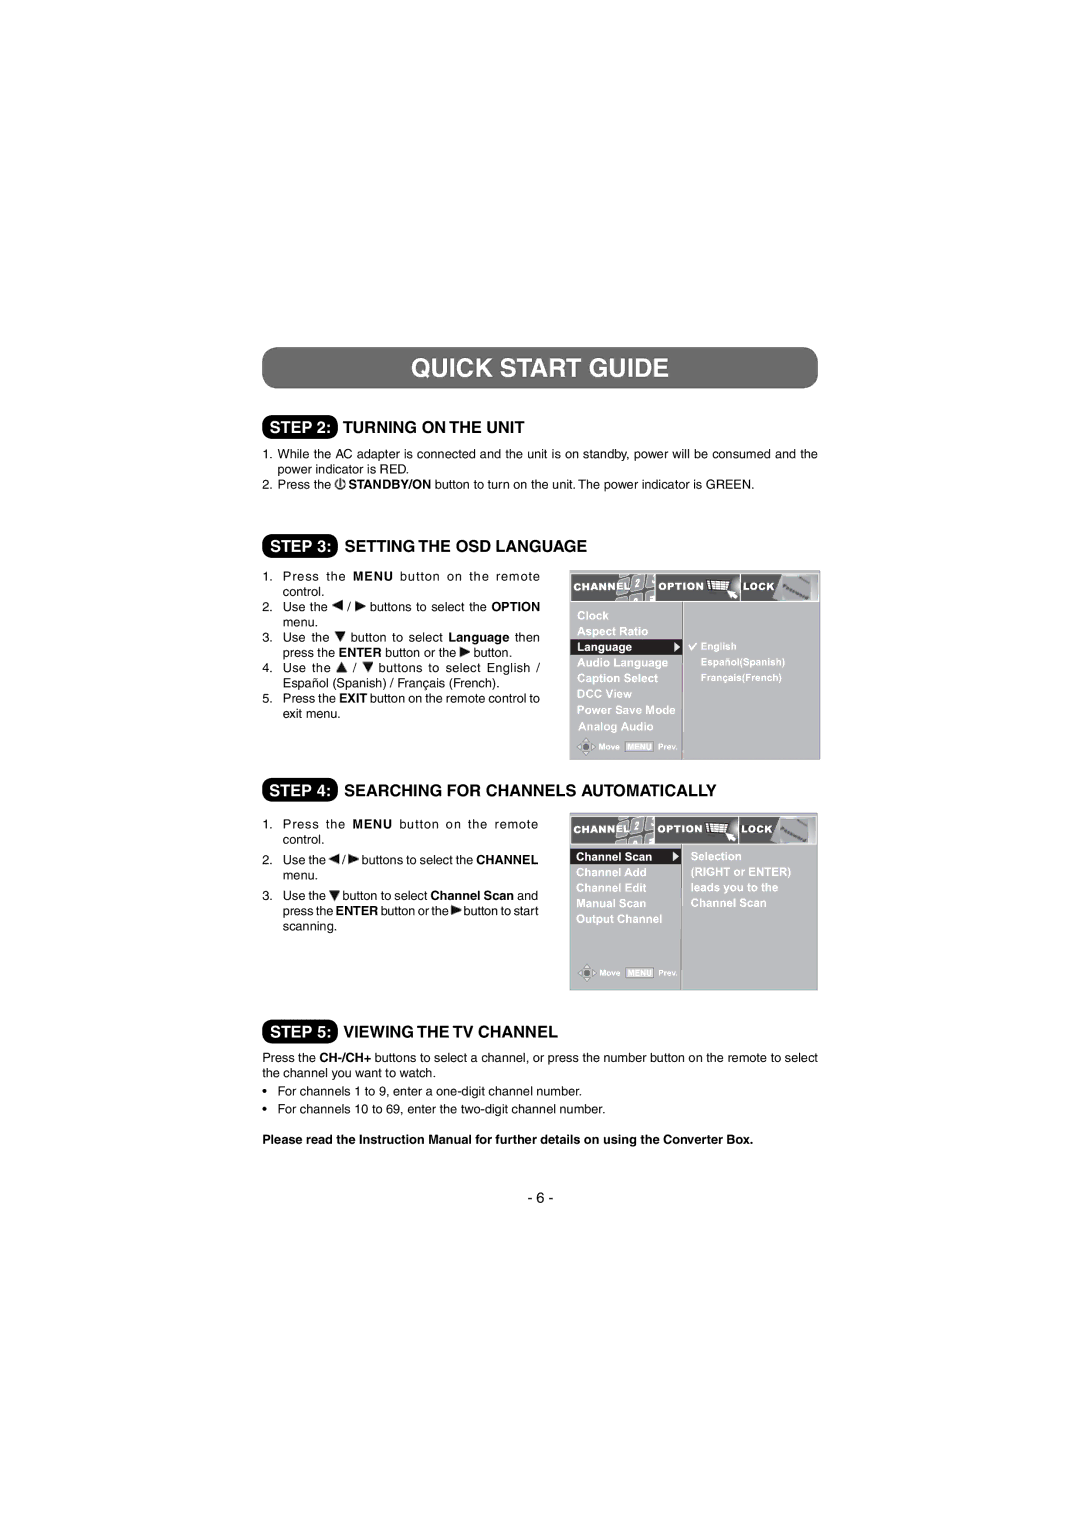
STEP 3: SETTING THE OSD LANGUAGE
1.Press the MENU button on the remote control.
2.Use the ![]() /
/ ![]() buttons to select the OPTION menu.
buttons to select the OPTION menu.
3.Use the ![]() button to select Language then press the ENTER button or the
button to select Language then press the ENTER button or the ![]() button.
button.
4.Use the ![]() /
/ ![]() buttons to select English / Español (Spanish) / Français (French).
buttons to select English / Español (Spanish) / Français (French).
5.Press the EXIT button on the remote control to exit menu.
DCC View |
Power Save Mode |
Analog Audio |
STEP 4: SEARCHING FOR CHANNELS AUTOMATICALLY
1. Press the MENU button on the remote control.
2. Use the  /
/  buttons to select the CHANNEL menu.
3.Use the ![]() button to select Channel Scan and press the ENTER button or the
button to select Channel Scan and press the ENTER button or the ![]() button to start scanning.
button to start scanning.
STEP 5: VIEWING THE TV CHANNEL
Press the
•For channels 1 to 9, enter a
•For channels 10 to 69, enter the
Please read the Instruction Manual for further details on using the Converter Box.
- 6 -
