Step 3. Enter the Subnet mask and Gateway. These settings should match the PC. Optionally, you may enter a camera name to help identify this camera.

Step 4. Click Set. You will see a dialog prompting you to enter a username and password. You must enter a valid admin username and password. Click OK to continue.

Step 5. You will see “Resetting camera…Please wait..” in the upper left corner. When the process is complete you will see “Settings saved.” Click OK to continue.

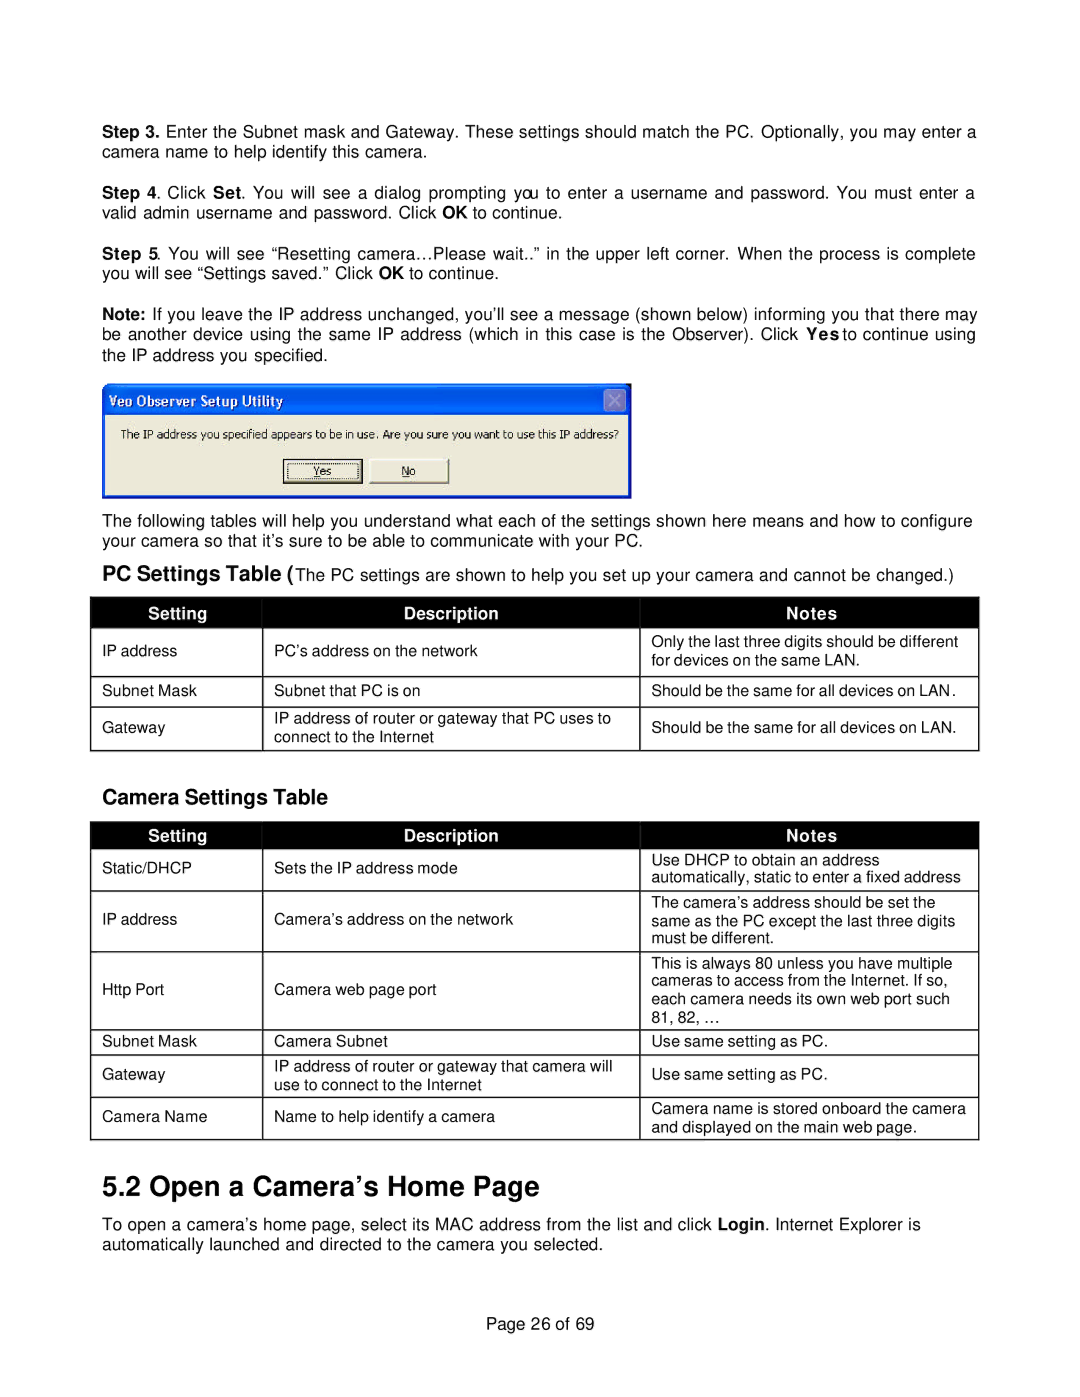
Note: If you leave the IP address unchanged, you’ll see a message (shown below) informing you that there may be another device using the same IP address (which in this case is the Observer). Click Yes to continue using the IP address you specified.

The following tables will help you understand what each of the settings shown here means and how to configure your camera so that it’s sure to be able to communicate with your PC.

PC Settings Table (The PC settings are shown to help you set up your camera and cannot be changed.)


Setting


Description


Notes


IP address


PC’s address on the network


Only the last three digits should be different


for devices on the same LAN.


Subnet Mask


Subnet that PC is on


Should be the same for all devices on LAN .


Gateway


IP address of router or gateway that PC uses to


Should be the same for all devices on LAN.


connect to the Internet


Camera Settings Table


Setting


Description


Notes


Static/DHCP


Sets the IP address mode


Use DHCP to obtain an address


automatically, static to enter a fixed address


IP address


Camera’s address on the network


The camera’s address should be set the


same as the PC except the last three digits


must be different.


This is always 80 unless you have multiple


Http Port


Camera web page port


cameras to access from the Internet. If so,


each camera needs its own web port such


81, 82, …


Subnet Mask


Camera Subnet


Use same setting as PC.


Gateway


IP address of router or gateway that camera will


Use same setting as PC.


use to connect to the Internet


Camera Name


Name to help identify a camera


Camera name is stored onboard the camera


and displayed on the main web page.


5.2 Open a Camera’s Home Page

To open a camera’s home page, select its MAC address from the list and click Login. Internet Explorer is automatically launched and directed to the camera you selected.

Page 26 of 69

Page 26
Image 26
Veo 802.11b manual Open a Camera’s Home, Camera Settings Table

802.11b specifications

The Veo 802.11b is a notable wireless networking standard that emerged in the late 1990s as one of the first widely adopted protocols for local area networks (LANs). Operating in the 2.4 GHz frequency band, 802.11b provided users with the ability to connect to the internet and share resources without the constraints of wired connections.

One of the primary features of 802.11b is its maximum data transfer rate of 11 Mbps, which was impressive at the time of its release. This speed allowed for basic internet usage, file sharing, and general network connectivity. While this might seem slow by today’s standards, it laid the foundation for the rapid evolution of wireless technologies.

Veo 802.11b utilized Direct Sequence Spread Spectrum (DSSS) technology, which enhanced the reliability of the connection by spreading the signal over a wider frequency range. This technique helped to reduce interference, particularly in environments with multiple wireless devices operating on the same frequency. The standard also included mechanisms for ensuring data integrity, such as the use of cyclic redundancy check (CRC) algorithms.

In terms of range, Veo 802.11b offered coverage of approximately 100 to 300 feet indoors, and up to 1000 feet outdoors depending on environmental factors. This range made it suitable for home networks and small office environments, allowing users to access the internet from different locations within a building without the need for cumbersome cabling.

Another characteristic of the 802.11b standard was its compatibility with the earlier 802.11 standard, ensuring that devices using both protocols could operate together. This backward compatibility facilitated a smoother transition for users upgrading their systems, as they could maintain connectivity with older devices while enjoying the benefits of faster wireless networking.

Security was also an important aspect, though initially limited. The standard employed Wired Equivalent Privacy (WEP) for data encryption, which provided a basic level of security to protect wireless communications. However, as vulnerabilities were discovered in WEP, the need for stronger security protocols became evident, leading to further developments in later standards.

Ultimately, the Veo 802.11b played a pivotal role in revolutionizing wireless communications. It established the groundwork for further advancements such as 802.11g and 802.11n, which provided higher speeds and greater efficiency. While newer standards have since eclipsed its capabilities, 802.11b remains a significant milestone in the evolution of wireless networking technology. Its influence can still be seen in the pervasive use of wireless networks in homes, offices, and public spaces around the world today.