Accessories to help make the connection between stainless steel chimney liners and your Defiant are available through your local dealer.

Chimney Connector Guidelines

A chimney connector is the single-wall pipe that con- nects the stove to the chimney. The chimney itself is the masonry or prefabricated structure that encloses the

Defiant Woodburning Stove

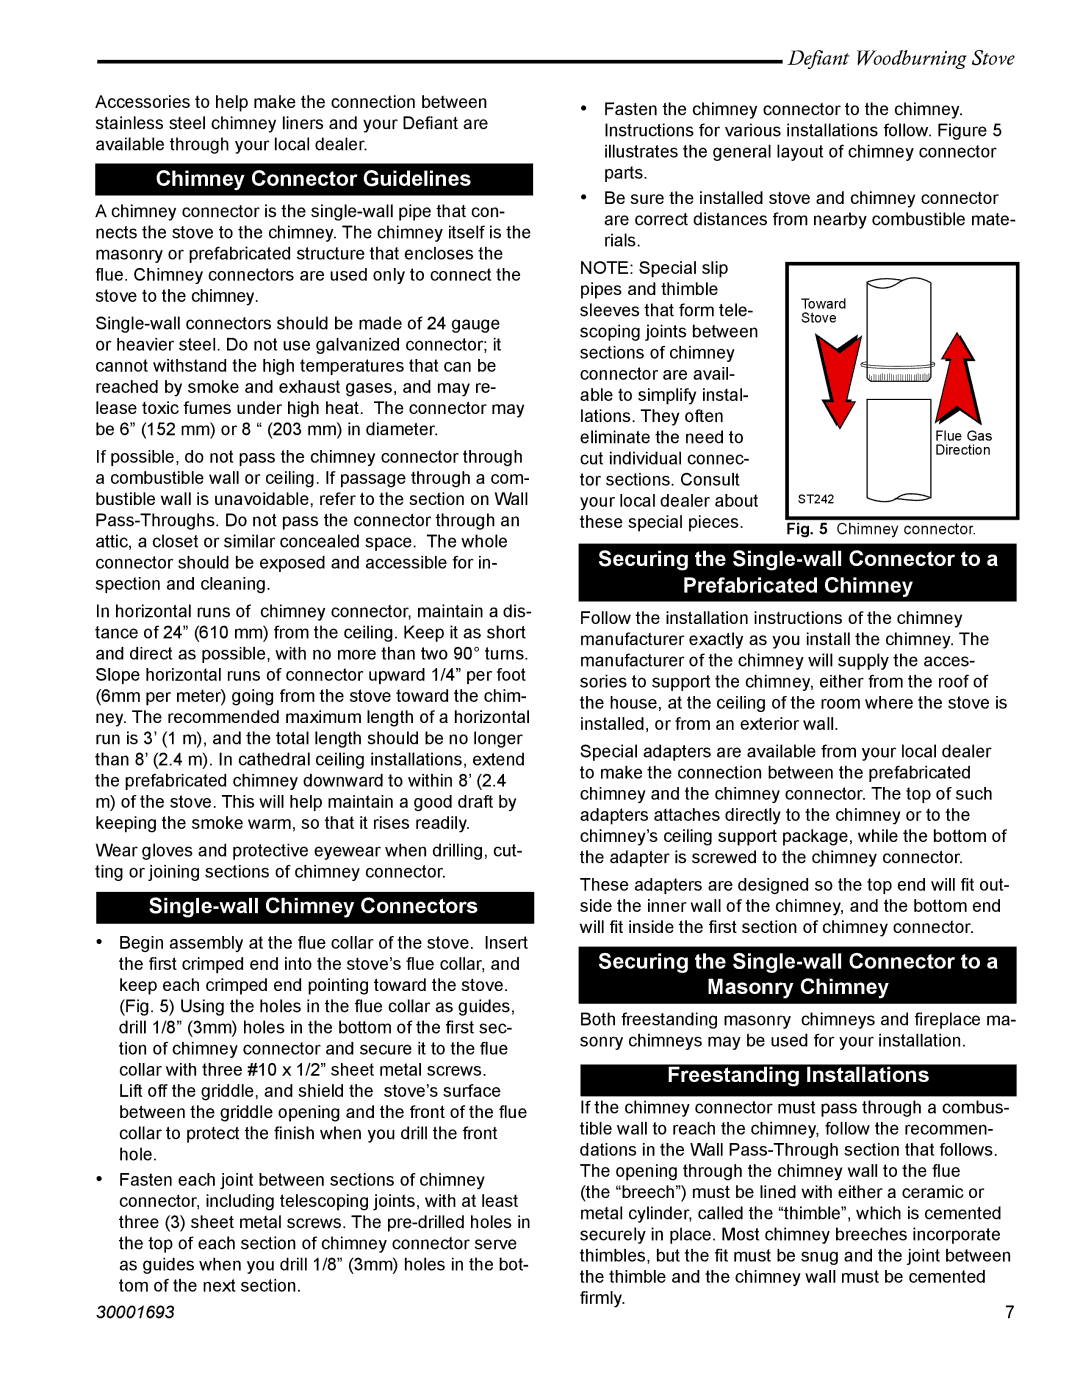
Fasten the chimney connector to the chimney. Instructions for various installations follow. Figure 5 illustrates the general layout of chimney connector parts.

Be sure the installed stove and chimney connector are correct distances from nearby combustible mate- rials.

flue. Chimney connectors are used only to connect the stove to the chimney.

Single-wall connectors should be made of 24 gauge or heavier steel. Do not use galvanized connector; it cannot withstand the high temperatures that can be reached by smoke and exhaust gases, and may re- lease toxic fumes under high heat. The connector may be 6” (152 mm) or 8 “ (203 mm) in diameter.

If possible, do not pass the chimney connector through a combustible wall or ceiling. If passage through a com- bustible wall is unavoidable, refer to the section on Wall Pass-Throughs. Do not pass the connector through an attic, a closet or similar concealed space. The whole

NOTE: Special slip pipes and thimble sleeves that form tele- scoping joints between sections of chimney connector are avail- able to simplify instal- lations. They often eliminate the need to cut individual connec- tor sections. Consult your local dealer about these special pieces.

Toward

Stove

Flue Gas

Direction

ST242

Fig. 5 Chimney connector.

connector should be exposed and accessible for in- spection and cleaning.

In horizontal runs of chimney connector, maintain a dis- tance of 24” (610 mm) from the ceiling. Keep it as short and direct as possible, with no more than two 90° turns. Slope horizontal runs of connector upward 1/4” per foot (6mm per meter) going from the stove toward the chim- ney. The recommended maximum length of a horizontal run is 3’ (1 m), and the total length should be no longer than 8’ (2.4 m). In cathedral ceiling installations, extend the prefabricated chimney downward to within 8’ (2.4

m)of the stove. This will help maintain a good draft by keeping the smoke warm, so that it rises readily.

Wear gloves and protective eyewear when drilling, cut- ting or joining sections of chimney connector.

Single-wall Chimney Connectors

Begin assembly at the flue collar of the stove. Insert the first crimped end into the stove’s flue collar, and keep each crimped end pointing toward the stove.

(Fig. 5) Using the holes in the flue collar as guides, drill 1/8” (3mm) holes in the bottom of the first sec- tion of chimney connector and secure it to the flue collar with three #10 x 1/2” sheet metal screws.

Lift off the griddle, and shield the stove’s surface between the griddle opening and the front of the flue collar to protect the finish when you drill the front hole.

Fasten each joint between sections of chimney connector, including telescoping joints, with at least three (3) sheet metal screws. The pre-drilled holes in the top of each section of chimney connector serve as guides when you drill 1/8” (3mm) holes in the bot- tom of the next section.

30001693

Securing the Single-wall Connector to a

Prefabricated Chimney

Follow the installation instructions of the chimney manufacturer exactly as you install the chimney. The manufacturer of the chimney will supply the acces- sories to support the chimney, either from the roof of the house, at the ceiling of the room where the stove is installed, or from an exterior wall.

Special adapters are available from your local dealer to make the connection between the prefabricated chimney and the chimney connector. The top of such adapters attaches directly to the chimney or to the chimney’s ceiling support package, while the bottom of the adapter is screwed to the chimney connector.

These adapters are designed so the top end will fit out- side the inner wall of the chimney, and the bottom end will fit inside the first section of chimney connector.

Securing the Single-wall Connector to a

Masonry Chimney

Both freestanding masonry chimneys and fireplace ma- sonry chimneys may be used for your installation.

Freestanding Installations

If the chimney connector must pass through a combus- tible wall to reach the chimney, follow the recommen- dations in the Wall Pass-Through section that follows. The opening through the chimney wall to the flue (the “breech”) must be lined with either a ceramic or metal cylinder, called the “thimble”, which is cemented securely in place. Most chimney breeches incorporate thimbles, but the fit must be snug and the joint between the thimble and the chimney wall must be cemented

firmly.

7

Page 7
Image 7
Vermont Casting 1945 Chimney Connector Guidelines, Single-wall Chimney Connectors, Freestanding Installations

1945 specifications

Vermont Casting, founded in 1975, quickly established itself as a leader in the cast iron stove industry. However, the reference to 1945 in relation to Vermont Casting might allude to the beginnings of the American hearth industry post-World War II. In this pivotal period, the demand for home heating solutions soared, setting the stage for innovations in wood and gas stoves that would shape future designs.

Vermont Casting made a name for itself through a commitment to craftsmanship and durability. The company utilized high-quality cast iron, renowned for its excellent heat retention and even heating properties. This robust material allowed stoves to radiate warmth long after the fire had extinguished, making them an efficient choice for home heating.

One of the standout features of Vermont Casting stoves is their unique design which blends functionality with aesthetic appeal. The company offered both traditional and contemporary styles, appealing to a wide range of consumer tastes. With elaborate decorative patterns and a classic look, Vermont Casting stoves became a centerpiece in many homes, adding warmth not just through heat but also through design.

In terms of technology, Vermont Casting pioneered advancements in combustion efficiency. Their stoves often feature secondary combustion systems that ensure the complete burning of wood, which helps reduce smoke emissions and maximizes heat output. This not only complies with stringent environmental regulations but also makes their products eco-friendly.

Another notable characteristic of Vermont Casting stoves is their versatility. The company produces a range of models that cater to different fuels, including wood, gas, and pellets. This flexibility allows homeowners to choose the best heating solution for their specific needs and preferences.

Vermont Casting also places a strong emphasis on user comfort and ease of use. Many models come equipped with features like airwash systems for cleaner glass, lever handles for easy door operation, and ash pans for convenient cleanup. These thoughtful details enhance the overall user experience, making heating homes more efficient and enjoyable.

As the company has continued to innovate, it has remained committed to sustainability, focusing on creating products that are not only effective but also environmentally responsible. Vermont Casting's dedication to quality, technology, and design has cemented its status as a trusted name in the hearth industry, making it a preferred choice for consumers looking for both performance and style in their heating solutions.