SECTION
G. Leveling
Cabinets must be leveled when installed. This is accomplished by rotating the foot of the leg with an adjustable wrench. Cabinets with casters can be leveled by using large flat washers. Failure to level your cabinet may result in doors not sealing, closing properly or condensate water not draining properly.
H. Initial Cabinet Set-Up
Cabinets are shipped with shelves or pan slides. These items are secured to the rear of the cabinet directly on the wood skid. Two (2) keys are supplied per unit and are taped to the door front. An additional key is taped to the top of the air grill.
1. Cleaning Cabinet
CAUTION:
DO NOT Use Abrasive Cleaning Solvents.
Follow requirements of local health authorities. Never scour any part of your new cabinet. Scouring powders or chemicals may cause damage by scratching or dulling the surface finish. Prior to placing your new refrigerator and all shelves, pans and slides into operation, it is advisable that the interior be washed thoroughly with a mild detergent and water solution. Rinse with clear water and a sanitizing solution. Allow cabinet to air dry.
2. Installing Shelves
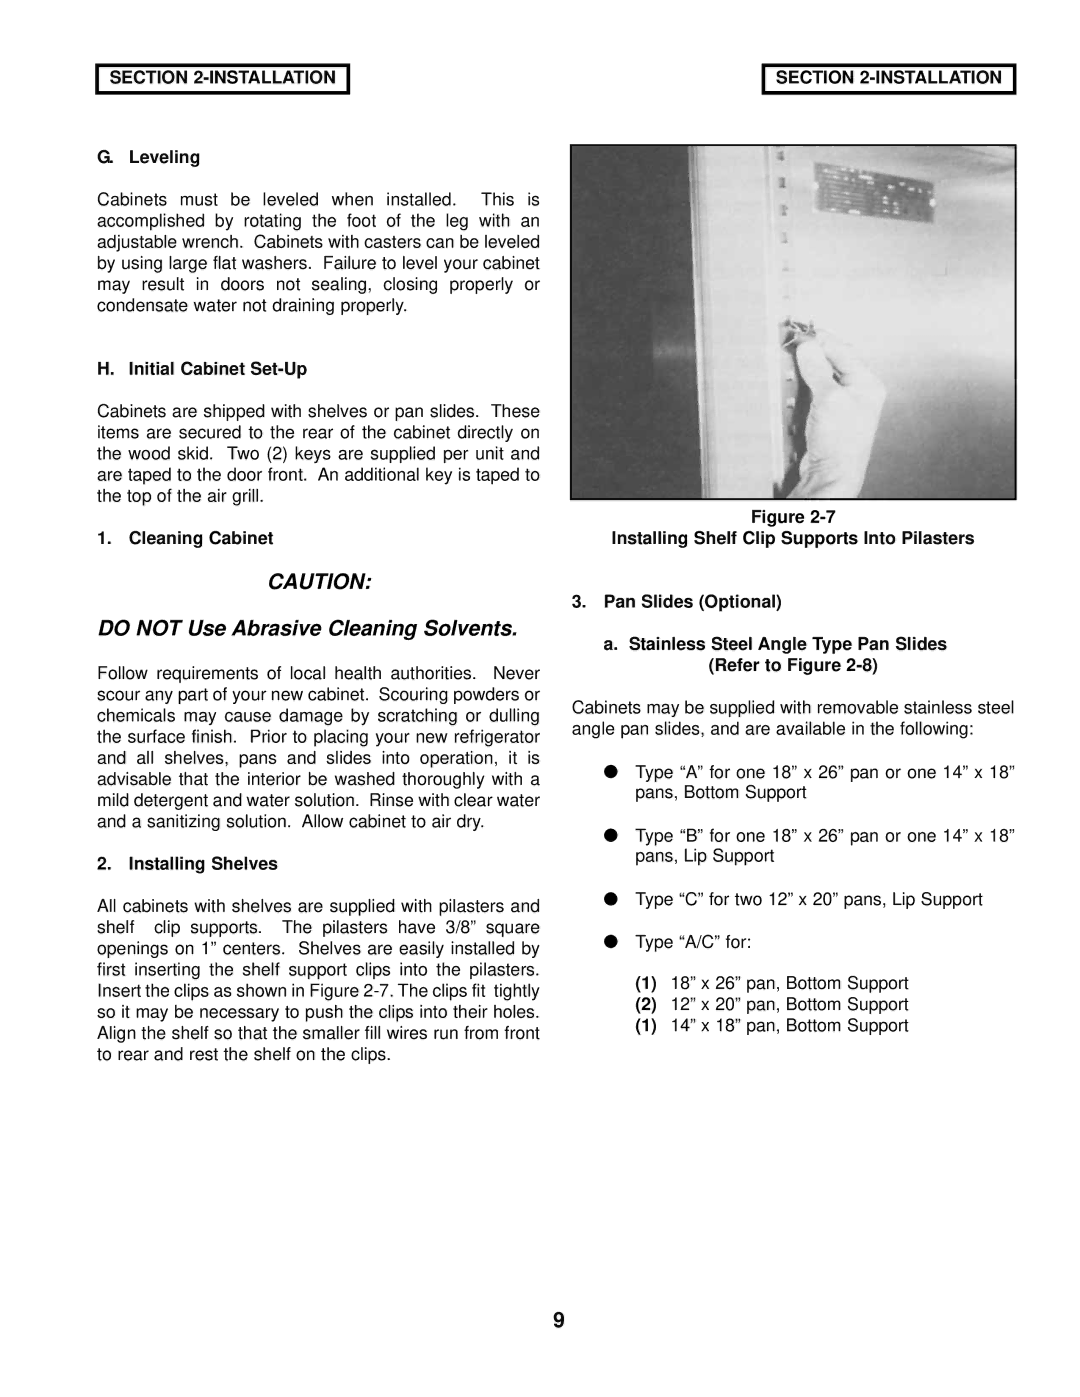
All cabinets with shelves are supplied with pilasters and shelf clip supports. The pilasters have 3/8” square openings on 1” centers. Shelves are easily installed by first inserting the shelf support clips into the pilasters. Insert the clips as shown in Figure
SECTION
Figure
Installing Shelf Clip Supports Into Pilasters
3.Pan Slides (Optional)
a. Stainless Steel Angle Type Pan Slides (Refer to Figure
Cabinets may be supplied with removable stainless steel angle pan slides, and are available in the following:
●Type “A” for one 18” x 26” pan or one 14” x 18” pans, Bottom Support
●Type “B” for one 18” x 26” pan or one 14” x 18” pans, Lip Support
●Type “C” for two 12” x 20” pans, Lip Support
●Type “A/C” for:
(1)18” x 26” pan, Bottom Support
(2)12” x 20” pan, Bottom Support
(1)14” x 18” pan, Bottom Support
9