4. Connect power cables
Connect the power cord to the product then to a properly grounded AC outlet.
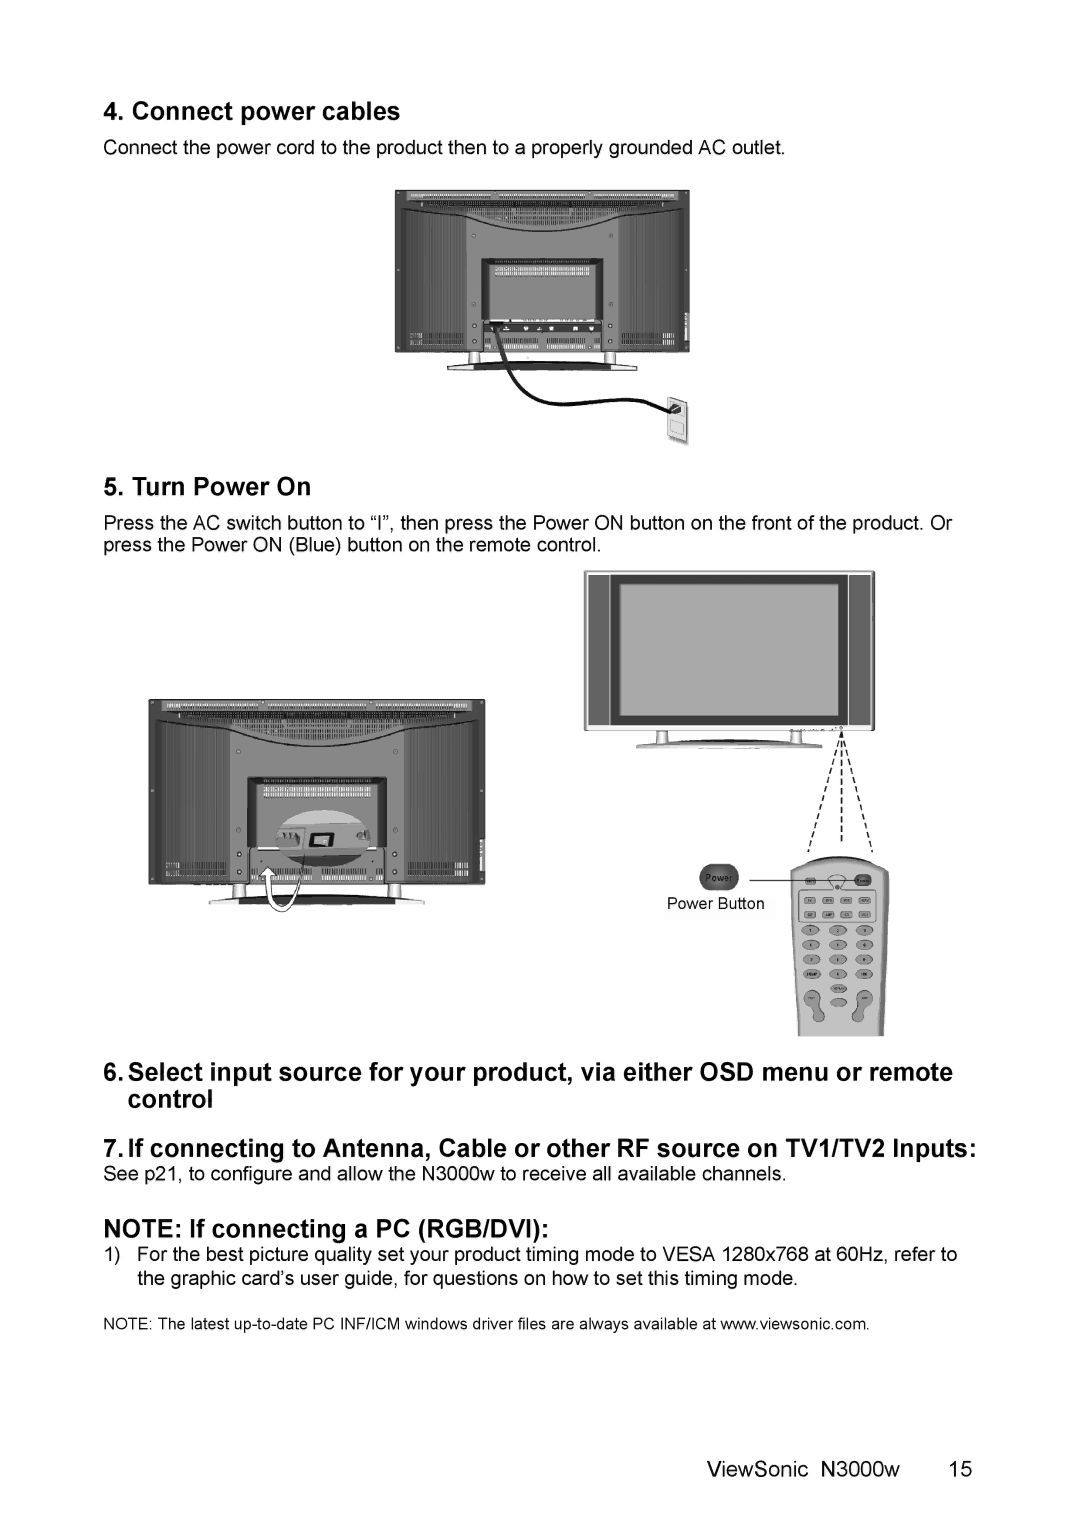
5. Turn Power On
Press the AC switch button to “I”, then press the Power ON button on the front of the product. Or press the Power ON (Blue) button on the remote control.
Power Button
6.Select input source for your product, via either OSD menu or remote control
7.If connecting to Antenna, Cable or other RF source on TV1/TV2 Inputs:
See p21, to configure and allow the N3000w to receive all available channels.
NOTE: If connecting a PC (RGB/DVI):
1)For the best picture quality set your product timing mode to VESA 1280x768 at 60Hz, refer to the graphic card’s user guide, for questions on how to set this timing mode.
NOTE: The latest
ViewSonic N3000w | 15 |