INPUT menu
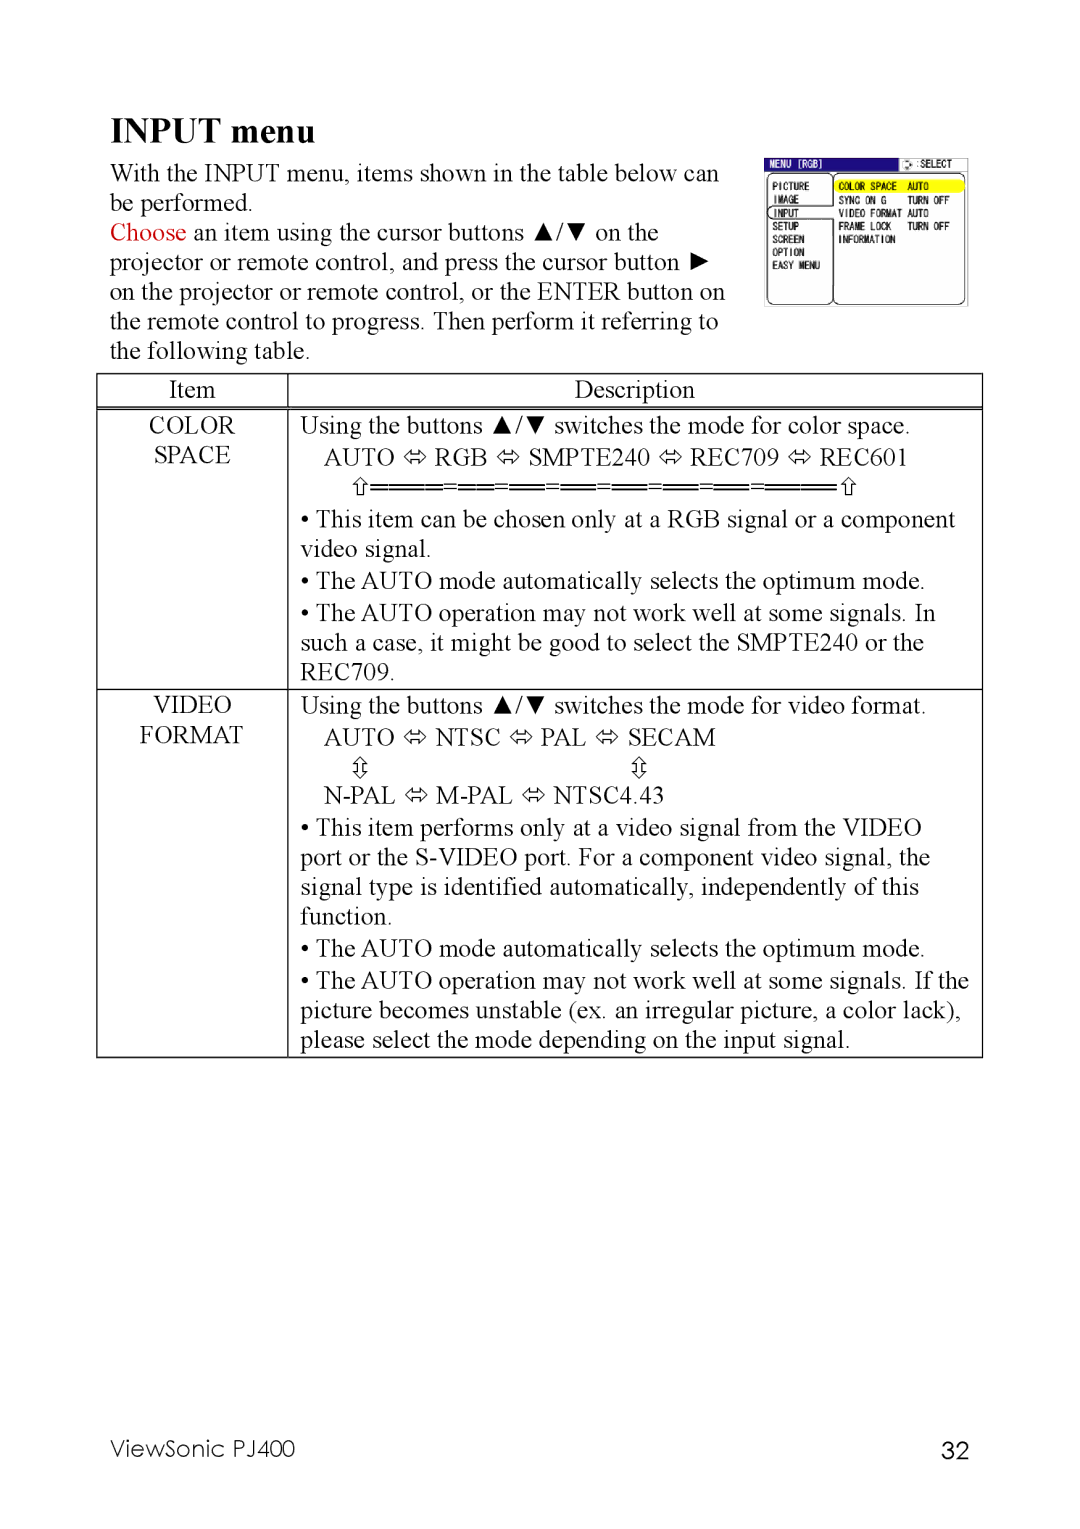
With the INPUT menu, items shown in the table below can be performed.
Choose an item using the cursor buttons ▲/▼ on the projector or remote control, and press the cursor button ► on the projector or remote control, or the ENTER button on the remote control to progress. Then perform it referring to the following table.
Item |
|
| Description |
COLOR | Using the buttons ▲/▼ switches the mode for color space. | ||
SPACE | AUTO | RGB | SMPTE240 REC709 REC601 |
| ════=══=══=══=══=══=══=════ | ||
| • This item can be chosen only at a RGB signal or a component | ||
| video signal. |
|
|
| • The AUTO mode automatically selects the optimum mode. | ||
| • The AUTO operation may not work well at some signals. In | ||
| such a case, it might be good to select the SMPTE240 or the | ||
| REC709. |
|
|
VIDEO | Using the buttons ▲/▼ switches the mode for video format. | ||
FORMAT | AUTO | NTSC | PAL SECAM |
| NTSC4.43 | ||
| • This item performs only at a video signal from the VIDEO | ||
| port or the | ||
| signal type is identified automatically, independently of this | ||
| function. |
|
|
| • The AUTO mode automatically selects the optimum mode. | ||
| • The AUTO operation may not work well at some signals. If the | ||
| picture becomes unstable (ex. an irregular picture, a color lack), | ||
| please select the mode depending on the input signal. | ||
ViewSonic PJ400 | 32 |
