4.CONTROLS AND LOCATION
Turn The LCD Display On
Plug the power cable into the
Function Key
These buttons control your LCD unit’s basic features, including the
POWER | : Turn on or turn off the LCD unit. |
SOURCE | : Select input source (PC, HDMI, AV, SV, YPBPR, SCART 1, |
| SCART 2, SCART 2S). |
MENU | : Display the main menu. |
VOLUME | : Turn up or turn down the volume. |
EXIT / ARC | : Set up the aspect ratio of display (Video source: Panorama, |
| Normal, Full, Zoom1, Zoom2; PC source: Full, Normal) or as |
| exit function if OSD menu appear. When in OSD |
| Display) menu, press EXIT / ARC to close the OSD menu |
+
_
EXIT/ ARC
VOLUME
CHANNEL
MENU
SOURCE
POWER
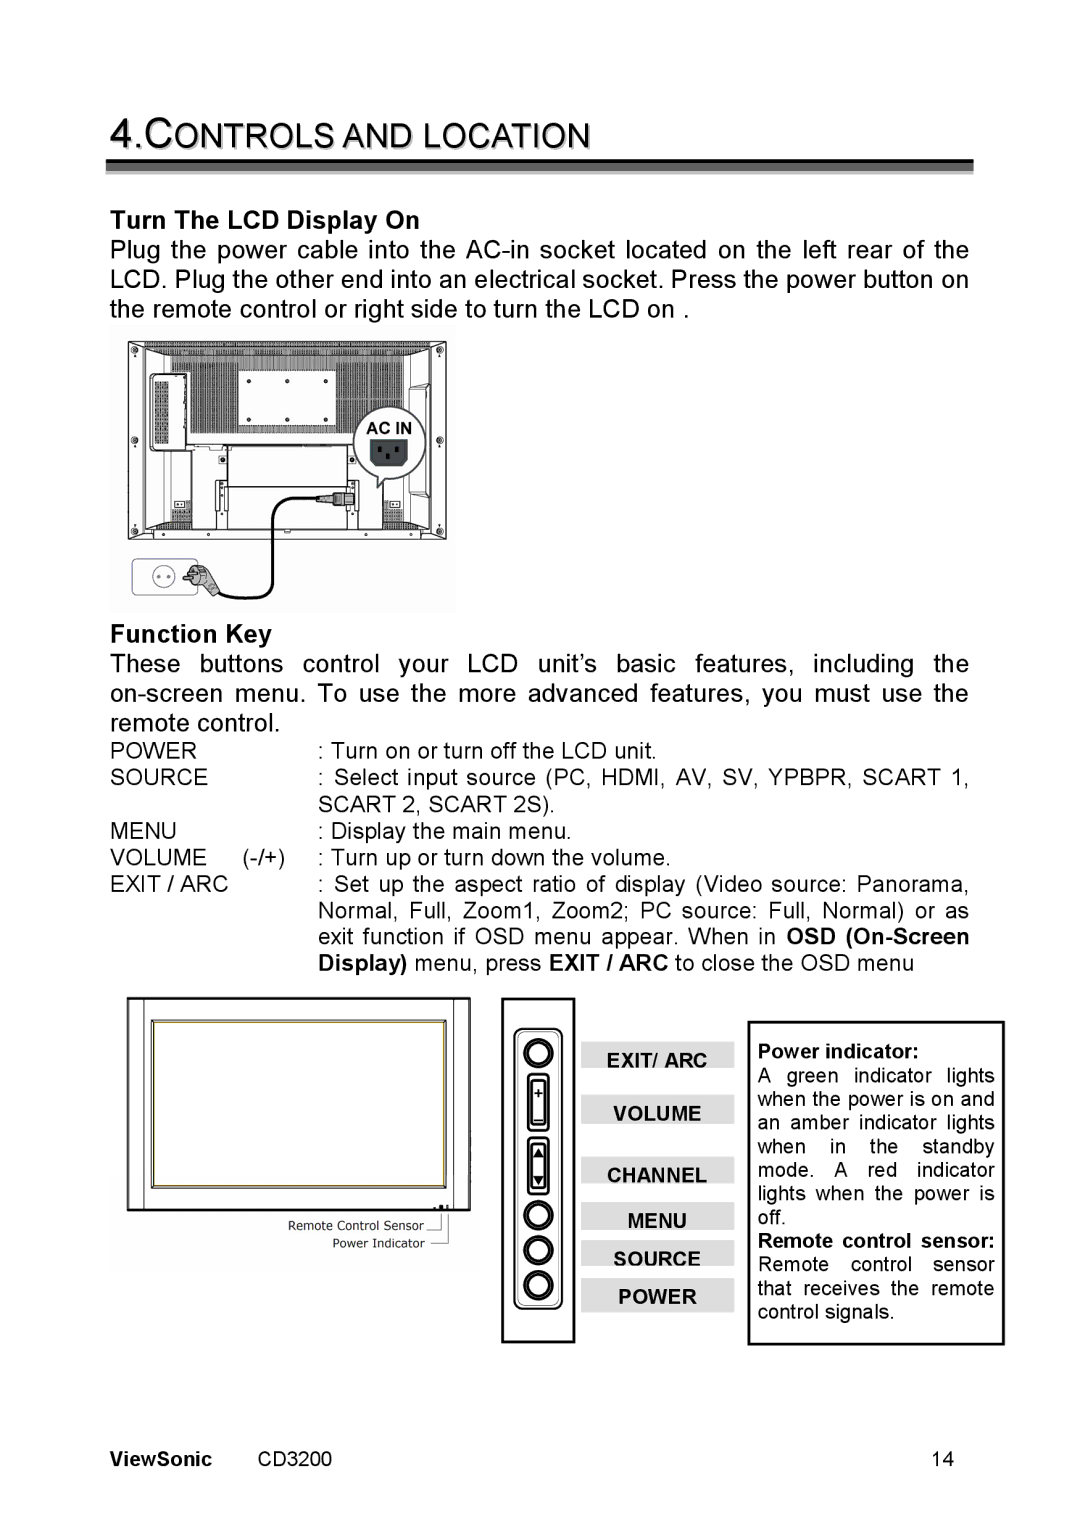
Power indicator:
A green indicator lights when the power is on and an amber indicator lights when in the standby mode. A red indicator lights when the power is off.
Remote control sensor: Remote control sensor that receives the remote control signals.
ViewSonic | CD3200 | 14 |
