5820 specifications
The Visioneer 5820 is a versatile and efficient scanner designed for both personal and professional use. Known for its reliability, it combines advanced imaging technology with user-friendly features to facilitate document management in a variety of settings.One of the standout features of the Visioneer 5820 is its ability to scan double-sided documents in a single pass. This duplex scanning function minimizes the time spent on high-volume scanning tasks, making it ideal for offices that process large quantities of paperwork. With a scanning speed of up to 60 pages per minute and a 120 images per minute capability in duplex mode, the 5820 significantly enhances productivity.
The Visioneer 5820 utilizes high-quality optical scanning technology, ensuring that documents are captured with remarkable clarity and detail. It offers a resolution of up to 600 x 600 dots per inch (dpi), making it suitable for scanning both text and images. This feature is particularly beneficial for preserving important documents and photographs with accuracy.
In terms of connectivity, the Visioneer 5820 supports USB 3.0, which allows for fast data transfer speeds and easy integration with modern computer systems. This connectivity is complemented by compatibility with various operating systems, including Windows and macOS, ensuring users can easily incorporate the scanner into their existing workflows.
Another noteworthy aspect of the Visioneer 5820 is its robust software suite, which includes Visioneer OneTouch and Nuance Power PDF. OneTouch simplifies the scanning process by allowing users to create custom workflows. This feature means that documents can be scanned directly into a preferred file format or sent to specific destinations such as email, cloud storage, or document management systems with just a push of a button.
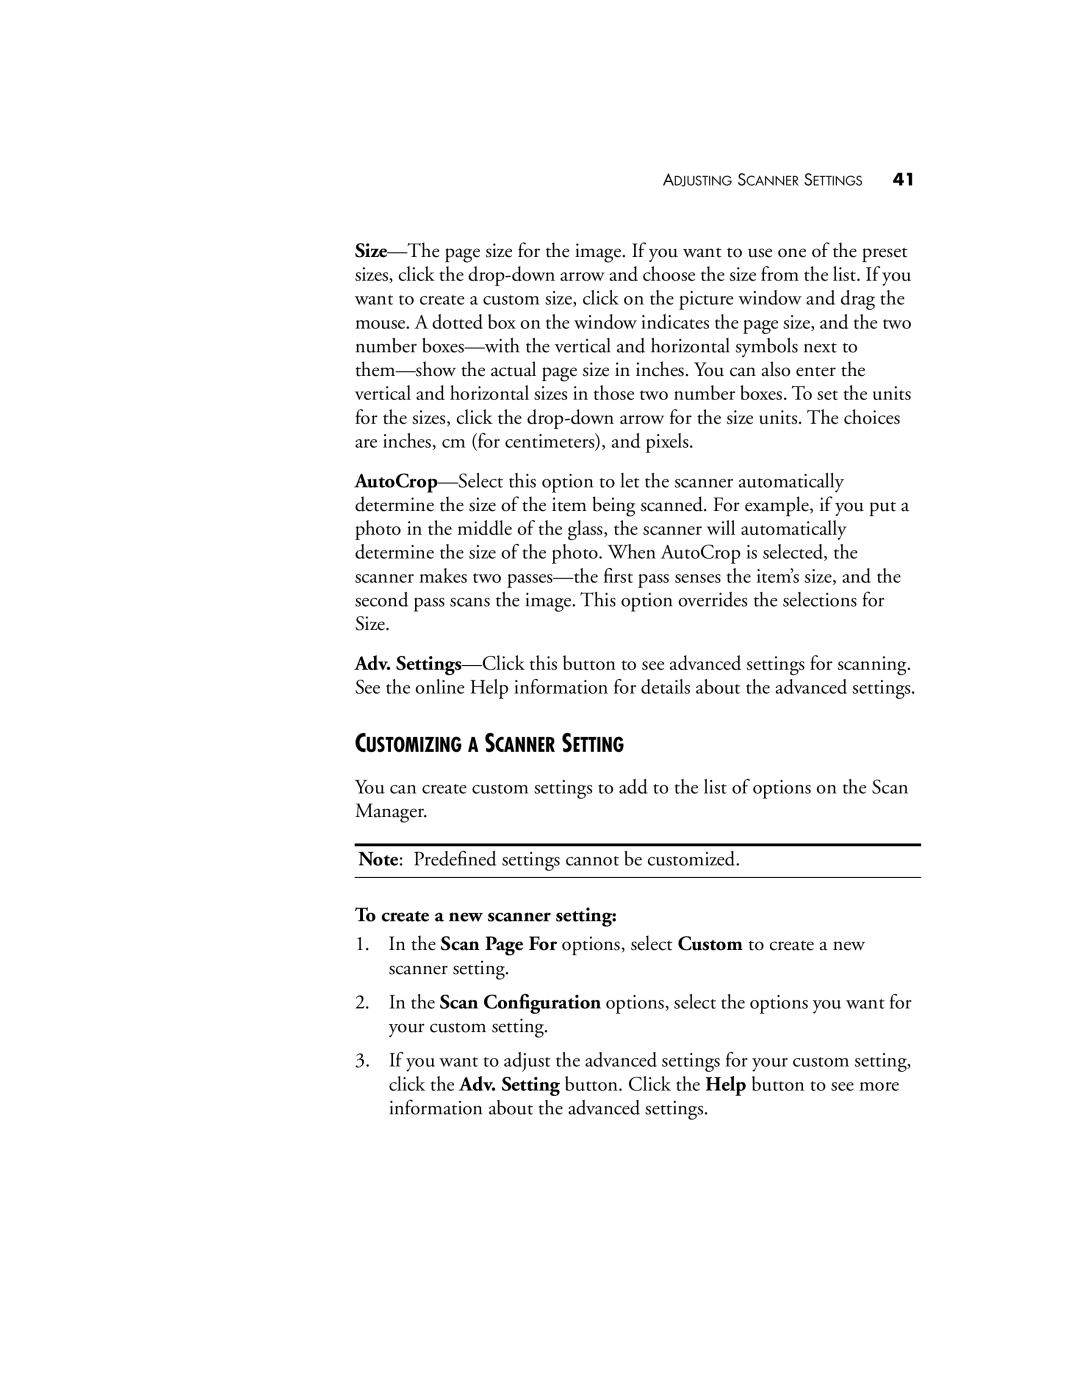
The Visioneer 5820 is also equipped with advanced imaging features like automatic rotation, image cropping, and color detection. These enhancements ensure that scanned documents are not only high-quality but also optimized for storage and sharing, reducing the need for manual adjustments post-scanning.
Overall, the Visioneer 5820 is engineered to meet the demands of both home and office users. Its combination of speed, quality, and ease of use positions it as a valuable tool for anyone looking to streamline their document management processes. Whether for archiving important papers or digitizing records, the Visioneer 5820 is a scanner that delivers exceptional performance.